
Nagios is a robust continuous and real-time monitoring tool to monitor your organizations and servers. Nagios can be installed on Ubuntu Linux desktop and server system for both manual and automatic monitoring. If you have a company that runs server-level operations, you probably need continuous integration (CI) and continuous delivery (CD) tools to make your production rate faster and better.
Nagios can help you to grow your company by providing better analysis. However, if you have a software production company, you can look at the Jenkins server features. Jenkins and Nagios both can be used in Linux through a plugin arrangement.
Nagios in Ubuntu Linux
As Nagios is a cross-platform product, it can be used on Linux, Windows, and other operating systems. It is written in PHP programming language and has the GPL privacy license. It allows both CLI and GUI methods to know the status of the host and client. To install and run the Nagios monitoring tool on your Linux machine, you need to have a PHP server installed on your Linux. In this post, we will see how to install and configure Nagios on Ubuntu Linux.
Step 1: Install PHP on Ubuntu for Nagios
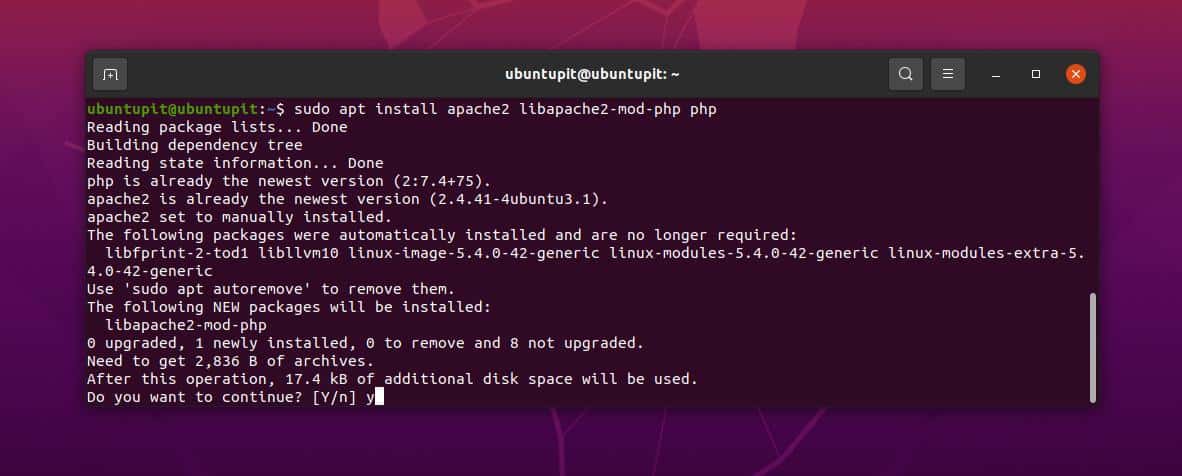
Nagios has its own built-in PostgreSQL database and a daemon that can silently monitor your system status. Moreover, you can add Nagios core plugins and addons to your Linux system to better and enhance the monitoring experience. First, run the following command-line given below with root privilege on your terminal shell to install the Apache PHP modules (LAMP) on your Ubuntu Linux system.
sudo apt install apache2 libapache2-mod-php php
Now, run the following aptitude command-line on your shell to install the Apache auto-configuration and utility library files on your system.
sudo apt install wget unzip zip autoconf gcc libc6 make apache2-utils libgd-dev
Step 2: Create A New User for Nagios
After installing the PHP modules, you can now create a new user for Nagios on your Ubuntu system. It will allow you to store and configure all the Nagios settings under the specific user account. You can run the following command-lines on your terminal shell with root privilege to create a new Nagios user account.
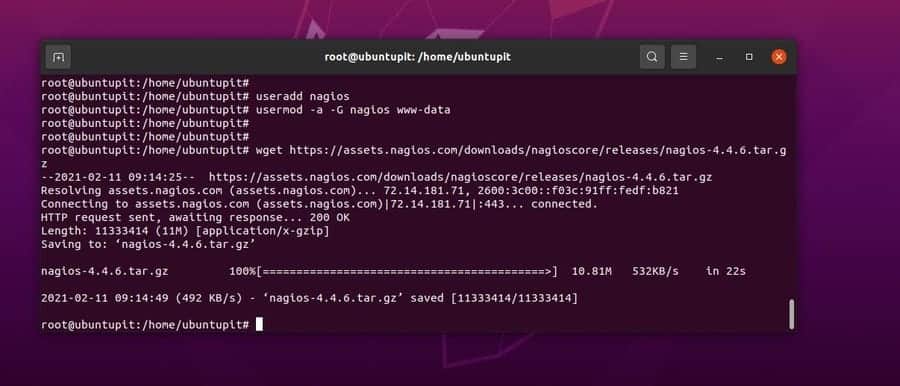
# useradd nagios
# usermod -a -G nagios www-data
Step 3: Download and Install Nagios
When our new user account is ready, we can now download the Nagios compressed file on the filesystem. Later, we will unzip and install the Nagios installer file. Run the following wget command to download the latest version of Nagios on your Ubuntu Linux system.
# wget https://assets.nagios.com/downloads/nagioscore/releases/nagios-4.4.6.tar.gz
After finishing the download, you may now run the following tar command to unzip the file. Then run the cd command to enter the directory and view the files through the ls command.
# tar xzf nagios-4.4.6.tar.gz
# cd nagios-4.4.6/
# ls
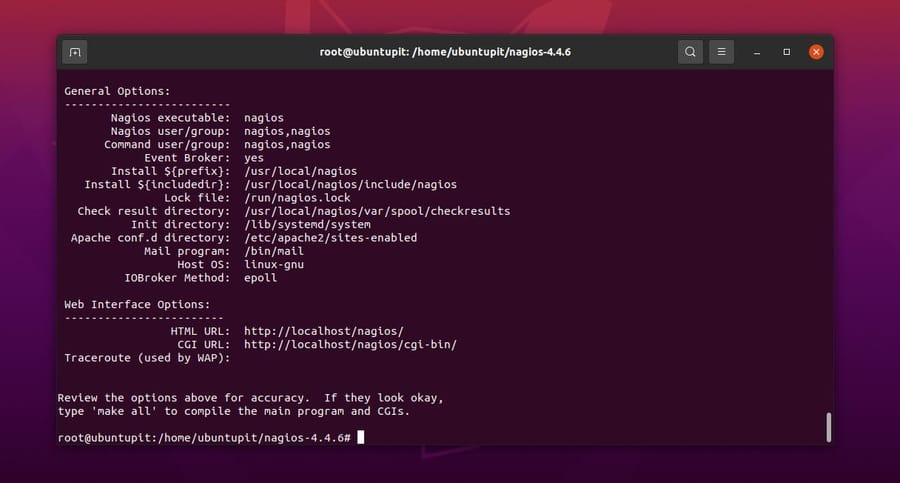
We can now configure the Nagios installer files with the PHP server. You can run the following configure command on your terminal shell to configure the Nagios application with the Apache server. If everything goes right, you would see an HTML URL, a CGI URL, and other detailed information about your Nagios server. Later, we will use the HTML URL to access Nagios’ web interface on our Ubuntu Linux.
# ./configure --with-httpd-conf=/etc/apache2/sites-enabled
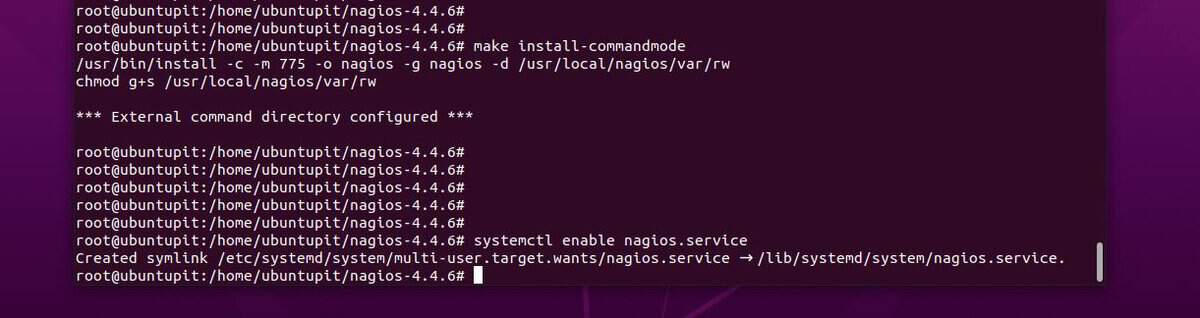
Now, run the following make commands chronologically to complete the installation of the Nagios CGI and daemon services on your Ubuntu system.
# make all
# make install
# make install-init
# make install-commandmode
After installing the Nagios configuration script, daemon, and all the necessary services, you can now restart the Nagios services to see the impact. Run the following system control command on your terminal shell to restart the Nagios services.
# systemctl enable nagios.service
As we are using the Apache PHP server module to run the Nagios services, we will install the sample web configuration files on our Ubuntu system. Run the following command-lines on your terminal shell chronologically to install the system configuration and web configuration scripts.
# make install-config
# make install-webconf
Step 4: Secure Your Nagios Service
To make your Nagios services secure and password protected, you can run the following htpasswd command on your terminal shell. It will generate a user credential configuration file for Nagios. Here, I am using UbuntuPIT as my username, don’t forget to replace the username.
# htpasswd -c /usr/local/nagios/etc/htpasswd.users ubuntupit
Now, run the following a2enmod command to run the CGI (Common Gateway Interface) script for the Apache HTTP server on your Ubuntu Linux.
# a2enmod cgi
After finishing all the CGI installation, HTTP modules, and scripts, you can now run the following commands on your terminal shell to restart your Apache server and enable and start the Nagios services.
# systemctl restart apache2
# systemctl start nagios
# systemctl enable nagios
Step 5: Load Nagios on Web Browser on Ubuntu
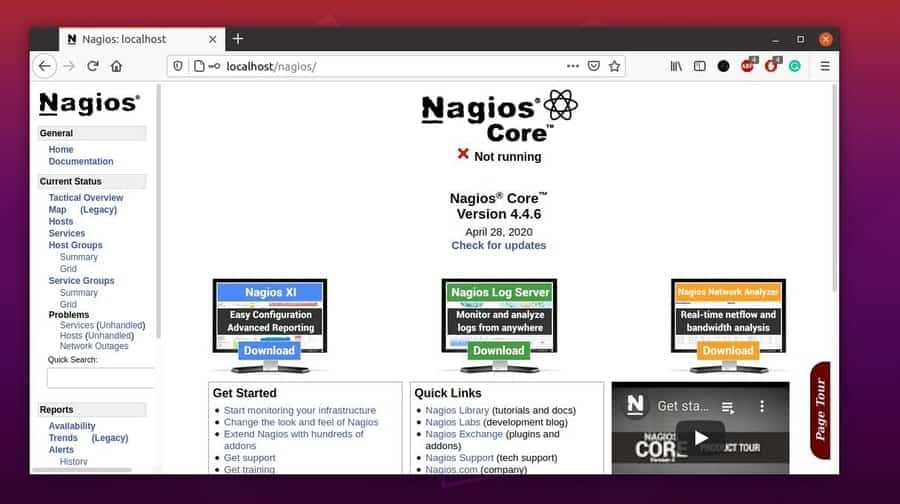
We have now seen how to install PHP server and Nagios services on a Ubuntu Linux system. It’s time to load the services on a web browser. As we have used the localhost server, we will be using the localhost/nagios URL to load the services. Open your favorite web browser and hit the enter button.
https://localhost/nagios
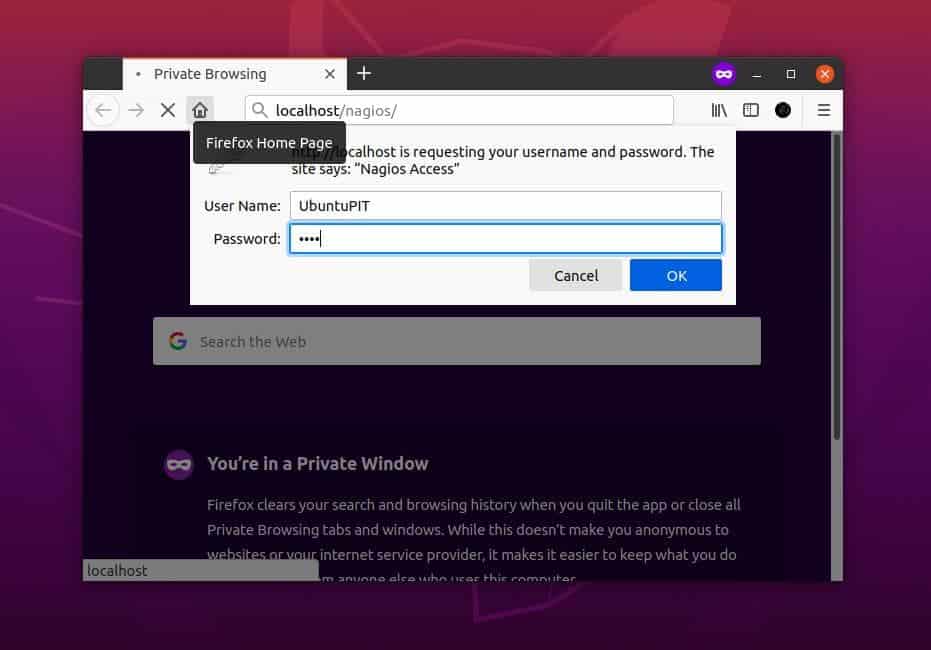
Now, enter your username and password, then hit the Enter button. There you go, the Nagios service is loaded on your web browser.
Extra Tip: Install Nagios Add-ons on Ubuntu Linux
Nagios add-ons can help you to run the Nagios services smoothly and fix the bugs. Some plugins also help you get the Nagios Remote Plugin Executor (NRPE) tool to remotely access your server and monitor your Linux system.
You can follow this GitHub link to get an overview of the Nagios add-ons. A few more add-ons are available that you can install on your Ubuntu Linux to Enable enhanced monitoring.
First, you need to install a few library tools on your Ubuntu system to install Nagios add-ons. Run the following command line on your terminal shell to install the build-essential and simple network management protocol (SNMP) on your Linux machine.
# apt install libmcrypt-dev make libssl-dev bc gawk dc build-essential snmp libnet-snmp-perl gettext libldap2-dev smbclient fping libmysqlclient-dev libdbi-dev
Now, run the following wget command to download the compressed version of Nagios plugins.
# wget https://github.com/nagios-plugins/nagios-plugins/archive/release-2.3.3.tar.gz
When the download finishes, unzip the file and enter the directory by running the following tar and cd commands chronologically.
# tar xfz release-2.3.3.tar.gz
# cd nagios-plugins-release-2.3.3/
Now, run the following dot forward slash commands to setup and configure the Nagios add-ons. Then, run the make commands to install the add-ons.
# ./tools/setup
# ./configure
# make
# make install
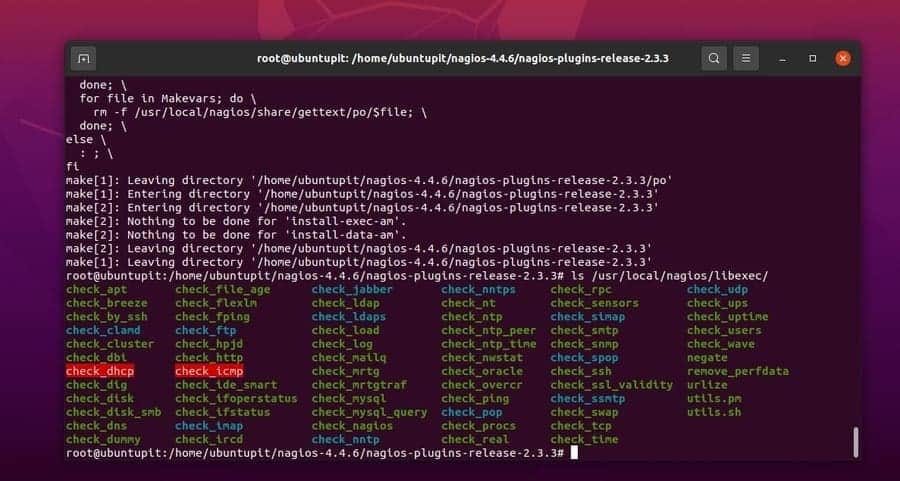
Finally, create a symbolic link for the Nagios add-ons and restart the Nagios services on your Ubuntu Linux. Don’t forget to restart the Nagios services on your Ubuntu machine after installing plugins.
# ls /usr/local/nagios/libexec/
# systemctl restart nagios.service
Final Words
Nagios offers you to make a replica of your system so that you can fix the bugs before releasing them. Even Nagios can push notifications before the errors occur. Don’t ignore installing Nagios plugins; sometimes, plugins can improve a few minor monitoring-related issues.
I have described how to install the Nagios tool on Ubuntu Linux and how to get started with it in the entire post. The whole method is also appropriate for Linux Mint, Ubuntu MATE, and other Debian-based Linux distributions.
Please share this post with your friends and the Linux community if you find this post useful and informative. You can also write your opinions regarding this post in the comment section.