
Linux Dash is a simple, powerful, and lightweight system resource monitoring tool for Linux distributions. You can install, configure, and use the Linux Dash tool on your system and monitor the parameters through your web browser interface. It would be best if you used the Linux Dash because it is very lightweight, and there are many extra features available inside the tool that you won’t find in the default system monitor on your system. Moreover, some lightweight Linux distributions don’t have the GUI system monitoring tool pre-installed, the Linux Dash is going to help them a lot. Installing and using Linux Dash is a straightforward process and doesn’t require any programming skills.
Installing Linux Dash on Various System
If you are using the Ubuntu or Debian distribution, you might be familiar with the Gnome System Monitor tool. By the Gnome monitoring tool, you can monitor the current system status, filesystem status, and network status. But the Linux Dash has a vast amount of features that you need to observe regularly to check your storage health, CPU temperature, device MAC and IP connections, ping speeds, bandwidth usages and many more. For better understanding, you can see a live demo of Linux Dash from here.
The traditional Gnome system monitor is an excellent tool, but if you want to check up your system parameters in a wide range, I must say that Linux Dash is the perfect and handy tool for you. In this post, we will see how you can install, configure, and use the Linux Dash tool on your Linux distribution. Some primary features of the package are given below.
- Checkup Ram Usage
- Monitor CPU Avg Load
- Watch CPU Utilization
- Measure CPU Temperature
- See RAM Processes
- Running CPU Processes
- Disk Partitions Analysis
- SWAP Usages Monitor
- Monitor Memcached
Step 1: Install Git on Linux
Git is the largest open-source platform where developers and coders share their projects and scripts. You can find most of the Linux source codes and packages in GitHub. However, in this post, we will use the git tool to install the Linux Dash on our Linux machine. In this step, we will see how we can install the Git package on various Linux distributions. If you don’t have the Git installed inside your Linux machine, use the following methods to install the Git on your system.
1. Install Git on Debian/Ubuntu
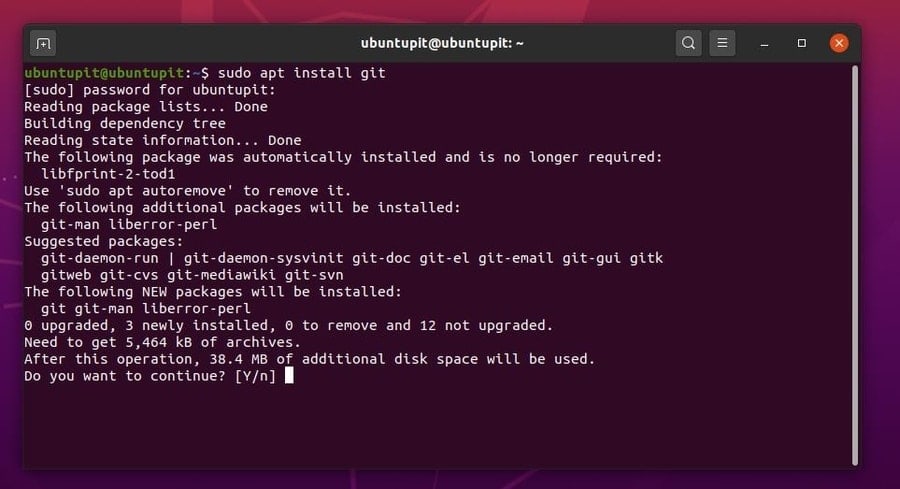
On Ubuntu, the apt is a very powerful tool to manage packages. You can install most Debian packages on your machine through the apt command. If you are a Ubuntu/Debian user, you can run the following apt command on your machine to install the Git.
sudo apt install git
After the installation of Git is done, you can check the current version of Git on your system.
git --version
2. Install Git on Fedora, CentOS, and Red Hat Linux
Fedora Linux uses the RPM commands to manage and install packages. If you’re using the Fedora Linux, use the following command-line to install Git on your latest Fedora system.
sudo dnf install git-all
Use this command-line to install Git on Red Hat Linux Enterprise and CentOS.
yum install git
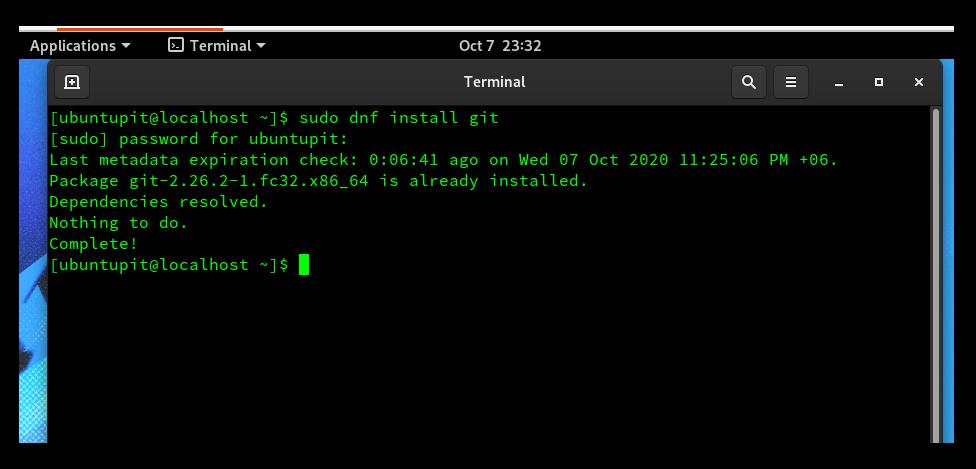
If you’re using an old version of Fedora, the DNF command to install the Git.
sudo dnf install git
3. Install Git on Arch and Arch-based Linux Machine
Arch and Arch-based Linux machines use the Package Manager (Pacman) tool to install and manage Arch Linux packages. You can use the following terminal command-line to install the Git on an Arch system.
pacman -S git
4. Install Git on SUSE Linux
SUSE and OpenSUSE Linux use the zaypper package manager to install any package inside the system. If you are an OpenSUSE Linux user, use the following command to install Git on your OpenSUSE Linux.
zypper install git
Step 2: Install PHP Server on Linux
As Linux Dash uses the browser interface to visualize the system monitors, we have to install a local server inside our machine to host the Linux Dash. In this case, we will use the Apache PHP server on Linux. Use the following command-line to install the Apache PHP server inside your machine.
You can also use the Nginx or Apache server to configure the Linux Dash in some Linux distributions. However, in this step, we will see how to install the primary PHP server on various Linux distributions.
1. Install PHP Server On Debian/Ubuntu
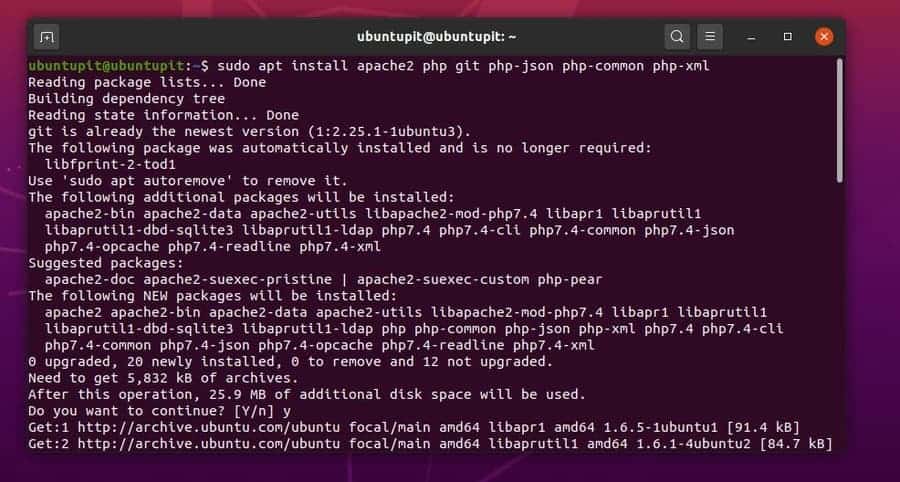
For Ubuntu and Debian, we will use the Apache server to run the Linux dash. You can install and configure a web server in Ubuntu and Debian system by installing the Apache webserver. Use the following command-lines to install the Apache PHP server on Ubuntu.
sudo apt update
sudo apt install apache2 php git php-json php-common php-xml
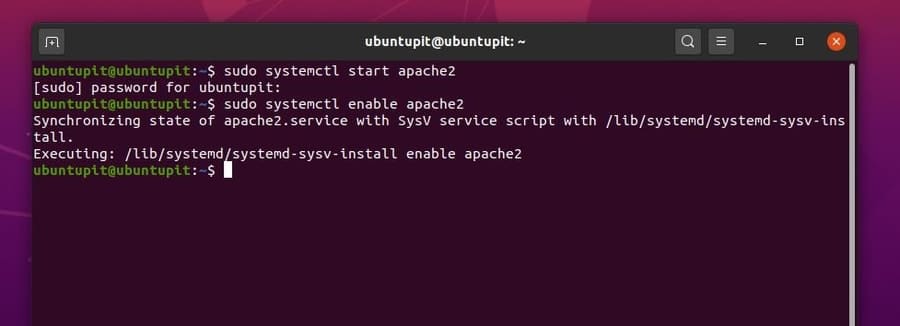
Now, restart and enable the server to see the impacts of the Server.
sudo systemctl start apache2
sudo systemctl enable apache2
2. Install PHP Server on CentOS and RHEL Linux
As we have already seen that the Red Hat Linux and CentOS users can install packages on the system by using the yum command now; we will see how you can install the PHP server and PHP-common extension packages on your RHEL and CentOS.
yum update
yum -y install httpd git php php-json php-xml php-common
Now, restart and enable the PHP server on your system.
systemctl start httpd
systemctl enable httpd
3. Install PHP Server on Fedora Linux
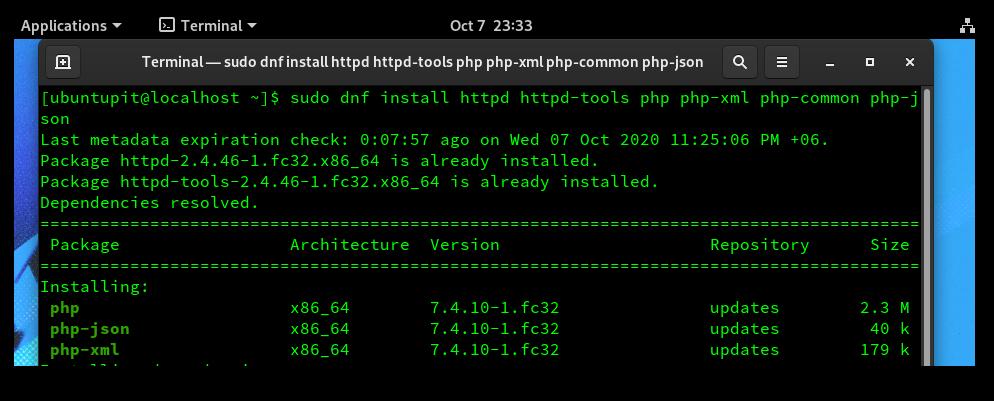
By using the following DNF command-line in your Fedora Linux, you can install the PHP server on your system. Here, we will install the PHP server tools, PHP XML extension, and PHP-JSON extension packages. You can copy and paste the following terminal command-lines on your Linux shell to configure a functional PHP server on Fedora.
dnf install httpd httpd-tools php php-xml php-common php-json
Now start and enable the PHP server to get on your Fedora system.
systemctl start httpd
systemctl enable httpd
Step 3: Install Linux Dash
The Linux dash is written in PHP, Python, Node.js, and Go language. We can say that there would not be any latency or timing delay on the data visualization. You will get the actual real-time system monitor on your web browser through the Linux Dash. We have already installed the Git on our Linux machine; now, we will clone the Linux dash from Git.
After installing and configuring the PHP server on Linux, the installation method of Linux Dash is pretty much the same for all distributions. Here, I am showing the primary way of installing the Dash on Linux. You can deploy this method in all distributions.
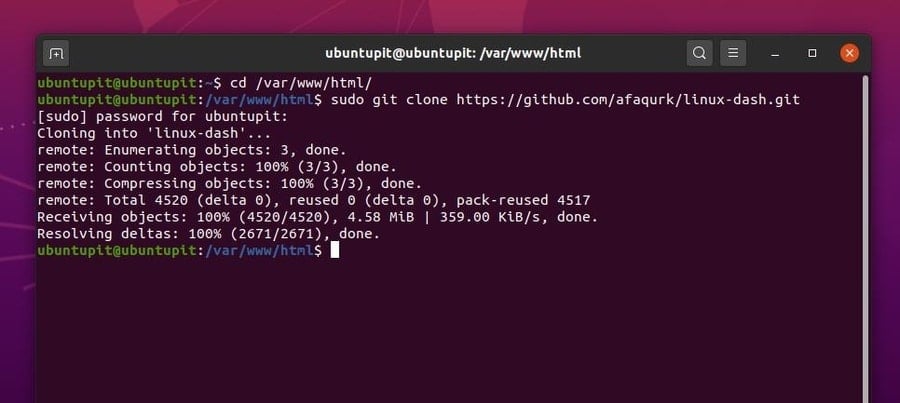
First, you have to create a directory to store the Linux Dash and its repository files. As we will visualize the system monitor in the web-browser through the localhost server, installing the Linux Dash inside the public_html directory would be appropriate. Use the following terminal command line to create a directory for the Dash.
cd /var/www/html
Now, you can use the following terminal command-line to clone and store the Linux Dash from the Git.
git clone https://github.com/afaqurk/linux-dash.git
Step 4: Restart Apache Server
Till now, we have successfully installed the Apache web server and the Linux Dash inside our system. Now we are almost close to run the Linux Dash system monitoring tool. To configure the Linux Dash with the Apache server, we have to reload the Apache server’s configuration files. You can use the following systemctl command-line to reload your Apache server.
As a web server expert, I must mention that, if you have other Apache services running in your Linux system, you must stop all Apache services to avoid server crashes before reloading the Apache webserver.
sudo systemctl reload apache2
Step 5: Finding the Localhost Address
Typically, the localhost is your default Apache PHP server address. After installing any web server, you can run the localhost address to load the server. Apache also uses the localhost (127.0.0.1) as the server address. You can run the following ifconfig command in your Linux terminal to ensure your IP address, localhost, and default gateway addresses. In my case, my PHP server is running under the localhost address.
ifconfig
Step 6: Go To Linux Dash
As we have already got our local server address, now we can load the Linux Dash in any web-browser. To run your Linux Dash, you need to add linux-dash after your server’s address. If your server runs under the localhost address, you can copy and paste the following address at your web browser’s address bar to load the Linux Dash. However, you can also use any customized IP address to load the Linux Dash.
localhost/linux-dash/
https://127.0.0.1/linux-dash/#/system-status
At the starting page of the Linux Dash, you will see the RAM and CPU related system statuses of your system. The loading bar and the simple data visualization methods will attract you too much to use it.

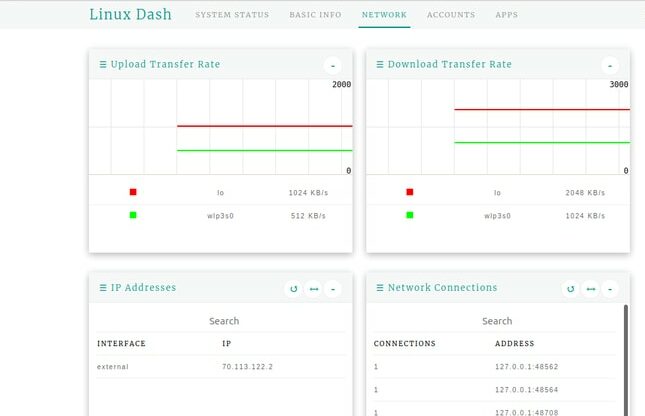
In the next column, you will find the network status. You will see individual lines for addressing both download and upload speed. Network connections, IP addresses, port numbers, and other parameters can also be monitored from the Linux Dash.
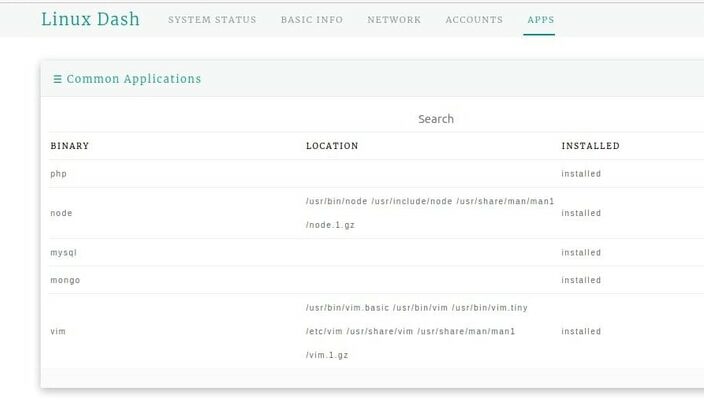
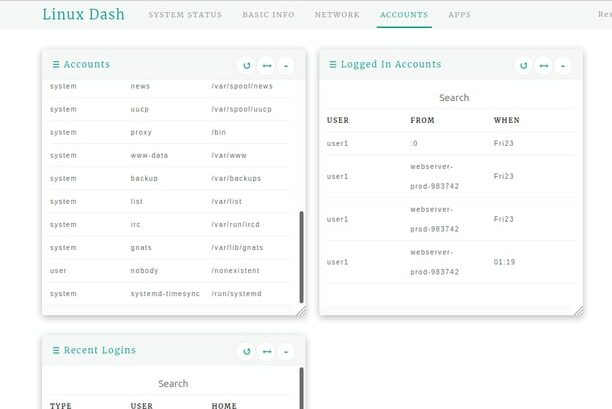
At the top right column, you will see the APPS button to view installed packages’ status on your Linux system. You can monitor application location, application status, and other parameters from the Apps menu.
At the Accounts menu, you will find the detailed list of all users of your Linux system. You can monitor the user’s log file, user role, and other activities from the Application menu of the Linux Dash. If you are a system admin, this feature will be essential and handy for monitoring the user’s activity.
Extra Tip: Set a Password for Linux Dash
As the Linux Dash is a system monitoring tool where you can find the user’s classified data, it is thoughtful and essential to make your system monitoring tool password protected. In this step, we will see how to add a password to the Dash.
We already know that the Linux Dash is running under a local web server so that we can make changes to the .htaccess and .htpasswd file to assign a new password for the Linux Dash. Those familiar with the webserver concept must know that the .htaccess file handles the user’s request to access the server.
First, we will set a username and assign a password to the server; then, we will edit the .htaccess server’s file. So, to make your Linux Dash more secure, use the following terminal command to open the .htpasswd file.
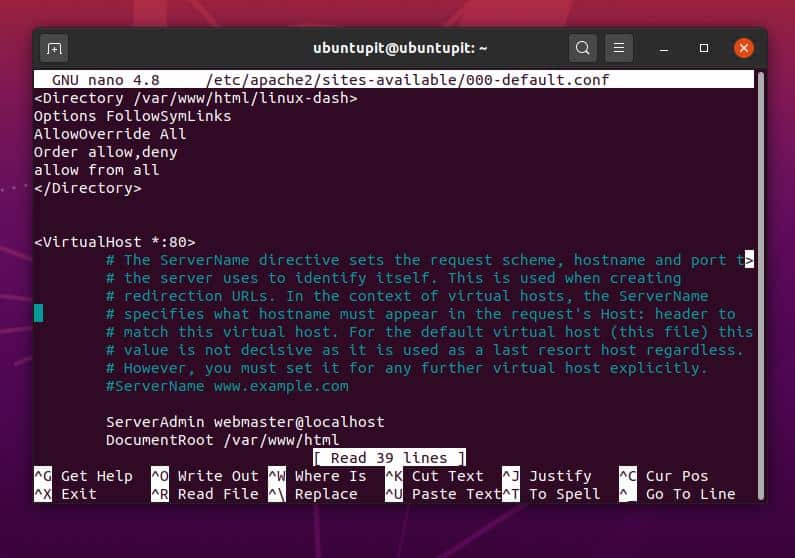
sudo nano /etc/apache2/sites-available/000-default.conf
Now, open the server’s list script to edit and add the Linux Dash inside the configuration script. You can use the following command line to edit the script. I’m using the Nano script editor; you can use any editor. You can copy and paste the following script inside the configuration file. Then, save and exit the file.
<Directory /var/www/html/linux-dash>
Options FollowSymLinks
AllowOverride All
Order allow,deny
allow from all
</Directory>
Now to edit the .htaccess file, use the following command line in your terminal shell.
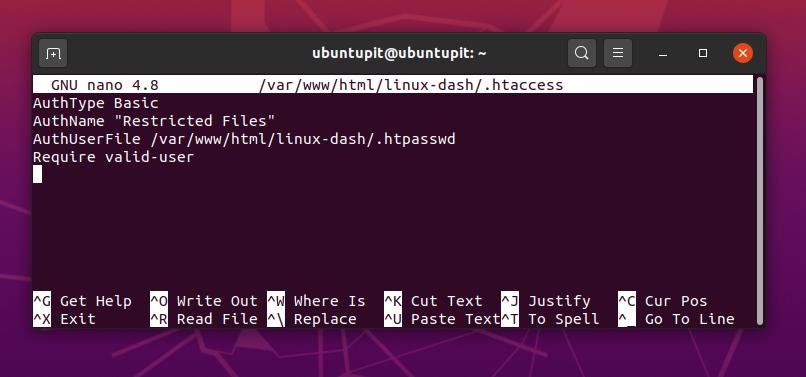
sudo nano /var/www/html/linux-dash/.htaccess
Then, copy and paste the following script inside the .htaccess file. Then, save and edit the file.
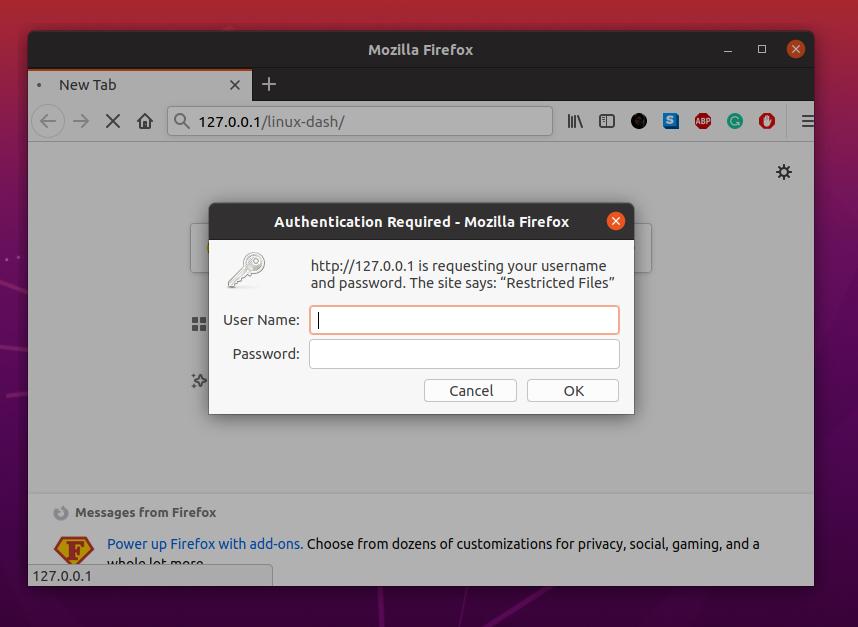
AuthType Basic
AuthName "Restricted Files"
AuthUserFile /var/www/html/linux-dash/.htpasswd
Require valid-user
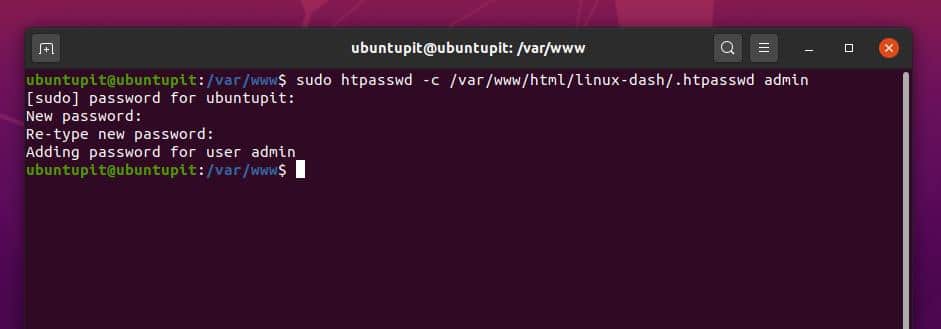
In this step, you set a username and a password for your localhost server as well as for the Linux Dash too. I’m assigning the username as ‘admin’; you can use a different username by replacing the word ‘admin’ from the last part of the following command-line.
/var/www$ sudo htpasswd -c /var/www/html/linux-dash/.htpasswd admin
New password:
Re-type new password:
Adding password for user admin
After everything is done, please restart your PHP server to see the impact. Then load the address again to login to your system monitor.
sudo systemctl restart apache2
127.0.0.1/linux-dash
That was the entire process of how you can set an administrative password on your Linux Dash. If you enter the wrong password or cancel the login process, you will see an unauthorized error message on your web browser.
Ending Words
Linux Dash is known as the best system dashboard for Linux distributions. In the entire post, I have mentioned the primary features of the Linux Dash. There are much more useful and attractive featured available on the board; you must find them out. In this post, I have also described all the steps on how you can install, configure and secure the Linux Dash your Linux machine. You can also use the tool on Raspberry Pi boards, Dockers, and other Linux based platforms.
If you find the post useful, please share it with your friends and the Linux community. You can also write your evaluations about this post in the comment section.
maybe it is powerful but it’s development stale and no major updates for last 5 years. It is not supporting python3 and even there is PR for it it is not merged