In Linux, there are many tools to find and locate files and directories. From previous experience, we have seen some of these tools were very smooth on a large scale, and some of these tools were a bit slower, but they had a great scale to cover on the directory. Earlier, we have seen how to use the fd command and the find command in Linux to find a file. Instead of having the fd or find commands, we can use the locate command on Linux to quickly and efficiently search for a file with specific parameters.
The main difference between the fd command and the locate command is that the locate command can quickly find files in the directory because it uses a special database for searching the queries.
In Linux and Unix-based systems, the locate command uses the mlocate, or the merging locate database for searching the entire system. The locate command was first released in 1982 on BSD and GNU machines with the GNU privacy license.
How Does Locate Command Work?
The working method of the locate command on Linux is very conventional and easy to understand. It uses a database on the system that stores the paths linked with the entire file system. When we execute the locate command, it hits the database and searches for the result. The locate command uses the updatedb or the mlocate database for storing all the searchers and paths.
As the locate uses the path and links to find the items, this is what makes the locate command faster. If you need to make any changes or restore your mlocate DB, you can access the configuration file from the below-mentioned directory.
/var/lib/mlocate/mlocate.db
Normally the mlocate database automatically gets updated whenever we execute a locate command on the Linux system. However, in some cases, when deleting a file or adding a new file to the system, the database might not immediately get the system’s data. In that case, you can manually update the mlocate database on your Linux system to make you locate commands more powerful.
You can also update the updatedb configuration through a script.
# cat /etc/updatedb.conf
PRUNE_BIND_MOUNTS="yes"
PRUNENAMES=".git .bzr .hg .svn"
PRUNEPATHS="/tmp /var/spool /media"
PRUNEFS="NFS nfs nfs4 rpc_pipefs afs binfmt_misc proc smbfs autofs iso9660 ncpfs coda devpts ftpfs devfs mfs shfs sysfs cifs lustre_lite tmpfs usbfs udf fuse.glusterfs fuse.sshfs ecryptfs fusesmb devtmpfs"
Install locate on the System
Nowadays, in all major distributions, the locate command comes pre-installed with the Linux system. If you cannot find the locate command on your system, you can install it on your machine and get started with it.
The installation method of the locate command on a Linux system is easy. The package is already stored in the official repository of Linux, so we can install it through the aptitude comment on Debian Linux and the DNF or Yum command on Redhat or Fedora Linux systems.
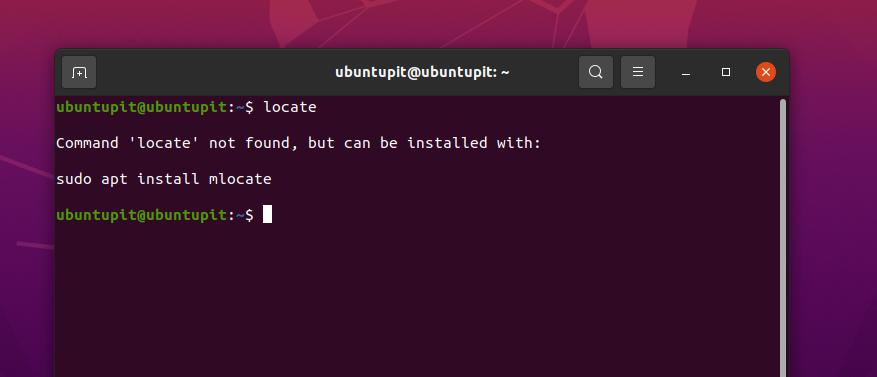
Before you run the installation commands, you can check if the locate command is installed on your system or not. To check, you can just type locate and hit the enter button on your terminal shell. If you get the version or status info, then the tool is installed on your system.
As you can see in the below image, the locate tool is not installed, so we will now run the installation commands.
$ locate
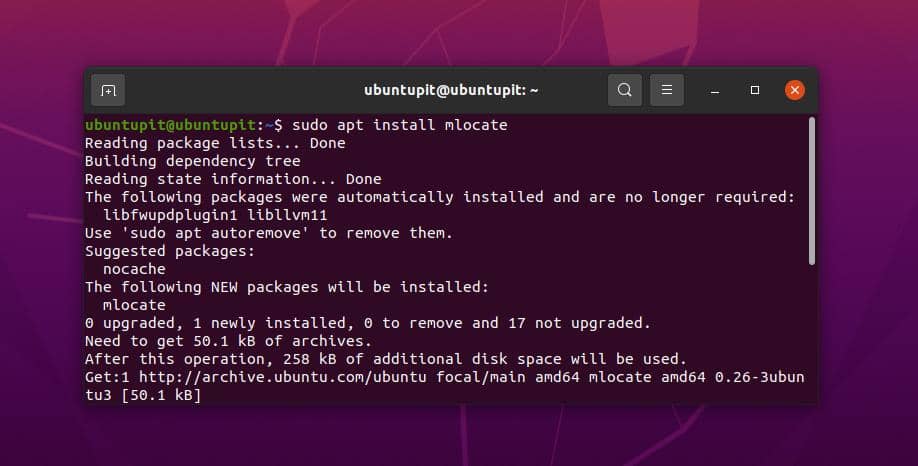
Execute the below-mentioned commands on your Ubuntu or Debian-based Linux to install the locate tool on your system.
sudo apt update
sudo apt install mlocate
If you’re using Yum-based Fedora and a Redhat Linux system, you can execute the below-mentioned command set to get the locate tool.
sudo yum -y update
sudo yum install mlocate
Examples of locate Commands
In this post, we will see some useful and practical real-life examples that you should go through and learn. The locate command works smoothly with all major Linux distributions on both desktop and server.
1. Search for a File
The very first example that we are going to see about the locate command is how we can search a file in the entire file system through the locate command. This command will return with all the MySQL files that we have in the entire system.
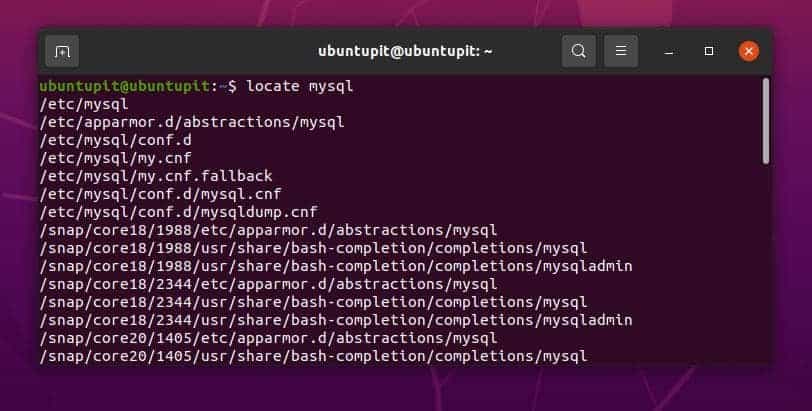
locate mysql
2. Format the Output
Now, if you want to filter the above-mentioned command, we can use the less syntax with the pipe symbol. We could have also used the GREP command to sort or filter the output.
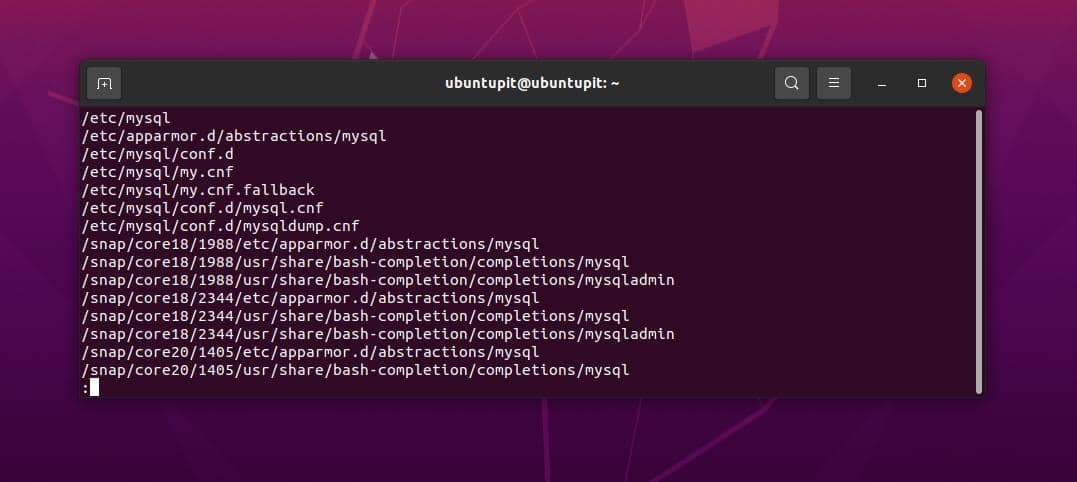
locate mysql | less
3. Show the Existing Files
As I mentioned earlier, sometimes the locate command would not eliminate the file or the data that we have just deleted from the Linux system or we have just added to the file system. So to get the appropriate value, we can use an -e flag with the locate command to eliminate the files that have already been deleted.

For instance, here, I ran an rm command to remove a file from the system. Now, if I run the locate command on Linux in a conventional way, it will give me the result that the file still exists on the system. But if we run the locate comment with an -e flag, it will immediately reload the locate the database and update the output.
rm file1.txt
locate file1.txt
locate -e file1.txt
4. Count the Existing Files
The locate command can also give an output of how many files are existing on the system for a specific query.
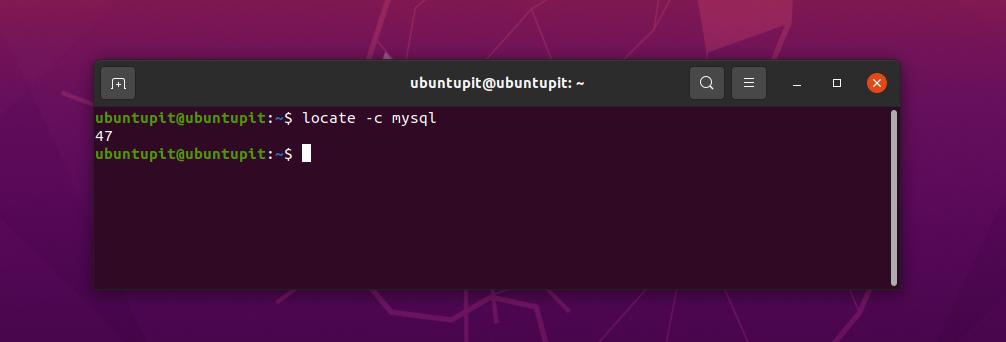
locate -c mysql
5. Disable Errors While Searching
Many times when we find an item through the locate command, and we make mistakes in the path or syntax, it returns us an error message. If we want to hide the error message, we can add an additional -q flag at the end of the command to disable the errors while searching.

locate -d ~/Documents/database.db hello
locate -d ~/Documents/database.db hello -q
6. Limit the Number of Search Results
We can also set a limit for the locate command for showing the search results. The below-mentioned locate command will only show ten results for the query to find the .txt file in the file system.
locate *.txt -n 10
7. Ignore Case Sensitive Files
By default, the locate command is case-sensitive in Linux, but you can disable it on your system. To disable the case sensitivity of the locate command, we can use an -i flag in the command.

$ locate file1.txt
$ locate FILE1.TXT
$ locate -i FILE1.TXT
8. Search for a File with an Exact Name
If we want to search for a file with an exact name, we can use the -r flag in the locate command in Linux. In the below-mentioned command, the $ sign is used as an expression to denote that the session has ended, and the slash sign (/) is a symbol of the boundaries for the command.
locate -r /file404_UbuntuPIT.txt$
9. Separate Output Entries with ASCII NUL
Normally, in Linux, the locate command prints the output with a line break, but if we want, we can remove the space from the output and print the output with an ASCII null.

locate -0 apache
10. View Database Statistics
Along with searching the files, we can also display the database structure for a specific query on the system with a -s sign on the locate command on Linux.

locate -S
11. Update mlocate Database
If we need to manually update the database of the locate command on our Linux system we can execute the following command with sudo access.
sudo updatedb
12. Choose a Different mlocate Database
If you face any issue while searching a query, there might have been an issue with the locate database. The locate command uses the mlocate database by default; you can switch in between other databases for the locate command as well.
default mlocate database
locate -d [new database path] [pattern]
13. Ignore Diacritics and Accent Differences
In some cases, you might have used a Greek or Roman alphabet in your filename, and while searching that file, you might have used a regular alphabet instead of that special alphabet. In that case, the locate command will return no output. To avoid this issue and ignore diacritics and accent differences, you can use a -t flag in your command.
locate My_new_image_ca.jpeg
locate -t My_new_image_ca.jpeg
14. Display Only Present Files in Your System
I mentioned earlier that the locate command sometimes returns the deleted files on the output. There are ways that will allow you to avoid those files that are not physically existing on your system and are already deleted. You can only display those files that are present on your system by using an -i and an -e flag on the locate command in Linux.
locate -i -e *text.txt*
15. Search for Specific File Types
You can search for a specific type of file in your Linux system through the locate command. For instance, the below-mentioned commands show how to search for text and jpeg image files in your system via the locate command.
locate  -c “*.txt*”
locate  -c “*.jpg*”
Final Words
In the entire post, we have seen how the locate command works and its type of database and operation to provide an efficient search result. We have gone through a few powerful, and most used examples of the locate command.
I hope this post has been helpful for you; if yes, please share this post with your friends and the Linux community. You can also let us know which tool you find most useful for finding files on your system.
