In Linux operating systems, there are many ways to create and manage virtual machines and hypervisors for running another operating system on your host computer. Using the KVM (Kernel-based Virtual machine) is one of the best ways for creating and managing virtual machines. Managing virtual machines are equally important as creating them on Linux. Because if you’re a professional Linux system admin or a person who needs to test and run applications on a different virtual machine, the chances are that you would mess with the hypervisor.
Manage Virtual Machines in KVM
Before we begin this post, make sure that the KVM tool is installed on your Linux system. Through the KVM hypervisor, we can easily install virtualization modules, assign hard disk space and memory space to the machine.
This post covers the methods of managing virtual machines if you’re using any of the KVM or QEMU tools on your Linux machine. To go along with this post, you will need a basic understanding of Linux kernel modules, virtualization, and basic I/O terms.
In the entire post, we will see how to create and manage virtual machines in KVM using Virt-Manager. We will also see how to manage KVM virtual machines with the Cockpit web console in Linux.
1. Creating Virtual Machines via KVM
Since we already have the KVM installed on the system, we can directly open the virt-manager tool on the system. Now, we will see how to create a virtual machine in KVM and allocate RAM, CPU, and other parameters on Linux.
Step 1: Use Virt Manager with KVM
To open the virt-manager, please look for the Virtual Machine Manager tool in the all application section. When it appears, simply open it and navigate the Virt-Manager. If you’re more comfortable with the command line methods, you can execute the following command given below to run Virt-Manager.
$ sudo virt-manager
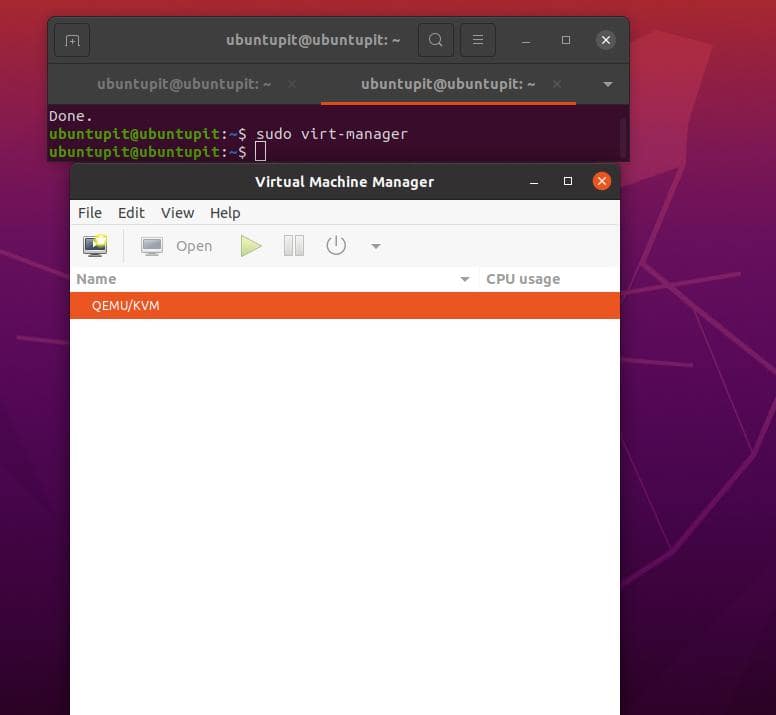
Both of the above-mentioned methods will lunch the graphical user interface (GUI) vart manager. When it opens, it will show if there are any previously created virtual machines on the system. You can also see whether it is a KVM machine or a QEMU machine.
Step 2: Create Virtual Machine with KVM in Linux
To create a new virtual machine, you will need to click on the Virtual machine icon from the top menu bar. Now, a pop-up window will appear where we can select which type of system we will use for choosing the ISO image file.
Hence, we will use the local drive so that we will go with the Local Install Media. If you have an active and configured network server or FTP system, you can proceed with the Network Install menu.
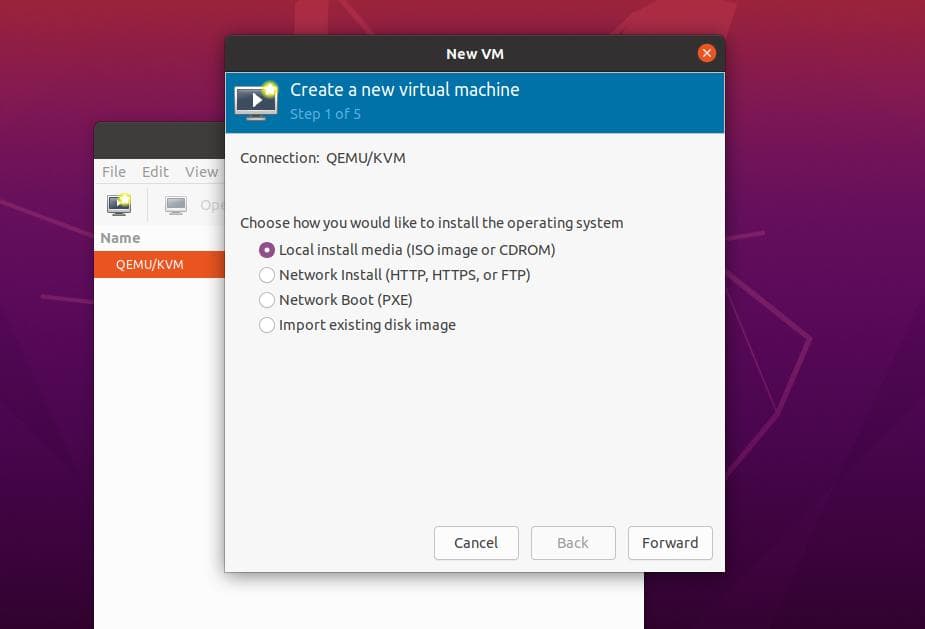
To move forward to the next step, click on the Forward button and click on the ‘Browse Local‘ button, and select the ISO image file from your local hard drive. When the ISO file loads successfully in the VM toolkit, you will see options to choose OS type and version. You can just leave it as they are now. Then, again click on the ‘Forward‘ button to jump into the next stage.
The next step is going to be a tad bit critical, where we will set the CPU core, memory size, and other system parameters for the virtual machine. Since we are now creating the virtual machine just for a test purpose, we can go with 2 CPU cores and 2GB of RAM. Please calculate how much CPU and RAM you need and how much can your host pc supply you with the virtual machine to avoid system failure.
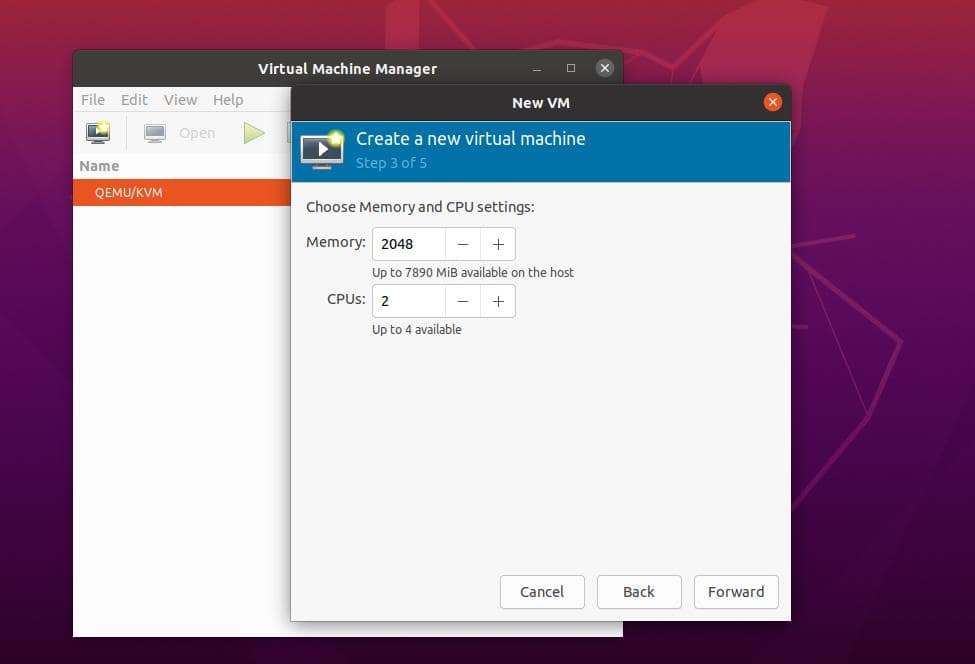
After assigning CPU and RAM, click the Forward button and assign the amount of storage you want to allocate for the virtual machine. You can go with either the default value that appears, or you can manually assign disk amount. When you’re done with storage, please once again click on the Forward button to proceed.
Step 3: Run Virtual Machine in Linux with KVM
In the next and last stage, we will see a window appears where we will need to put the system name and configure the NIC (network interface card). Here, I am using the system name as ‘UbuntuPIT‘, and you can use your system’s name. After giving the system name, we can skip setting up the network part and keep it is now.
Finally, click on the Finish button to exit the installation wizard. When you finish creating the virtual machine through KVM, it will launch the newly created virtual machine on the system.
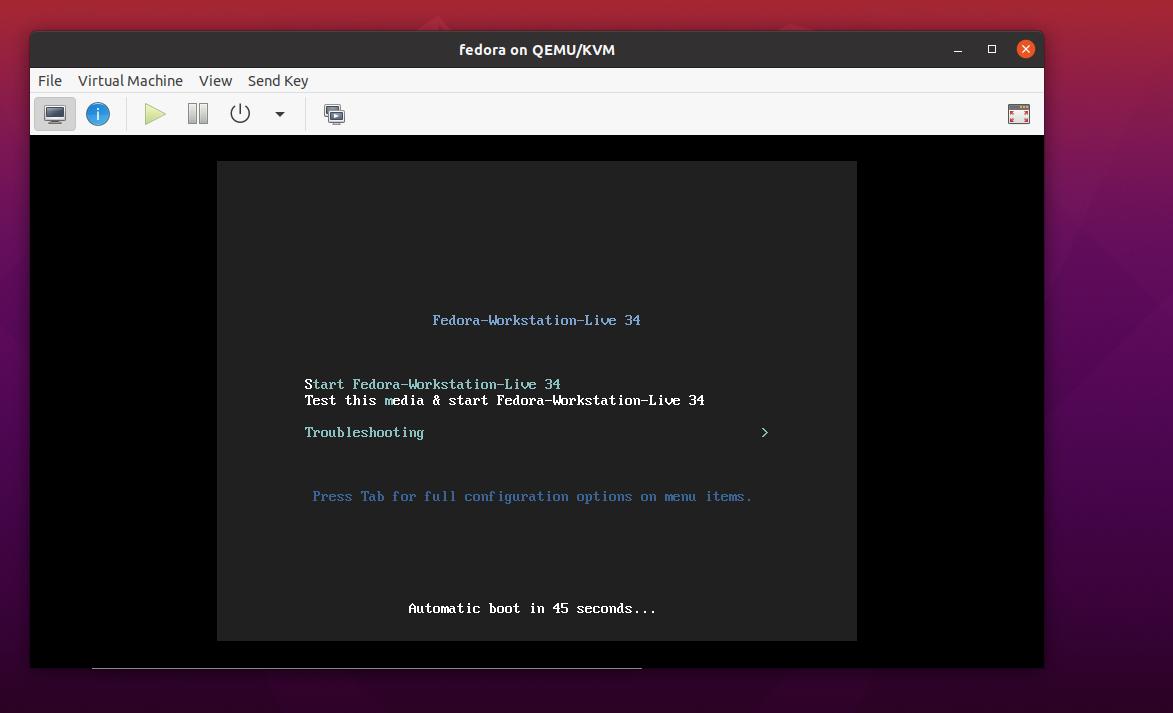
Now, the next part is pretty much basic and straightforward. Here, you’ll need to set up the ISO file on your host pc through KVM in a conventional way. Since we have used the Fedora ISO file, so as you can see, the Fedora installation window appeared on the screen.
2. Manage Virtual Machines in KVM Using Virt-Manager
In this post, till now, we have seen how to create a virtual machine on the host PC via KVM in Linux. Now, we will see how to install, manage, and get started with the virtual machine with virt-manager. Before you start this part, please ensure that the virtual machine is properly created on your system.
1. Display Virtual Machine Details
When we open the Virtual Machine Manager tool, it will display the number of previously created virtual machines. Since we already have a virtual machine created we can click on that and run it.
Before you execute it, it would be better if you check the hardware details by right-clicking on the virtual machine and opening the ‘Virtual Machine Details’ tab. A window will appear with all the detailed CPU, RAM, Storage, NIC, and system name, and other pieces of information.
In the image below, you can see in the left bar if full of useful tabs like Overview, performance, CPUs, Memory, Boot options, and other menus.
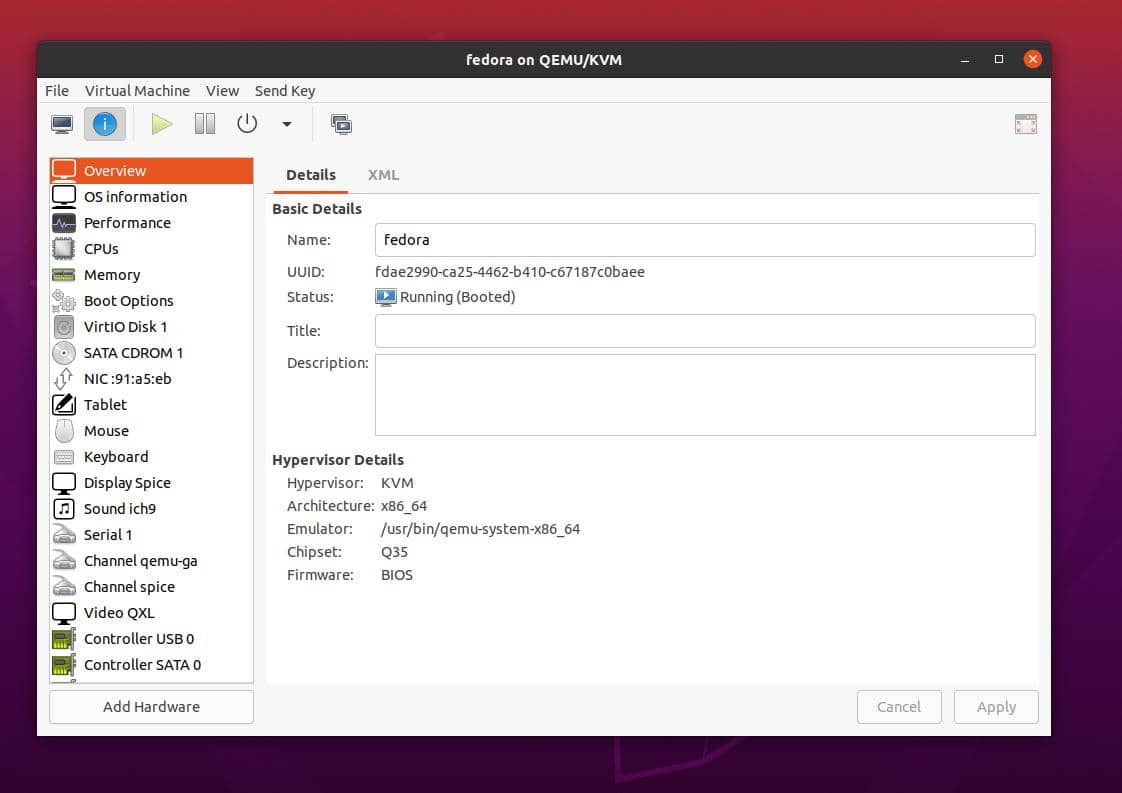
In case while you run the virtual machine, your virtual system can’t detect a USB drive, you can click on the ‘Add hardware’ button from the left-bottom menu. It will show all the inserted external hardware systems in the system. Please select the desired USB drive you want to mount into your system.
2. Power Off-On and Rebooting
If you’re a little bit confused about powering off, rebooting, and shutting down the virtual machine, you can navigate the expand button just next to the red power button to find the Reboot, Shut Down, Force restart, Force buttons. In most cases, the Force Off button is used very often if your main host system can’t handle the load.
3. Clone and Copy Existing Virtual Machine
If you’re a system admin and an application tester, you might need to test the same application in the same environment with different application parameters. In that case, you can just clone your virtual machine in the host PC via KVM without creating a new virtual machine. To clone the current virtual machine, you’ll need to right-click on the virtual machine that you want to clone and click on the clone button.
The process would take a little while to copy and set up the virtual machine on the system. In the journey of cloning the VM, it will ask for assigning the system name, NIC details, and storage confirmation. After you provide all the parameters correctly, it will clone your current VM on the same KVM.
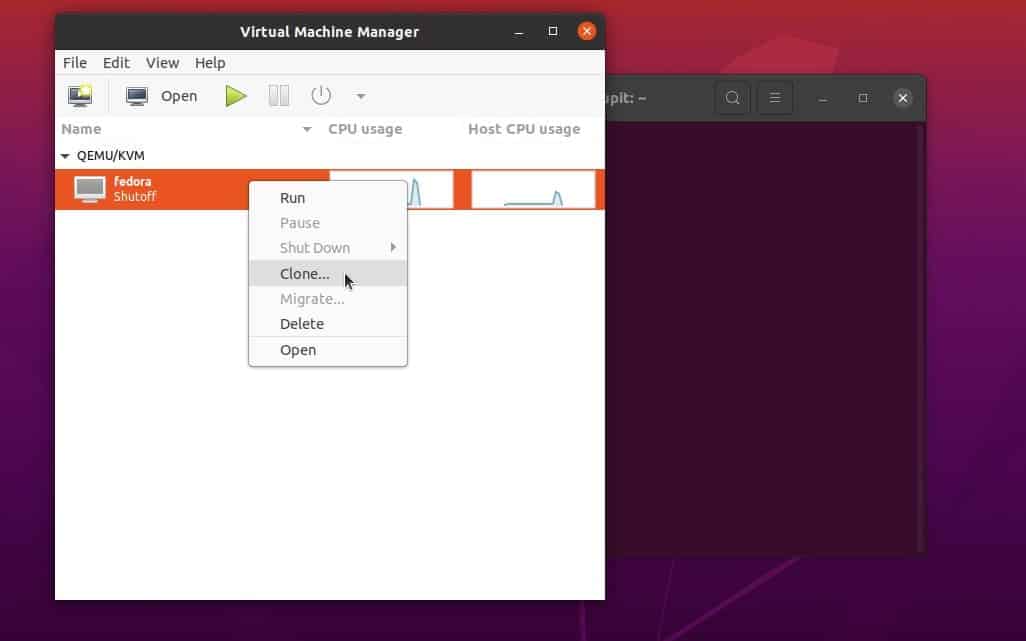
Before you clone the VM, ensure that the current VM is powered off and that your system is stable.
3. Managing KVM Virtual Machines with Cockpit Web Console in Linux
Using a web console-based virtual machine is helpful for managing hypervisors from any remote locations if you have the public domain. However, we can use the localhost server for running a virtual machine in our Linux machine through the Cockpit web console. The cockpit is a highly compatible and easily configurable web console that can run virtual machines through KVM.
Since we already know how to install, use, and get started with KVM, here will see how to manage KVM virtual machines with the Cockpit web console in Ubuntu Linux. If you use the localhost server, make sure that the HTTP server is installed and configured on your server. You can choose either Nginx or the Apache server for Cockpit in Linux.
Step 1: Install the Cockpit Web Console in Linux
Since Ubuntu is mostly used for building servers, here we will see how to install the Cockpit web console in a Debian system. First, make sure that your system repository is up to date. Then, execute the following aptitude commands to install the Cockpit tool and the cockpit utility tools.
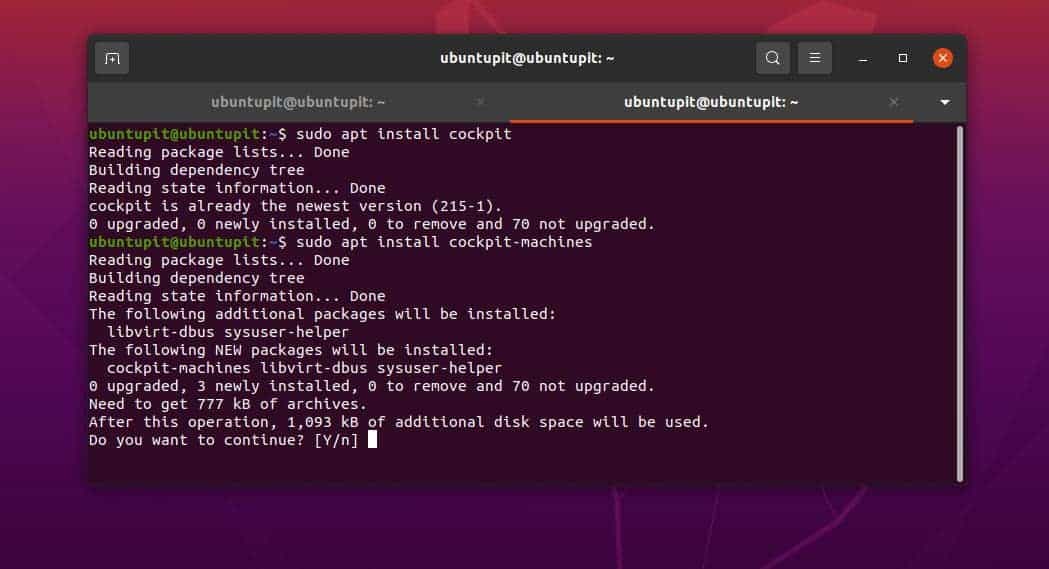
$ sudo apt update
$ sudo apt install cockpit
$ sudo apt install cockpit-machines
When the installation ends up, run the following system control commands with root access to start the Cockpit tool and check the status.
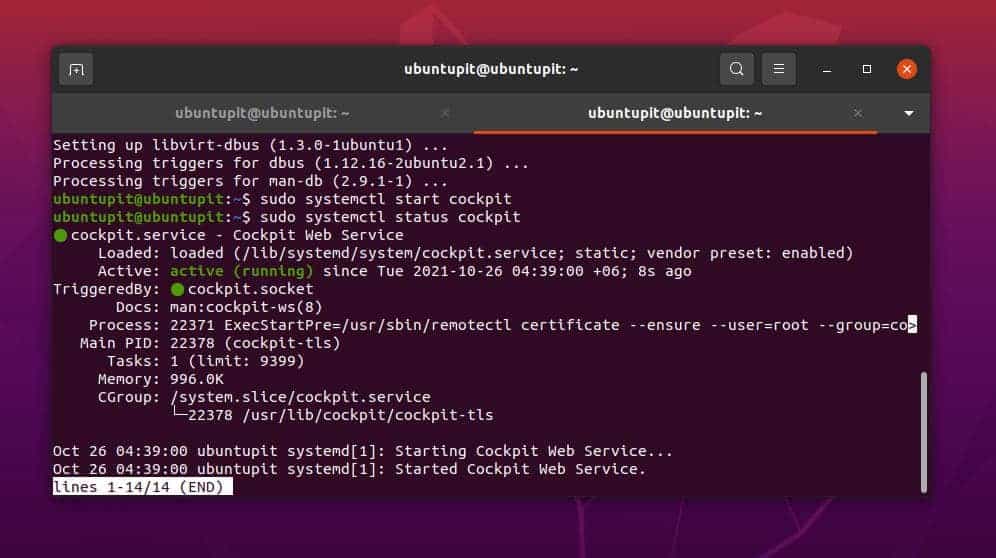
$ sudo systemctl start cockpit
$ sudo systemctl status cockpit
Step 2: Accessing Cockpit Web Console
After installing and starting the Cockpit web console, we can now check the network port for Cockpit and allow that port on the firewall rules. In Ubuntu, we will use the UFW firewall tool for adding the network port for the Cockpit web console. First, run the GREP command to check the Cockpit network port. Usually, Cockpit uses port 9090 on Linux.
$ sudo netstat -pnltu | grep 9090
Now, run the UFW commands for allowing the port 9090 and then reload the firewall daemon.
$ sudo ufw allow 9090/tcp
$ sudo ufw reload
Finally, you can now fire up your web browser and enter your localhost/server web address with the port. If everything goes right, you would see the Cockpit web console loaded on your browser. You will now need to log in to your Cockpit machine using your server’s user details.
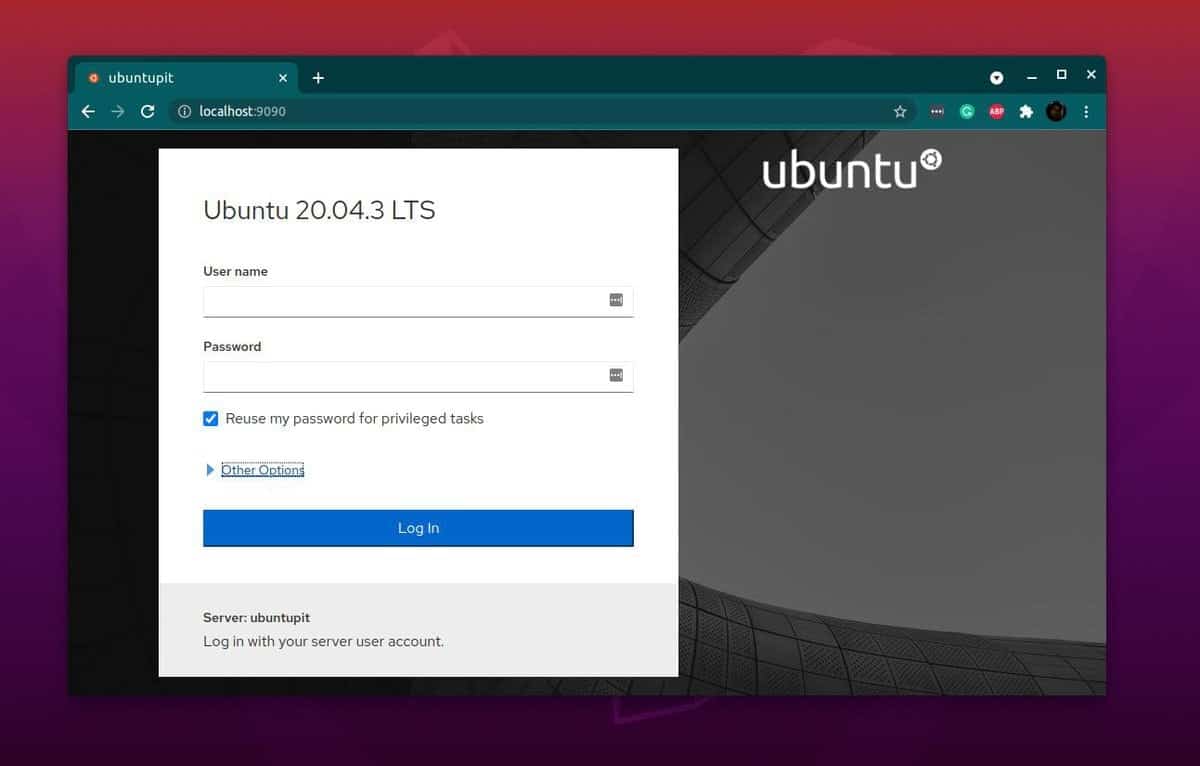
https://server-ip:9090
Step 3: Create and Manage KVM Virtual Machines in Cockpit Web Console
After we enter the Cockpit tool, we will find that our local virtual machines will be displayed on the Cockpit tool. Since we used the KVM for creating a VM, we can now power that VM On or Off through the Cockpit application.
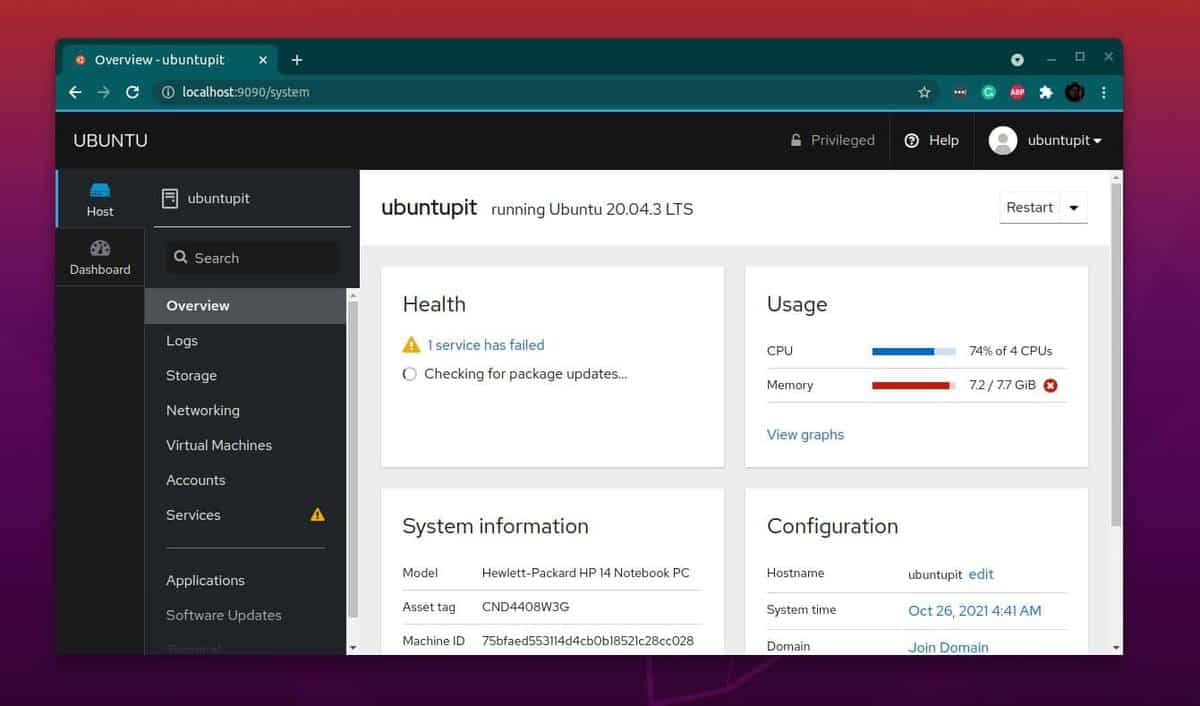
In this step, we will finalize setting up the KVM through the Cockpit web console. To create a new KVM hypervisor in Cockpit, please click on the ‘Virtual Machines’ button from the dashboard. Now, click on the ‘Create New VM’ to get started with the KVM on the console.
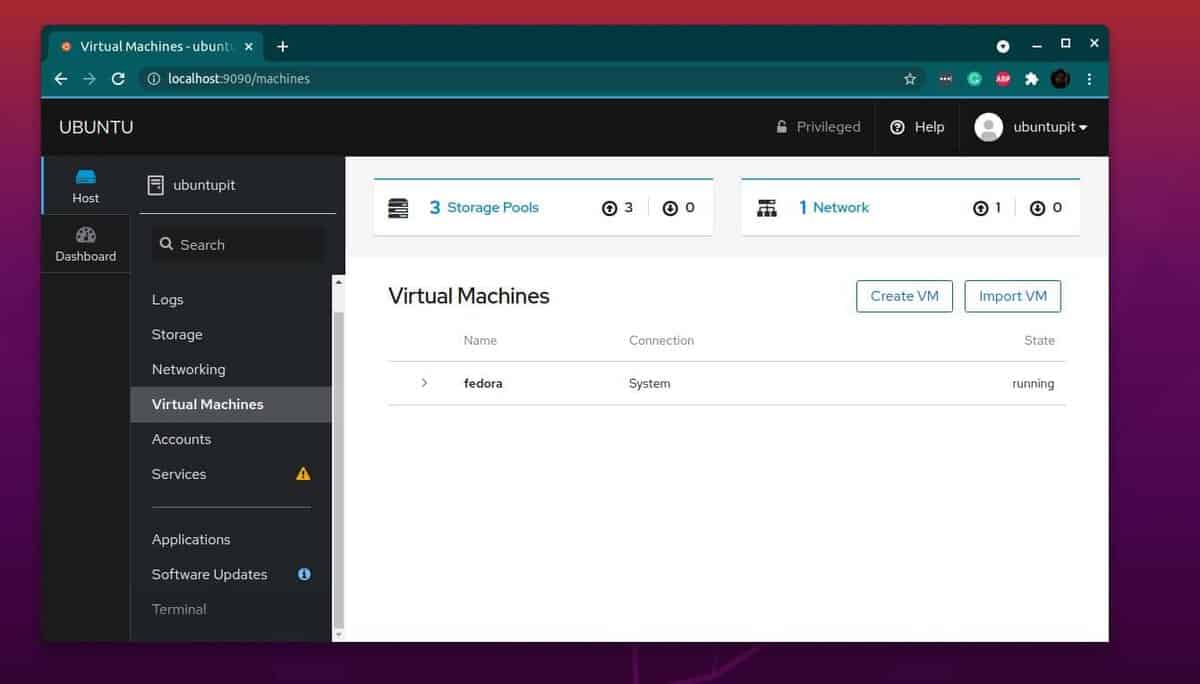
To check the details of the virtual machine, please click on the Virtual Machines tab from the left bar of the Cockpit tool. You would see the virtual machine’s name, system type, overview, hardware details, and other information.
Final Words
Three major usages of the KVM have been discussed and illustrated step by step in this post. Installing KVM might give you the opportunity to test different operating systems on your Linux systems. In the entire post, I have described how you can create and manage a virtual machine in Linux KVM and how to use the cockpit web console to use KVM.
Please share it with your friends and the Linux community if you find this post useful and informative. You can also write down your opinions regarding this post in the comment section.
