Pentaho data integration tool is a business analysis tool that is used for data integration in data analysis. Business intelligence (BI) is mostly run over data integration, data analysis, and data visualization, where data is provided from an input source and gets divided into many parts for various operations like joining, merging, and manipulation. Data integration is the process of collecting, connecting, and processing data.
Data can be used in different types. Raw data, live data, data from the database and any source of data can be used for data synthesis. The database runs on Structured Query Language (SQL), where Pentaho data integration also requires a sound knowledge of SQL.
Pentaho Data Integration Tool (PDI)
Open-source data integrating tools are available for Business intelligence (BI) and data visualization processes. There are several open-source data integration tools such as Clover ETL, Pentaho, Karma, Pimcore, Skool, Myddleware, Talend Open Studio. Among them, PDI is the most used and user-friendly data integration tool. It has a smart and balanced graphical user interface (GUI). PDI is mostly used for data processing, which can also be used with the Hadoop file system (HDFS).
For online analytical processing (OLAP) and data visualization, it’s very much important to handle data carefully and manipulate if necessary. For these kinds of work, Pentaho data integration is a handy tool that can be run in almost every operating system.
Today, we are going to see how to install the Pentaho data integration tool properly on Ubuntu. We are using Ubuntu as a common platform, but other distributions of Linux like Kali, Mint, Red Hat, Lubuntu, etc. are also compatible with Pentaho.
Installation of Pentaho Data Integration Tool
The Pentaho data integration tool requires the 1.8 version of Java. If any other version of Java is running inside your system, you have to uninstall them and re-install java 8. You need to make sure that you have java 8 installed as default.
Step 1: Checking Java Version
To check the current java version of your machine, go to the terminal and type the terminal command given below. This will show your current java version if you have any java installed already.
java -version
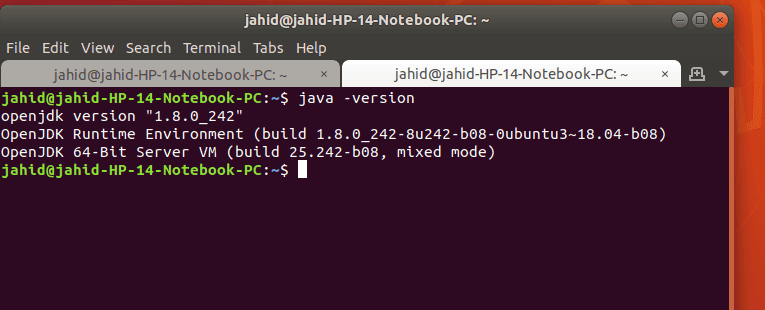
If your machine doesn’t have any java installed, it will show you the basic command-lines of how to install Java from the terminal.
Step 2: Installing and Configuring Java 8
If you have the required version of Java, which is 1.8, you are good to go! But if you don’t have the required version of Java, please follow the command-line in the terminal to install java 1.8. If you have the higher version of Java installed in your system, first you have to delete that. To do so, type the following command-line in your terminal.
sudo apt remove openjdk-11-jre-headless openjdk-11-jre openjdk-11-jdk-headless openjdk-11-jdk
To install java 1.8 here is the terminal command-line:
sudo apt install openjdk-8-jdk
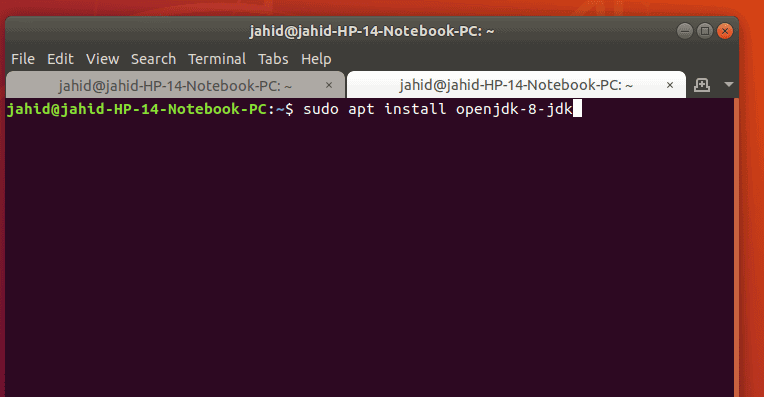
After installing Java 1.8, make it your default version of Java. For that, follow the command-line in the terminal.
sudo update-alternatives --config java
sudo apt install default-jre
Step 3: Downloading the Pentaho Data Integration Tool
After installing and configuring Java, now you are ready to download the Pentaho Data Integration (PDI) tool. The download link is given below. It’s almost a 1.5Gb compressed file.
Pentaho Data Integration Tool Download
After the download is finished, extract the compressed file. And then, you will find the file folder of PDI looking like the picture below.
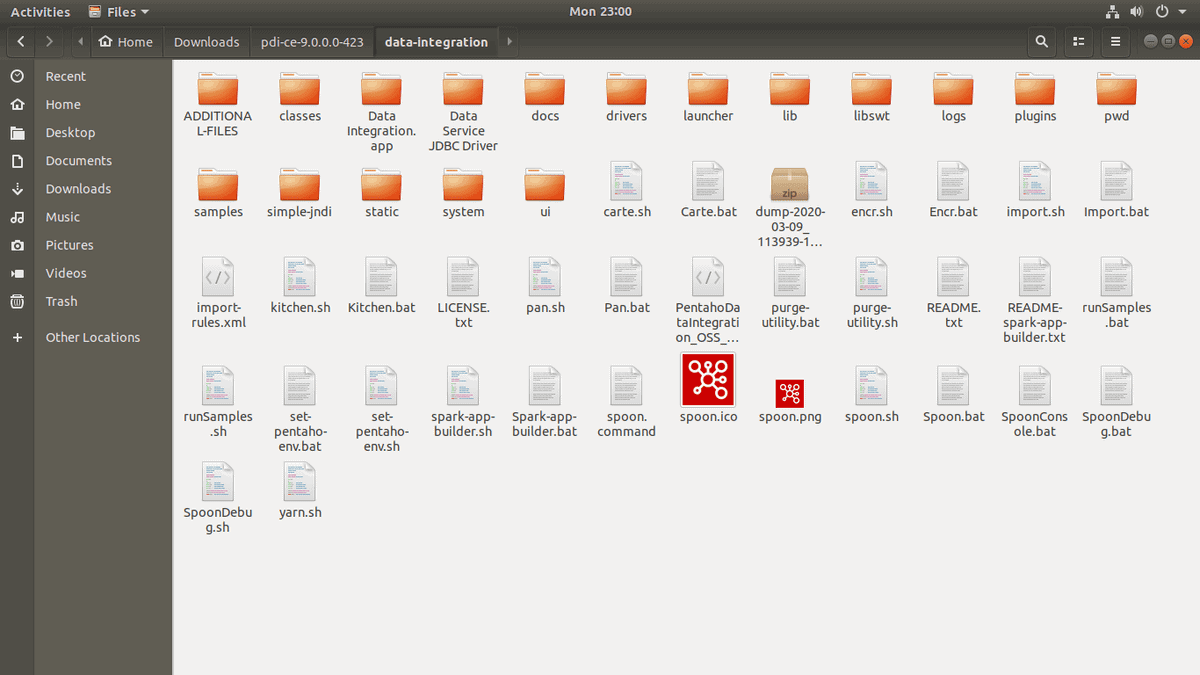
Here, inside the PDI folder, you have to find the spoon tool, which will be run to open the PDI. Now, the time has come to discuss the spoon tool. With the help of Java, the spoon runs the Pentaho data integration tool inside your machine.
To run the spoon tool, go inside the Pentaho data integration folder, right-click anywhere inside the folder and select ‘open with terminal’. Once the terminal is opened, it will be looking like this:
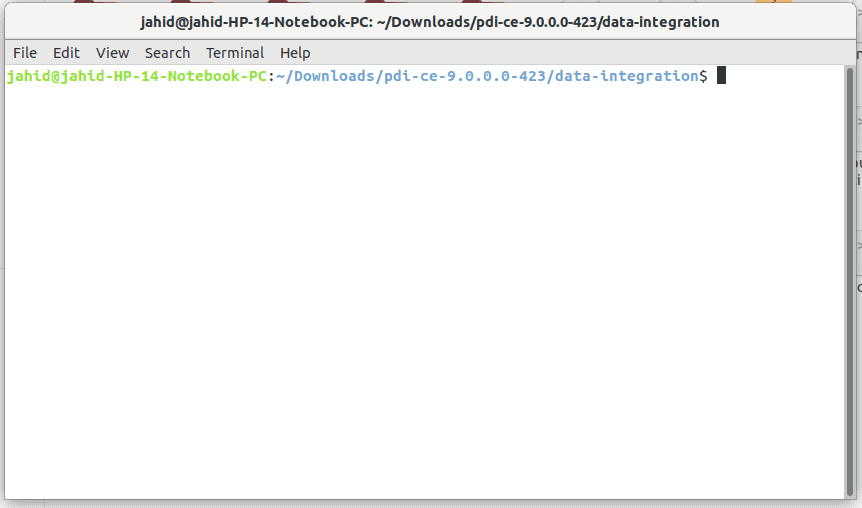
Then type sh spoon.sh and hit the Enter button. There you go! Pentaho data integration tool is opening!
It will run Java in your system, and simultaneously a pop-up window will be shown in your screen indicating that the PDI is opening. Your display should look like the picture given below.
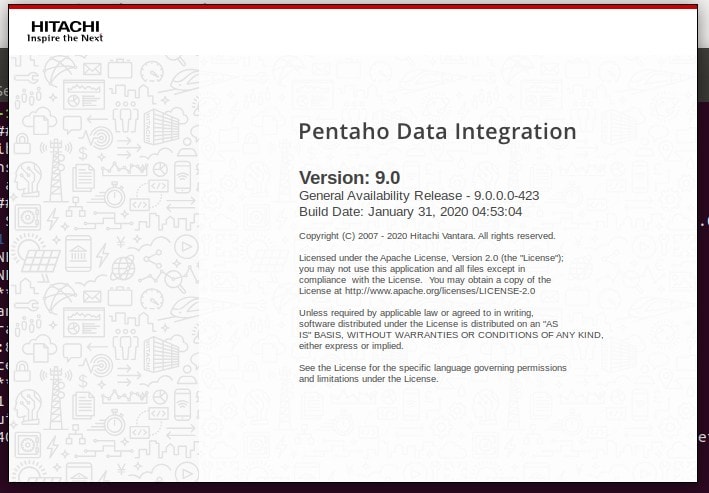
Step 4: Setting up Pentaho Data Integration Tool for First Time Use
Here, You are almost done installing Pentaho data integration in your machine. Now you are ready to use! Pentaho data integration allows you to connect databases, upload CSV files, run SQL operations, and much more stuff. Today we will be showing how to send e-mail from Pentaho data integration.
Mostly, Pentaho data integration allows sending e-mails for the purpose of reporting the current progress of work. PDI also allows attaching files via email to the client end of Pentaho data integration. To send an email from the Pentaho data integration tool, you need to get access to permission from the e-mail service you’re using.
For example, if you are using Gmail, you need to get permission from Gmail. For that at first, you have to log in into Gmail, then under security setting; there you need to grand the access of ‘Less secure apps access.’
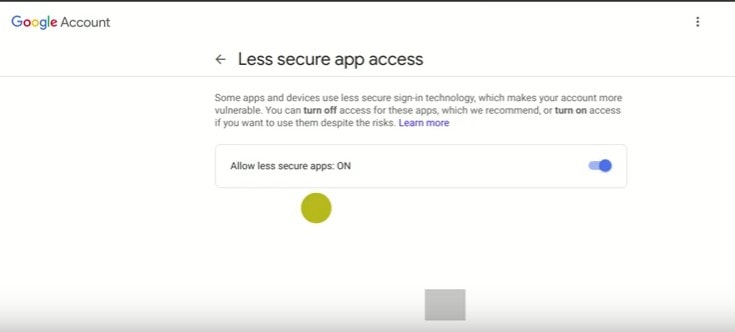
Now let’s back to the Pentaho data integration tool! At Pentaho data integration window, you will find two primary options, they are:
- Transformations
- Jobs
After clicking on Jobs, under Jobs, you will find the ‘Mail’ option. Now you have to drag and drop the mail function at the left window, as shown in the picture below.

After that, in Pentaho data integration at the top, you will find a search bar, type ‘Start’ and you will find an object named ‘Start’. You have to drag and drop that too at the left blank window. In the same process, you have to drag and drop the ‘Success’ button in the same window. The alignment of those 3 buttons inside the window will be,
Start > Mail > Success
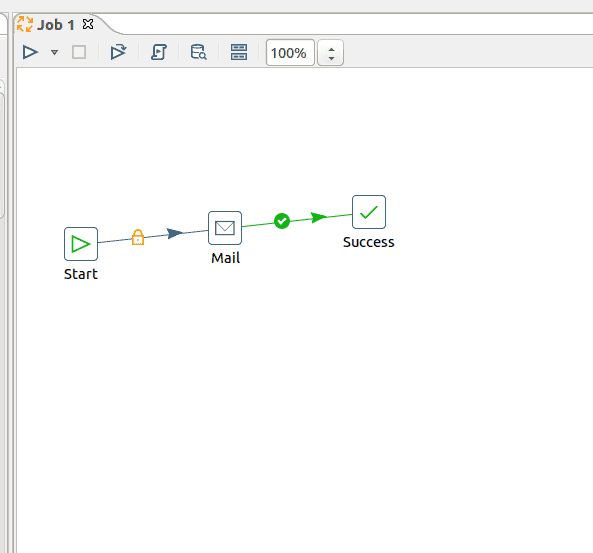
Now it’s time to connect the 3 buttons with each other inside the Pentaho data integration tool. For that, you need to hold your ‘Shift’ button from your keyboard and click the first object you want to join with the next object, holding shift and dragging the mouse cursor will make the buttons interconnected. After this, you have to set up the ‘Start’ function settings. For that double click on ‘Start’ function, it will open a dialogue box where you will find the setting options.
The primary settings guide of email sending in Pentaho data integration is given below with examples.
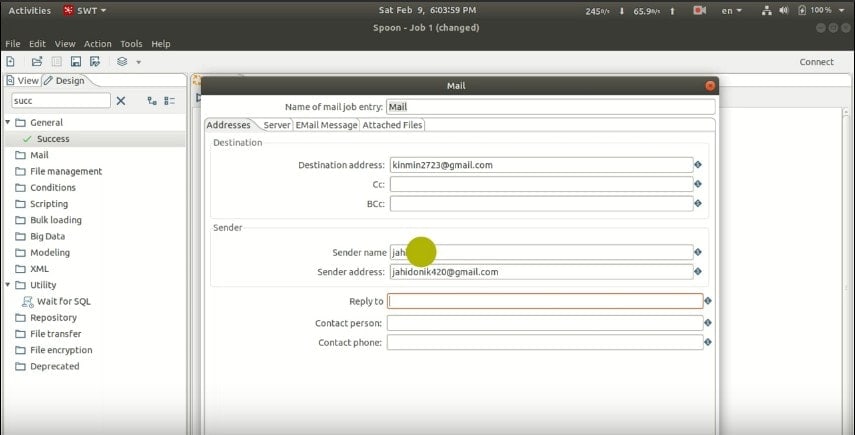
Under the ‘Address’ column, the settings will be:
Destination address: This address will be the email address where you want to send an email from Pentaho data integration. If you have more than one email recipients, just use a comma(,) between two emails. You may also use Cc and Bcc if you want.
Sender Name: It’s your email address which has the permission of ‘Less secure apps access’
Under ‘Server’ column the settings will be:
SMTP Server: smtp.gmail.com(for Gmail service)
Port: 465
Checkmark the authentication, then the Authentication setting will be:
Authentication user: It’s your email address that has the permission of ‘Less secure apps access’. Put the email inside Pentaho data integration.
Authentication password: Password of your Authentication e-mail. Then checkmark ‘Use secure authentication’.
Secure authentication type: SSL
Under the ‘Email Message’ column, the settings will be:
Include date in message? : Checkmark
Use HTML format in mail body: Checkmark
Encoding: UTF-8
Subject: Subject of your email
Comment: Body of your email.
After finishing this setup there, you will find a column named ‘Attached Files’ if you want to attach any file with your email you have to set up this column as well. Pentaho data integration allows users to attach a file with email.
Now save this PDI file in your machine, the file extension will be file_name.ktr
Here, .ktr is the kettle file extension of Pentaho kettle. After the file is saved and everything is perfect, click on the ‘Start’ button, which will initialize your Email job. It will check your PDI settings and will send the email to your receiver.
If everything is done successfully, you will get a successful message, as shown below in the picture. If there happens something wrong, you will get the error message on the screen. After fixing those errors trying again will reach you to success.
Finishing Touch
Here you are at the finishing stage of this post. In this post, we have discussed the fundamentals of PDI. We have seen the process of avoiding java error and how to set a java version as default. In the middle of this post, we have discussed the settings of the email button of PDI. And at the bottom, we have discussed the email vendor settings and user end settings.
Pentaho data integration is a business intelligence (BI) tool for data integration that has a special feature of sending emails to clients. It has many more features for data analysis. If you have anything to share with others about data integration tools or have anything to ask related to this post, you’re welcomed to ask in the comment section below.
in windows i needed to configure the java_home and the jdbc for the database, how do i do that in linux?
After installation, I get a warning “libwebkitgtk-1.0 package is missing.”. I can open the application and navigate between the tools, however the texts are white and cannot be read due to the gray background of the interface.
try this solution
I’m getting this error:
x@x-ubuntu:~/Desktop/data-integration$ sh spoon.sh
-Djava.endorsed.dirs=/home/x/Desktop/data-integration/system/karaf/lib/endorsed is not supported. Endorsed standards and standalone APIs
in modular form will be supported via the concept of upgradeable modules.
Error: Could not create the Java Virtual Machine.
Error: A fatal exception has occurred. Program will exit.
The version of java is the problem. Install version 8.
Thank you. Great post !!
Excellent post!