The word Todoist is the phonetic short form of To-Do List, and it can be used for organizing work, tasks, and quick notes. The Todoist can remember all of your works for you and recall you when you need them. If you work for different clients, Todoist can also manage to remind you of the high prioritized tasks. Mostly, if you’re a Linux sysadmin, I’m sure there is too much work to do for you in the entire week.
You can now use the Todoist tool on your Linux system to remind the tasks, share the load among others, customize workload, and keep a balance between your work and life. You can also use Todoist for managing your shopping, store, day-to-day life, and social gathering.
The Todoist application is available for Windows, Mac, Linux, Android, and iPhones. It allows you to set labels, filters on the worklist, and even you can customize the Todoist theme based on your work category.
Todoist on Linux
Earlier, the Todoist tool was not available for Linux. There were options to use the Todoist features through other third-party applications, but the official Todoist application was available for Linux. Finally, Doist Inc has built the official Todoist tool for Linux. Installing the Todoist task manager tool on Linux using the Snap and AppImage method is easy.
In the Snap method, you will need to have the runtime Snap daemon installed on your system. And, for the AppImage method, we will see how you can install the Todoist tool by downloading the AppImage file. In this post, we will see how to install the Todoist tool on Linux through Snap and AppImage methods.
Method 1: Install Todoist on Linux via Snap
As the Snap daemon has become popular and most users like the Snap store for the availability of a vast amount of applications, using the Snap method to install the Todoist tool is a convenient method.
Here, first, we will see how to install the runtime Snap daemon tool on various Linux systems; later, at the very ending of this method, we will go through the Todoist installation command on Linux via Snap.
1. Install Snap on Debian Linux
Installing Snap daemon on a Debian/Ubuntu Linux is easy. You can run the following aptitude commands given below with root access to install the Snapd on your system.
sudo apt update
sudo apt install snapd
sudo snap install core
2. Install Snap on Arch Linux
Installing the Snap daemon on an Arch and other Arch-based Linux system requires enabling the runtime socket on the system. You can run the Pacman command written below with superuser access to install Snapd. Then, run the next system control command to enable the runtime socket. Finally, execute the ln -s command to create a symbolic link for Snapd on the system.
sudo pacman -S snapd
sudo systemctl enable --now snapd.socket
sudo ln -s /var/lib/snapd/snap /snap
If you face any issues installing the Snapd on your Manjaro or other Arch-based systems, please run the following commands to install the Snapd tool through Git cloning.
git clone https://aur.archlinux.org/snapd.git
cd snapd
makepkg -si
sudo systemctl enable --now snapd.socket
sudo ln -s /var/lib/snapd/snap /snap
3. Install Snap on Fedora Workstation
Installing the Snap daemon on a Fedora workstation is easy; the official DNF package management tool supports Snapd. You can run the following DNF command on your terminal shell to install the core Snap daemon. Then run the ln -s command to create a soft link between the Snap and your system.

sudo dnf install snapd
sudo ln -s /var/lib/snapd/snap /snap
4. Install Snapd on openSUSE
Installing the Snapd on an openSUSE or SuSE Linux requires root access with a basic knowledge of the zypper command. If you don’t have the Snapd installed, please run the following commands on the terminal shell with root access to install the Snapd.
First, refresh the SuSE repository and download the Snappy repository on the system.
sudo zypper addrepo --refresh https://download.opensuse.org/repositories/system:/snappy/openSUSE_Leap_15.2 snappy
Now, run the following zypper commands to add the GPG key and install Snapd.
sudo zypper --gpg-auto-import-keys refresh
sudo zypper dup --from snappy
sudo zypper install snapd
Then, run the system control commands with root access to enable the Snapd and start it on the system.
sudo systemctl enable snapd
sudo systemctl start snapd
sudo systemctl enable snapd.apparmor
sudo systemctl start snapd.apparmor
Till now, we have seen several methods to install the Snap daemon on Ubuntu, Red Hat, Fedora, and SuSE Linux. When the Snap daemon is successfully installed, you can now execute Snap commands on the terminal shell. When the Snap installation finishes, you can now execute the Snap command given below to install the Todoist tool on your Debian/Ubuntu system.

sudo snap install todoist
The installation won’t take much time, and you will be able to see the progress on the terminal shell.
Method 2: Install Todoist on Linux Using AppImage
The AppImage comes when you can not find any reliable official package for Linux. Using the AppImage is totally safe, secure, and convenient. Moreover, as AppImage uses Sandbox technology, and it provides the entire package in a single executable file, AppImage does not use a lot of system resources on the system. All the methods shown below will be executable on all major Linux systems.
1. Execute the AppImage File by GUI
There are two popular methods available for executing AppImage files on Linux. In the beginning, please download the Todoist AppImage file from here for your Linux system. You after downloading the AppImage file, you can open the directory to locate the file.
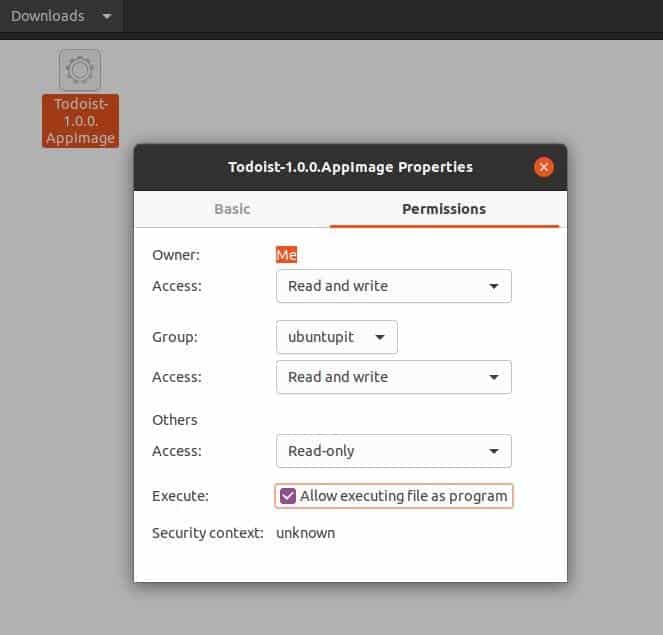
Now, right-click on the file and go to the ‘Properties‘ tab. After opening the Properties tab, locate the Permissions tab and click on the ‘Allow executing file as program‘. Once this process is done, you may now double-click on the package file to execute the file.
2. AppImage Launcher Method to Install Todoist on Linux
The AppImageLauncher allows users to run any package conventionally. First, you need to download the lite edition of the AppImageLauncher on your Linux system. When the download ends up, please open your shell and locate the file directory.
You can download the suitable launcher file for your system from here. They have compiled packages for Debian and RPM-based systems. Then, run the following command to execute the AppImageLauncher file.
~/Downloads/appimagelauncher-lite-*.AppImage install.
If you’re using the Gnome-based Ubuntu/Fedora system, you can install the AppImage launcher file directly through the software installer after downloading the .deb or .rpm package file.
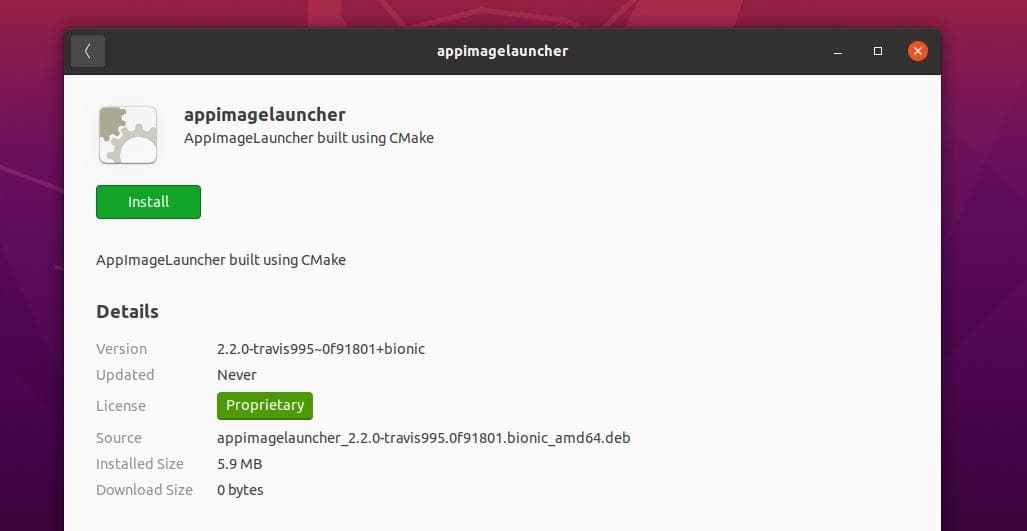
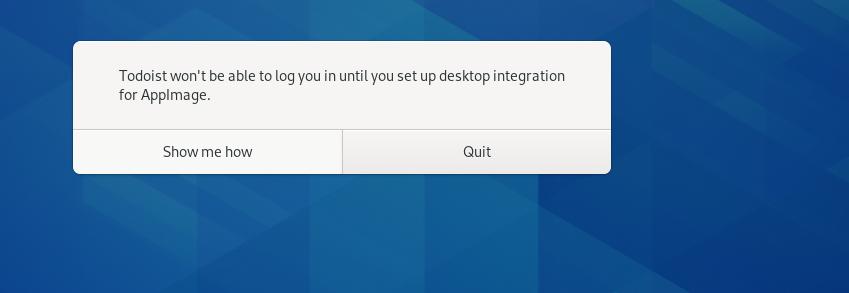
After executing the AppImageLauncher file, you may now download the Todoist AppImage file from here. Once the download ends up, please move the file inside the ~/Applications directory. Finally, you may now open/run the Todoist AppImage file on your Linux system.
If you face any AppImage issues while installing the Todoist tool, ensure that you’ve successfully moved the Todoist AppImage file inside the ~/Applications/ directory. Also, verify if the launcher tool is installed or not on your system.
Get Started with Todoist on Linux
Till now, we have seen methods to install the Todoist tool on Linux. To open it, you can either just type todoist on the shell and hit the Enter button, or you can open it in a conventional method. The clean UI of the Todoist tool will attract and motivate you to use the tool for productivity. You would see the system icon button of Todoist on the top-right corner of your screen for quick navigation.
![]()
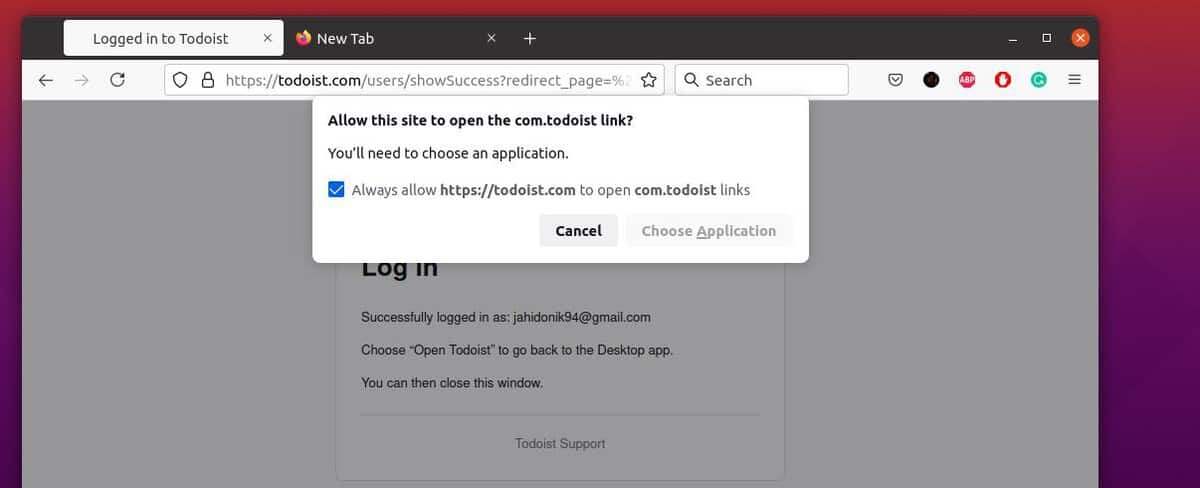
After opening the tool, it will show you the login/signup options. You can signing or signup to Todoist through the web browser. When you press the Log-in button, it will automatically take you to the Todoist login page.
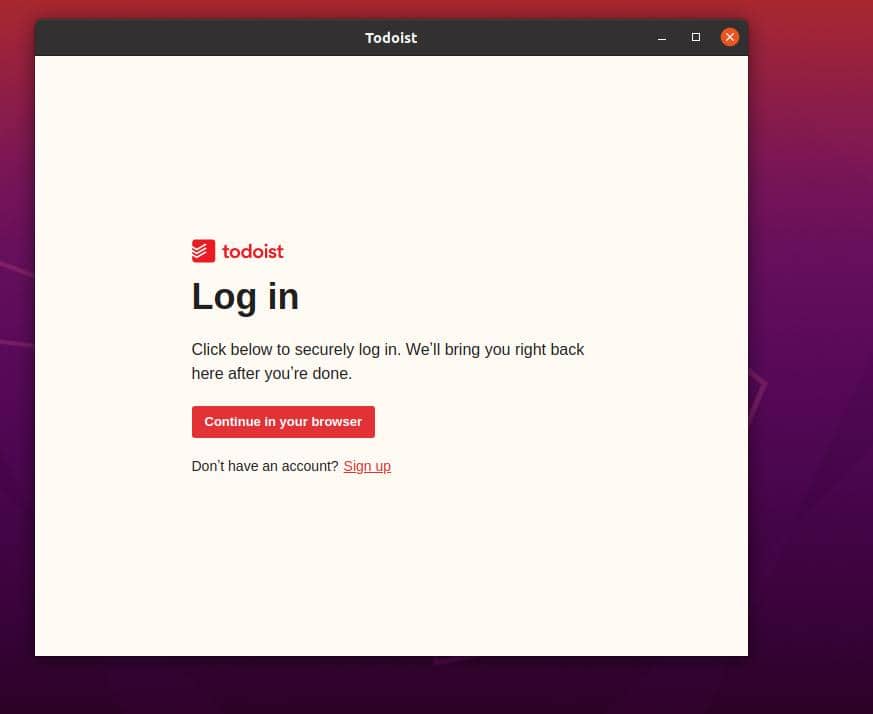
When your login or signup finishes, it will again take you back to the Todoist desktop application.
In the General setting tab, you can select language, home view, timezone, date, and weekdays and weekends. From the Subscription tab, you can either choose the basic Free plan o select a premium plan for you.
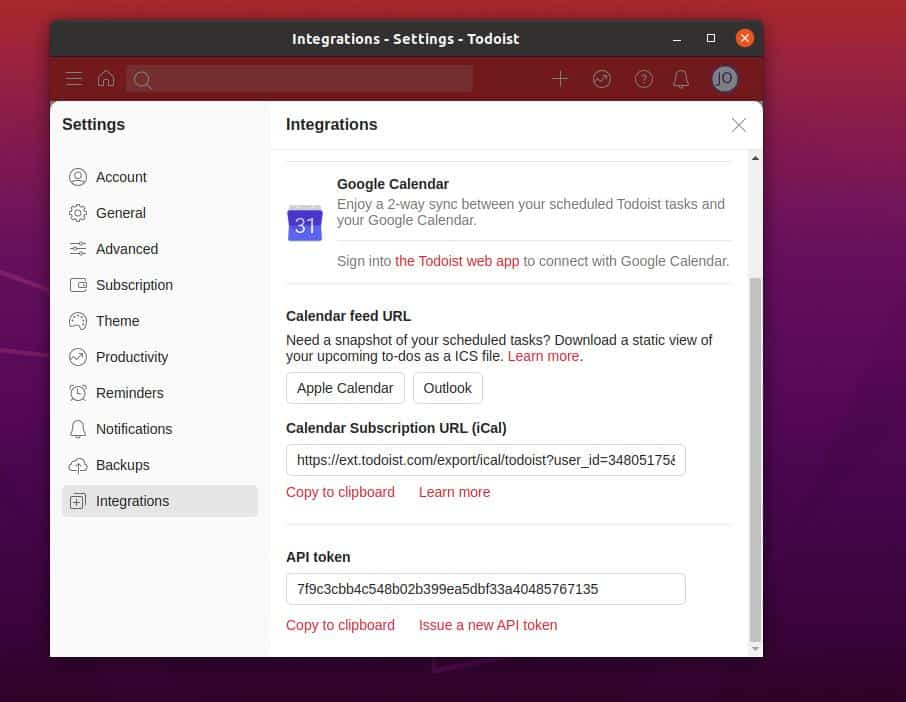
From the side panel bar, you can select and manage themes, reminders, notifications, and backups. The Todoist tool also allows integrating your tool with other applications through API and feed URL. From the Integration tab, you will find an API token for integrating with more applications and a Calendar feed URL to connect it with Apple Calendar and Outlook.
Remove To-Do-List on Linux
Removing a package that is installed through Snap is mostly easy and quick. All you need is to run the following Snap command on the terminal shell with root access.
sudo snap remove todoist

If you’ve used the AppImage file to install the Todoist, in that case, you actually did not install any packages; you just executed a run package on your system. You can simply eliminate the package from your device.
However, you also remove the AppImage file from the directory you stored the file. In this case, most AppImage files are stored in the following /applications/ directory, and you can just delete the file from that directory.
AppImage directory
$HOME/.local/share/applications/
Final Words
For quick notes and reviews, you can also get it on your smartphones and watches. In the entire post, we have seen how to install the official application of Todoist on a Linux system. You can also install the Todoist browser extension on your system for better and quick performance. I hope this post has been informative for you; please share this post with your friends and the Linux community. You can also write down your opinions in the comment section regarding this post.
