Looking at the device’s vast popularity, you have bought a raspberry pi, too, out of enthusiasm. But what now? Confused about how to use raspberry pi? It’s normal to be confused about getting started with this thing and, more importantly, where to begin? To help you with this situation, I have decided to write this beginner’s tutorial to understand all the basic steps of the Raspberry Pi installation. Stick through the end to get started with your Raspberry Pi.
What is Raspberry Pi?
Raspberry Pi is a series of credit card-sized low-cost computer that you can plug into you’re your monitor and TV while using a mouse and keyboard. This is basically an all in one package that integrates the GPU and CPU in a single integrated circuit with USB ports, RAM, and other necessary equipment.
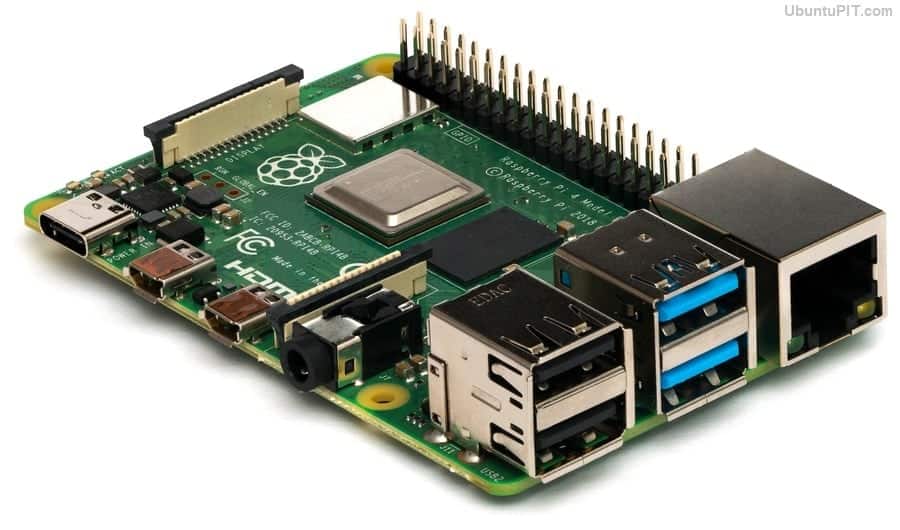
While the Pi doesn’t come with any storage system, you can use a microSD card to save your operating system and other information. This tiny computer was introduced by the Raspberry Pi foundation to make programming learning and hardware projects easier for common people.
A few days after its first launch in 2012, it has been getting more and more popular among tech enthusiasts and DIYers because of its ability to do almost everything a regular computer can do. Due to the ever-rising popularity, the Raspberry Pi is getting newer versions and models almost every year with more advanced features.
In short, the Pi can make an advanced interaction with the outside world and come in real handy in this digital world.
How to Use Raspberry Pi
In this article, I will guide you step by step through all the basic and important things you need to do after getting your Pi. Though the device is tiny, it’s rather easy to use and configure. Once you get it to connect to your monitor or TV, you won’t have to worry about the screen either. Before diving into the steps of using a raspberry pi, I think it’s better to discuss all the necessary equipment you will need to get started with the Pi.
Things You Will Need to Get Started
There are a few things besides a Raspberry Pi that you will need to get started with any project.
1. Raspberry Pi: Since you are here looking for ways to use the Pi, I will guess that you have already bought a Raspberry Pi for yourself. But even if you haven’t, you should buy one immediately since you can’t follow the project without one. You can find the latest version of the Pi from the official Raspberry Pi stores.
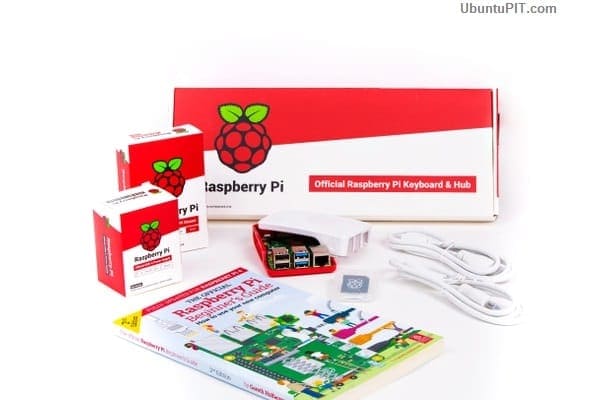
2. MicroSD Card: You need a microSD card as storage for your Pi. Everything you do on the Pi will be saved on the card. However, not all SD cards are suitable to work with a pi. So, the best option is to either buying the official Pi SD card or finding one that’s totally compatible with your Pi’s version.
3. MicroSD Card Reader: You need something to help your computer adapting the SD card.
4. HDMI Cable, Keyboard, and Mouse: While you don’t need a mouse and a keyboard permanently, they are required for the primary setup. You can buy a set separately or purchase the ones that come with the Pi. The same thing goes with the HDMI cable.
5. A Power Supply: You can get a USB charger or other power adapters to supply power into your Pi.
6. Ethernet Cable: You need an ethernet cable for a permanent internet connection. While you can use wi-fi, a cable offers more efficiency.
Step 1: Reformatting Your MicroSD Card
So, let’s find out how to use the raspberry pi. Firstly, insert the SD card into your card reader.
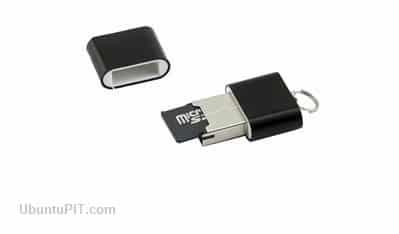 Then, connect the card reader to your computer or laptop. After that, download a software called SD Formatter 5.0.1. Double click on the installer and follow all the steps to complete the installation.
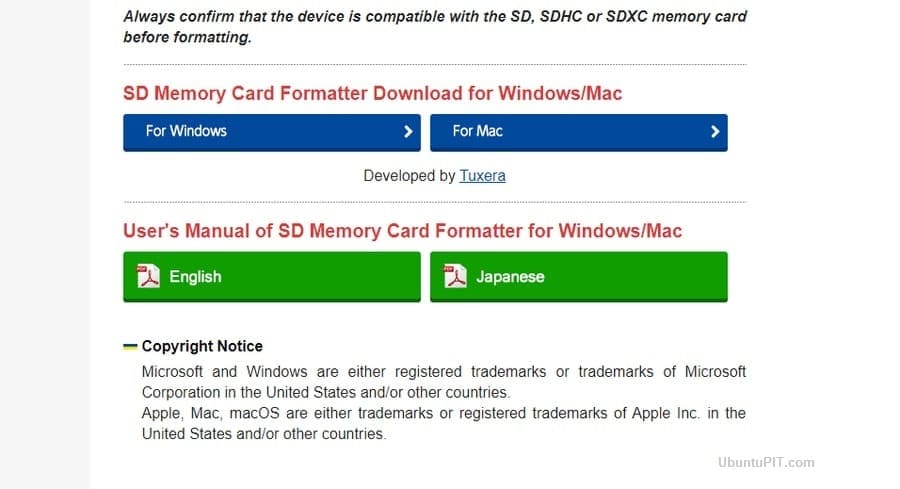 You will see a launchpad icon on your desktop that looks kind of like a rocket. From there, look for the SD formatter app and open it on your desktop. A formatting window will appear soon.
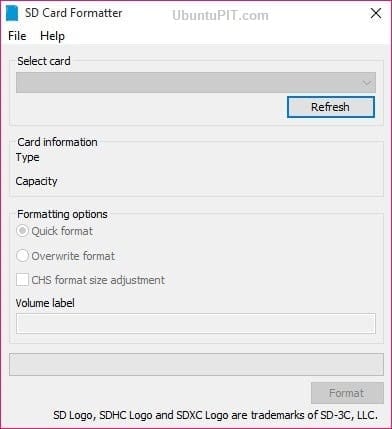
You can choose your microSD card from the “Select Card” box. Then, select “Format” from the bottom right corner.
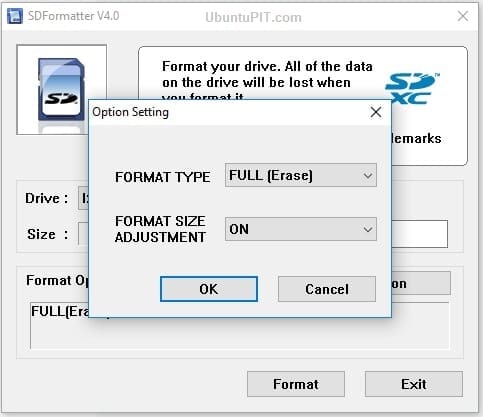
After it has done reformatting, you will see a notification on your window. Click on “OK” to close it. So, you have successfully formatted your SD card, and it’s ready for operating system installation, which is the most important part of the whole raspberry pi installation.
Step 2: Downloading NOOBS into the MicroSD Card
Go to the official site of the NOOBS latest version and download the ZIP file from there. As a beginner, it’s better not to go with the Lite version.
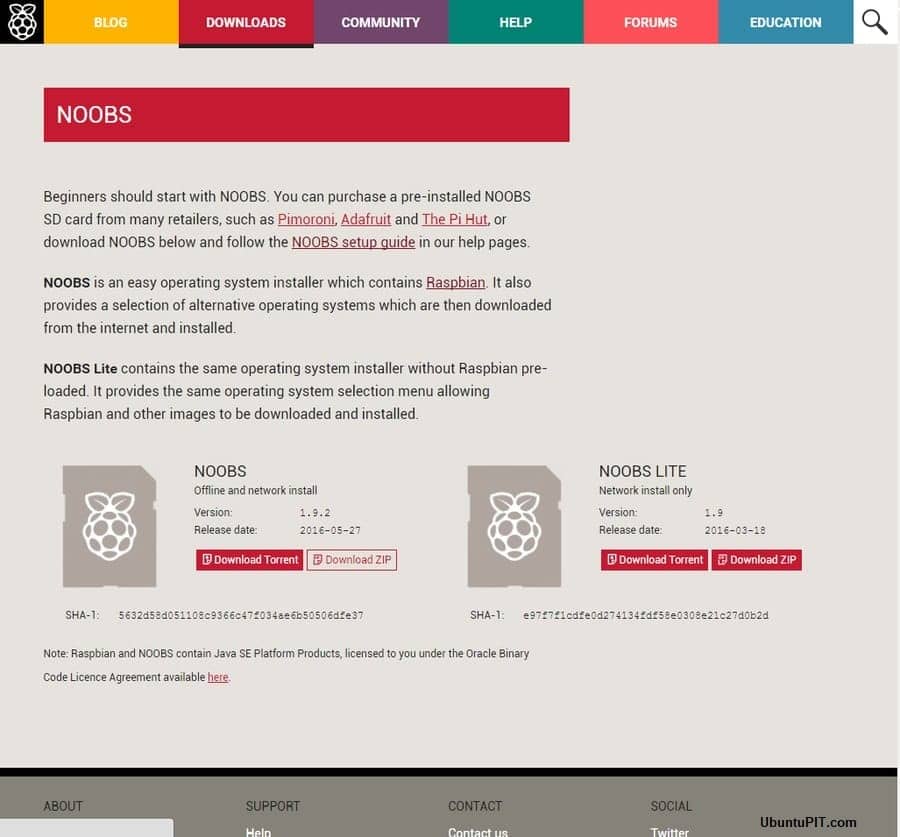
Double click the downloaded file and choose the first file from the folder. Then, scroll to the bottom and press Shift+left-click on the last file there. After that, you will need to drag and drop all the chosen files in the SD card file on your desktop.
Make sure to right-click on the SD card icon and choose “Eject [SD card name]”. You can now remove the card reader from your PC and the microSD card from the reader. Let’s dive into the next step, where you will have to set up the Pi.
Step 3: Setting Up Your Pi
The first thing you need to do is insert the microSD card into your Pi card slot.
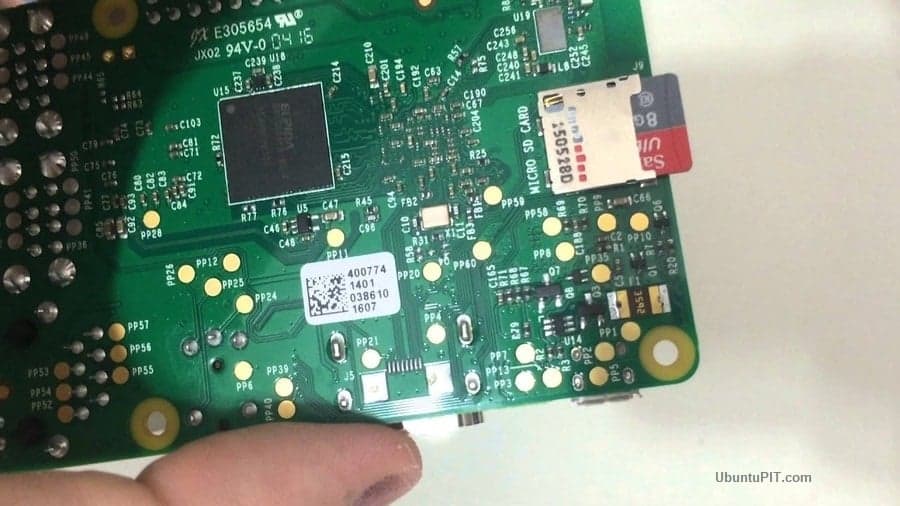
Then, plug both the USB keyboard and mouse into the ports. Also, connect the Bluetooth adapter to the ports if you are using one. Turn your monitor or TV on and connect the HDMI cable into the ports properly. Then, plug in the other end on your Pi.
Get internet connections using the Ethernet cable and your router. Or, you can use a wi-fi adapter for wireless internet connection.
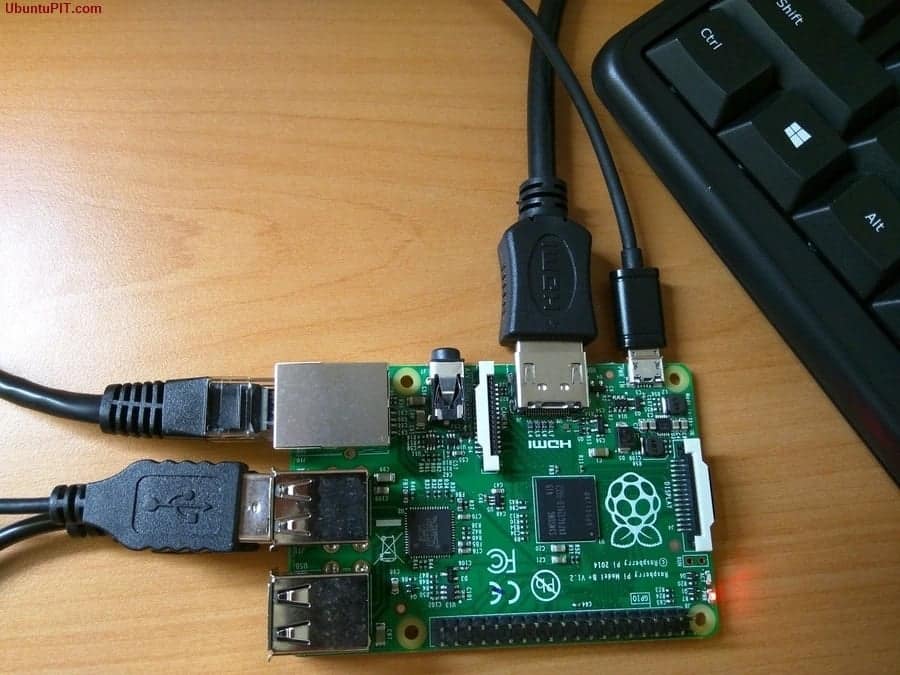
After that, connect the power supply to your pi and the power outlet. In this part, your Pi will turn on and start booting up. A power indicator light will let you know when you are connected through a glow.
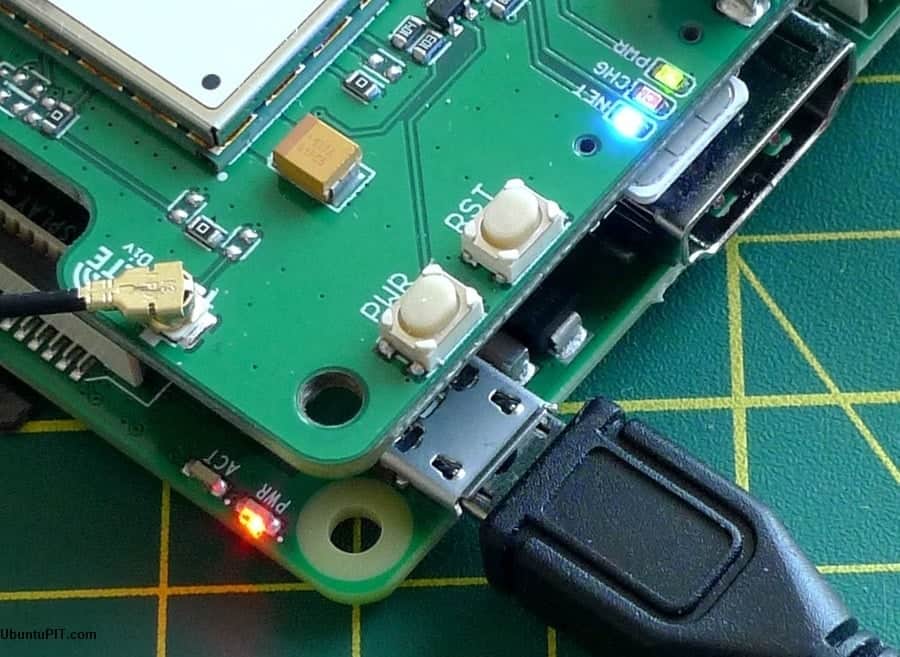
You will be able to see the start screen on your monitor or TV soon.
Step 4: Downloading Operating System on Your Pi
You will have to choose an operating system as soon as your Pi is done with the booting. This is one of the most important things about how to use Raspberry Pi. In this case, I am recommending you to choose Raspbian. Click install from the top.
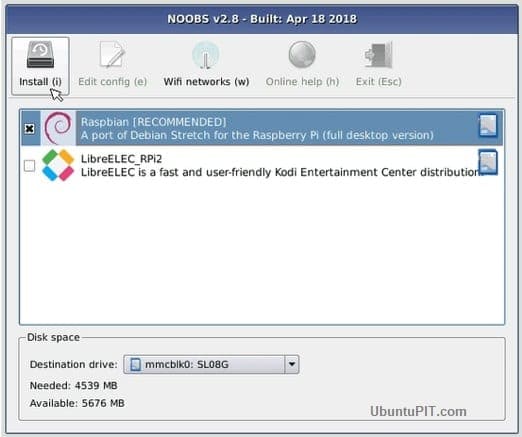
You will get a confirmation window, select “Yes” to close it. This confirmation lets you know that your SD card will be written over with an uncompressed version of the operating system. It will take a few minutes for the installation to be complete.
Once it’s done, your Raspbian will automatically start to boot up.
Step 5: Configuring Your Pi
Click on the “Menu” button on the corner of the screen and then choose “Preferences” from the dropdown. Then, select “Raspberry Pi Configuration” from there.
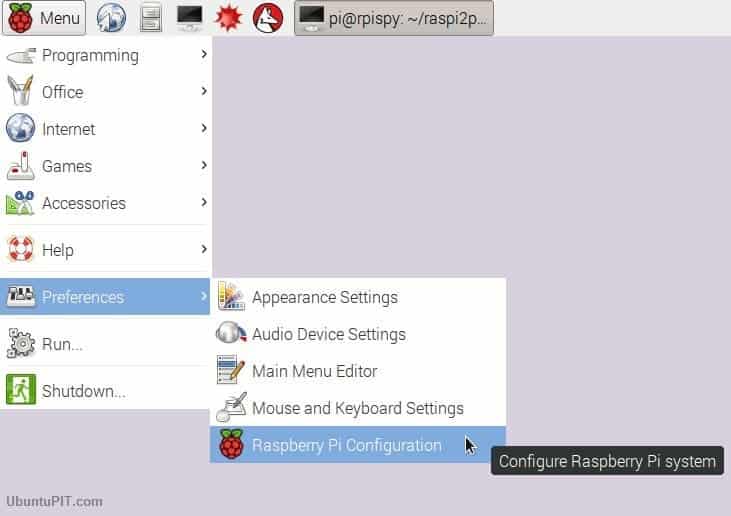
You will see a configuration window on your screen. Select the “Localization” tab. You can choose your preferred local time, location, and keyboard settings from there. After that, your Pi will require to reboot. Select “Yes” when the reboot window appears.
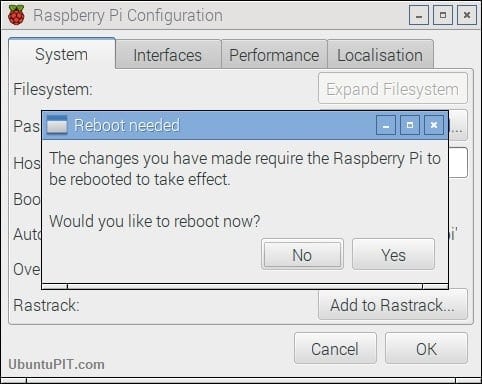
Once the rebooting is done, your Raspberry Pi installation is completed, and the pi is ready for any project you are looking forward to initiating.
Finally, Insights
This article is a complete beginner’s tutorial on how to use Raspberry Pi. These are the most basic steps you can follow to start using your raspberry pi. Of course, there are tons of other things you can do with this single board computer. But the most important part is to get started! I hope you have understood the Pi’s basic setups and made your pi ready for advanced uses. Don’t forget to mention your thoughts in the comment section!
