WordPress is the most used, user-friendly, free, and open-source content management system (CMS) and website builder for both beginner and professional developers. Creating a website was never so easy and straightforward before WordPress. It doesn’t require any programming and coding experience. WordPress has a lot of free and premium themes and plugins that you can use to design your website. Installing WordPress is not a hard task on a Linux machine. You can install WordPress easily on your Ubuntu/Debian Linux with the Nginx server.
WordPress with Nginx Server on Ubuntu Linux
To install WordPress on a Ubuntu Linux system, you will need to have the Nginx server and the MySQL database installed on your system. As WordPress is written in PHP language, you can add more PHP modules to your website to customize your site. You can monitor your websites’ statistics and visitor activity from the WordPress dashboard. In this post, we will see how to install WordPress with Nginx server on Linux and get started with it.
Step 1: Install The Nginx Server
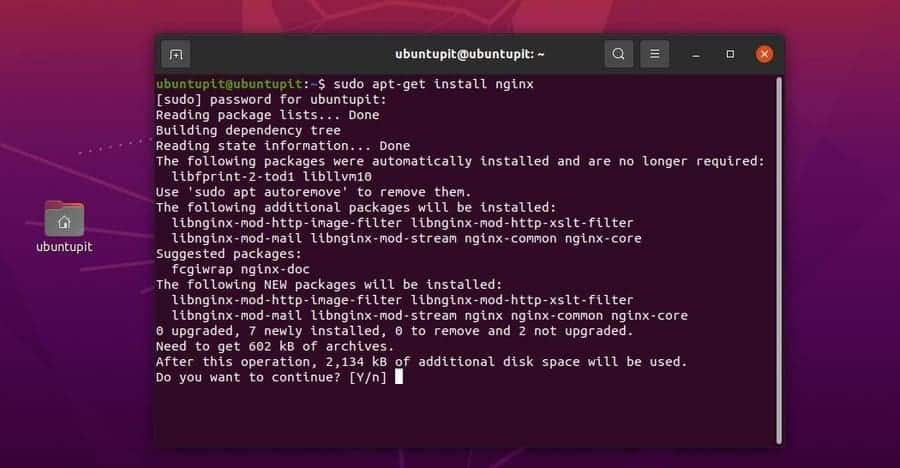
At the very beginning, we will install the Nginx server on our Ubuntu machine. It is available in the official Linux repository. You can run the following aptitude command given below to install the Nginx server on your system.
sudo apt-get install nginx
After configuring the Nginx server, you might need to allow the Nginx HTTP protocol on your firewall settings. You can run the following UFW commands on your terminal shell to allow the Nginx network ports on your firewall.
sudo ufw enable
sudo ufw allow 'Nginx HTTP'
sudo ufw reload
sudo ufw status
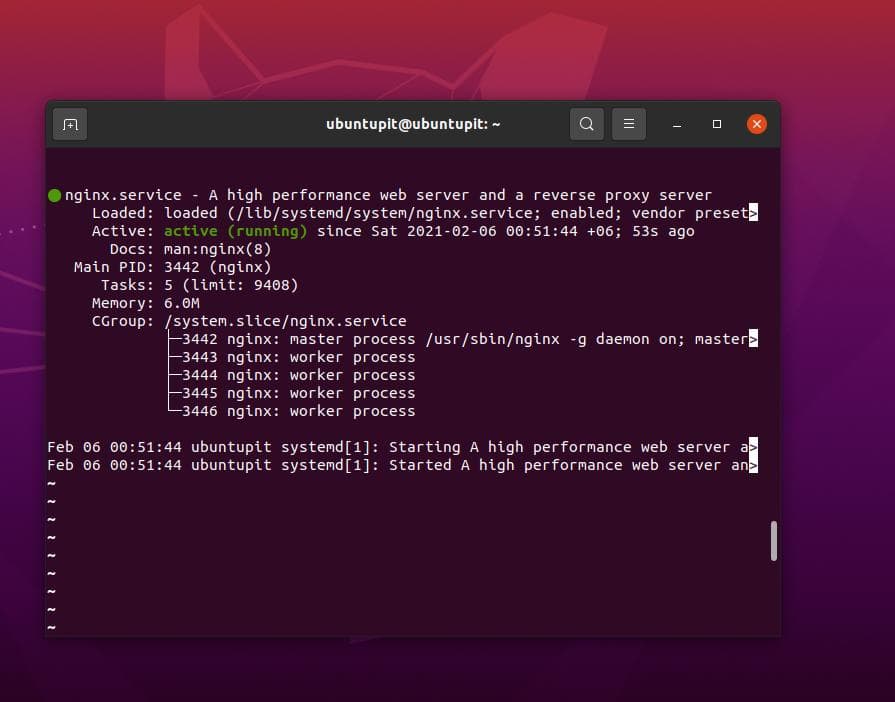
If you need to know a more detailed explanation and information about Nginx reverse proxy server, you can follow this link to know how to install and get started with the Nginx server on Linux. However, you can now start and check the status of your Nginx server to make sure that the server is working.
$ sudo systemctl start nginx
$ sudo systemctl enable nginx
$ sudo systemctl status nginx
Step 2: Install Database Engine
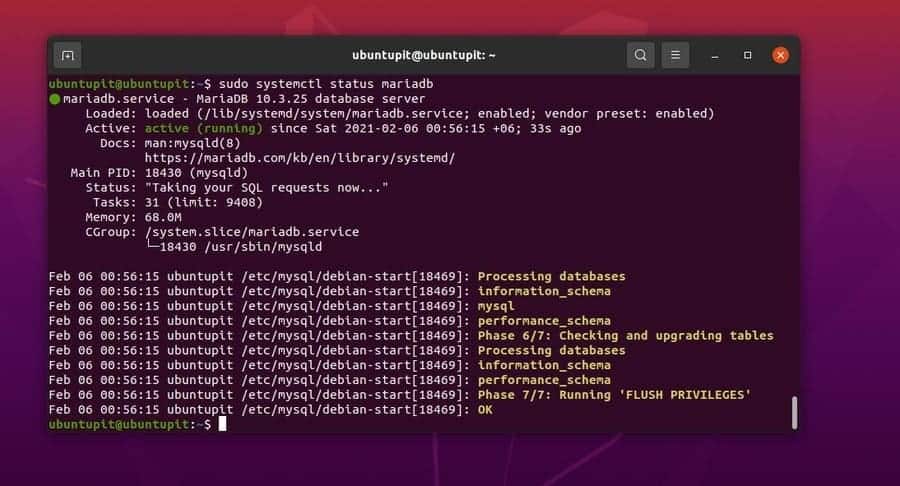
WordPress can be configured with a MySQL database and a PHP server. As the MariaDB client is the fork of MySQL, we can use it to create a database for WordPress and integrate it with the Nginx server. You can run the following aptitude commands given below to install the MariaDB client on your Ubuntu Linux.
# sudo apt-get install mariadb-server
# sudo systemctl enable mariadb.service
# sudo mysql_secure_installation
After installing the database, you may now enter into your database with the root user account credentials. If you already had the MariaDB engine installed and configured, you might need to enter your database password to enter.
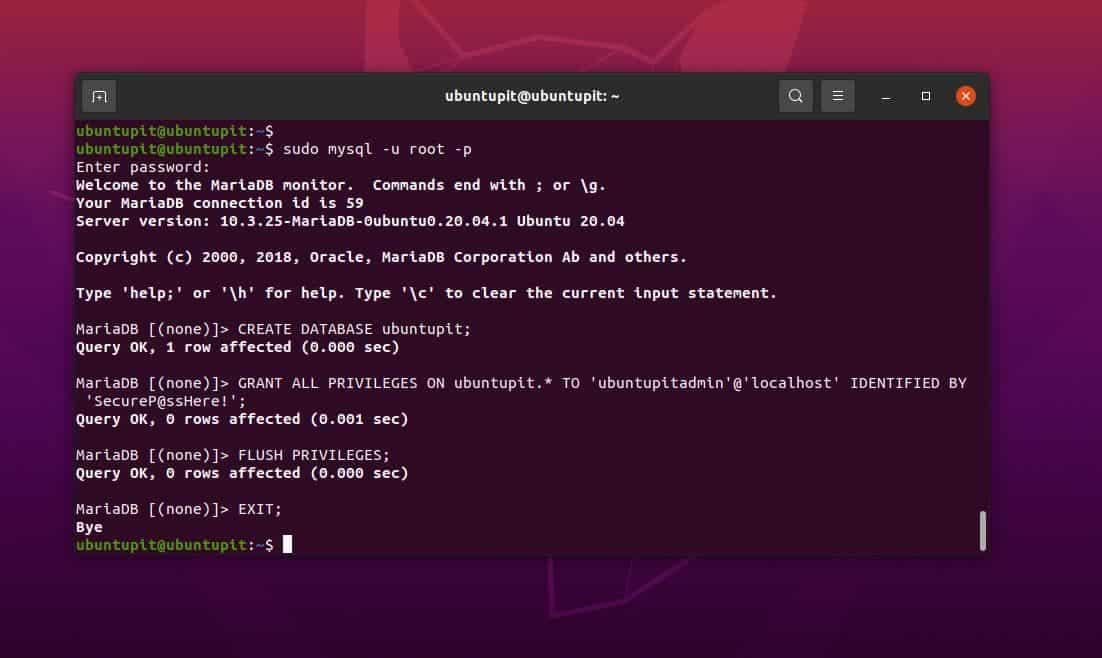
Now, we have to create a database for WordPress. Here, we will be using a few lines of SQL command to create a database. You can follow the SQL lines given below to make your WordPress database.
# mysql -u root -p
MariaDB [(none)]> CREATE DATABASE ubuntupit;
MariaDB [(none)]> GRANT ALL PRIVILEGES ON mysite.* TO 'ubuntupitadmin'@'localhost' IDENTIFIED BY 'SecureP@ssHere!';
MariaDB [(none)]> FLUSH PRIVILEGES;
MariaDB [(none)]> EXIT;
Step 3: Install PHP Modules on Ubuntu Linux
We have previously installed and enabled the Nginx PHP server on our Ubuntu system; now, we will be installing a few PHP extension packages to make the PHP services smooth and integrable on your Linux system. You can run the following command-line on your terminal shell with root privileges to install the PHP-XML, PHP-CLI, PHP-cURL, and other extension packages.
sudo apt-get install php7.2 php7.2-cli php7.2-fpm php7.2-mysql php7.2-json php7.2-opcache php7.2-mbstring php7.2-xml php7.2-gd php7.2-curl
Step 4: Configure Nginx for WordPress
After installing the Nginx server on a Ubuntu Linux system, you need to configure the server settings and scripts to make your WordPress site live. As we will be using WordPress through the Nginx server, we will create a new directory and provide it root permission to edit and store WordPress data inside the directory.
First, run the following mkdir command on your terminal shell to create a new WordPress directory.
# mkdir -p /var/www/html/demo.www.bytesbuzz.com/public_html
Now, run the following directory command to browse the Nginx directory. Then run the following cat (concatenate) command to make a new Nginx configuration script. If you already have an Nginx server, you can edit your existing script.
# cd /etc/nginx/sites-available
# cat demo.www.bytesbuzz.com
Now run the following command to edit your site’s script.
sudo nano /etc/nginx/sites-available/demo.www.bytesbuzz.com.conf
You can study and use the following Nginx server configuration script to understand how your script would be and where to place your site URL. If you mismatch with your configuration script, the server will not load; please be advised. Here, I’m using the server name demo.www.bytesbuzz.com; you must replace it with your server address.
server {
listen 80;
listen [::]:80;
root /var/www/html/demo.www.bytesbuzz.com;
index index.php index.html index.htm;
server_name mysite.com demo.www.bytesbuzz.com;

error_log /var/log/nginx/demo.www.bytesbuzz.com_error.log;
access_log /var/log/nginx/demo.www.bytesbuzz.com_access.log;

client_max_body_size 100M;
location / {
try_files $uri $uri/ /index.php?$args;
}
location ~ \.php$ {
include snippets/fastcgi-php.conf;
fastcgi_pass unix:/run/php/php7.4-fpm.sock;
fastcgi_param SCRIPT_FILENAME $document_root$fastcgi_script_name;
}
}
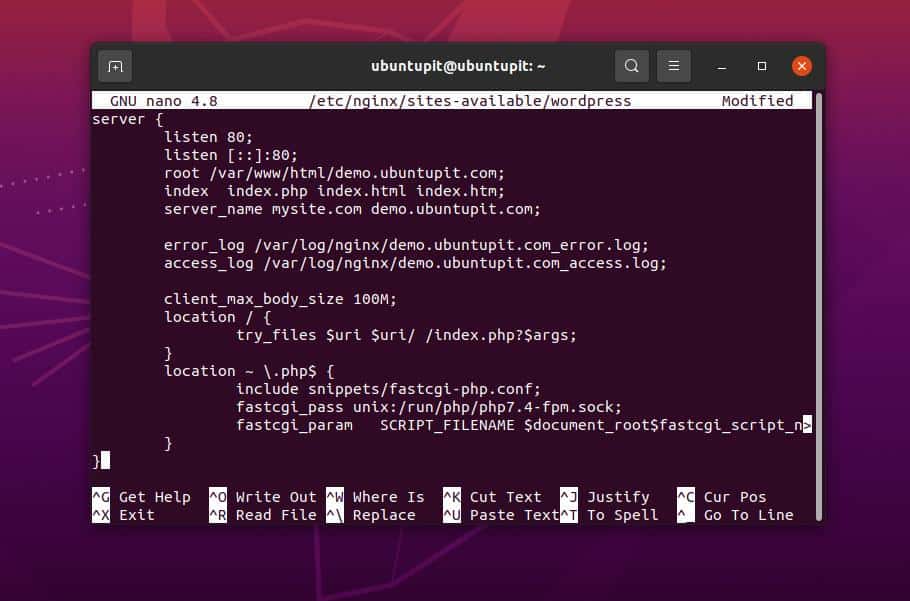
The script given above includes a few additional configurations. If you don’t have those, you can remove a few lines from the script. However, after configuring the Nginx server script, you can now restart the server and check if the server works perfectly.
systemctl reload nginx
nginx -t
Step 5: Download and Configure WordPress on Ubuntu
You can also browse your WordPress directory and download the zip file of WordPress on your Ubuntu filesystem. In this method, the zip file will be downloaded directly inside the /var/www/html/wordpress directory.
In this step, we will see how to download the latest version of compressed WordPress and store it inside the Linux filesystem. Later we will decompress the file and create a symbolic link to configure with the Nginx server. First, run the following wget command to download WordPress, then run the following tar command to extract the compressed file.
cd /var/www/html/wordpress/public_html
$ wget -c https://wordpress.org/latest.tar.gz
$ tar -xzvf latest.tar.gz
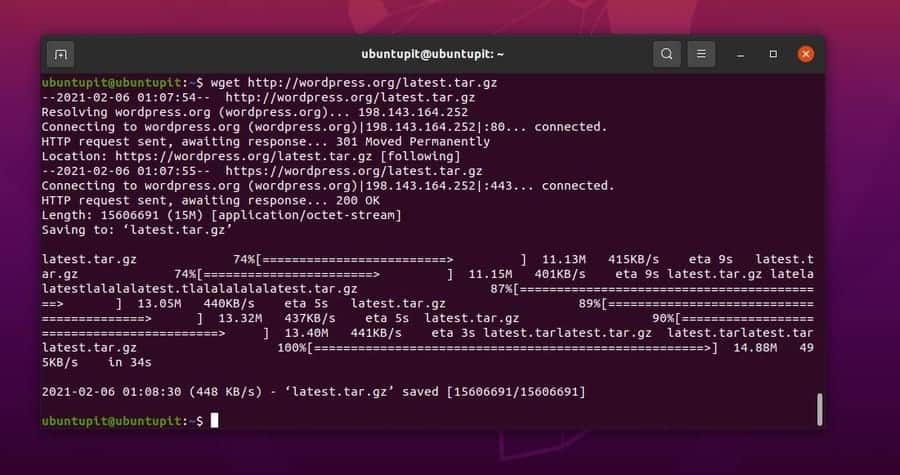
You can now run the following ls -l command on your terminal shell to create a symbolic link. Symbolic links are important to locate your WordPress directory and integrate it with the Nginx server.
$ ls -l
$ sudo cp -R wordpress/ /var/www/html/demo.www.bytesbuzz.com
$ ls -l /var/www/html/demo.www.bytesbuzz.com/
Now, grant access to the /var/www/ directory to run the server on your system.
$ sudo chown -R www-data:www-data /var/www/html/demo.www.bytesbuzz.com
$ sudo chmod -R 775 /var/www/html/demo.www.bytesbuzz.com
Step 6: Install WordPress on Ubuntu Linux
This is the final step of installing WordPress on a Ubuntu system via Nginx. I assume you have completed all the previous steps; now it’s time to open your web browser and complete the installation.
As we have used the localhost (127.0.0.1) address to set up the Nginx server, we would be setting up WordPress through the localhost address. However, if you used any other IP address instead of the localhost, you can simply run the following net-tool command on your terminal shell and find your server’s IP address.
ifconfig
Now, after finding your IP address, you can enter the following address in your browser’s address bar to continue setting up WordPress on your Ubuntu machine.
localhost/blog
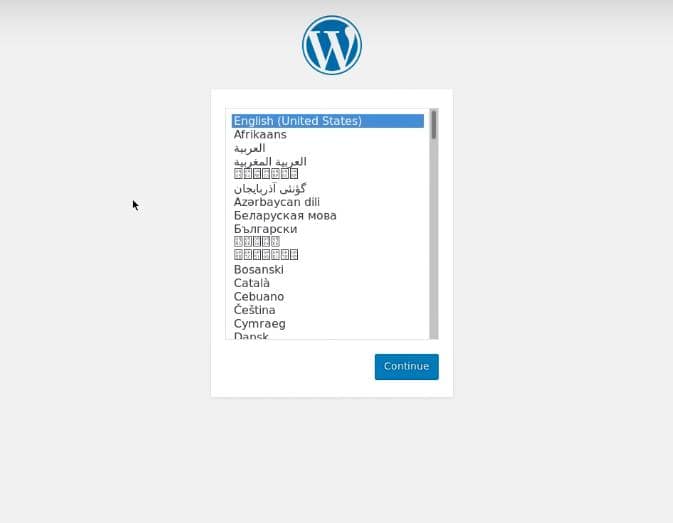
After browsing your server address, you would see an installation page as shown below. Here, we will put the database credentials, username, and password to get started with WordPress. Now, select your language and hit the continue button.
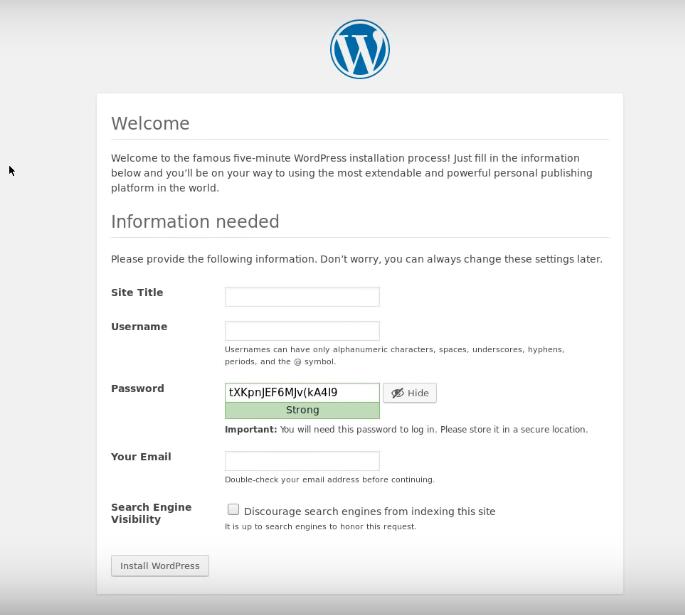
In the next step, you would need to enter your site address, name, password, and other information related to your site, then click on the ‘Install WordPress’ button.
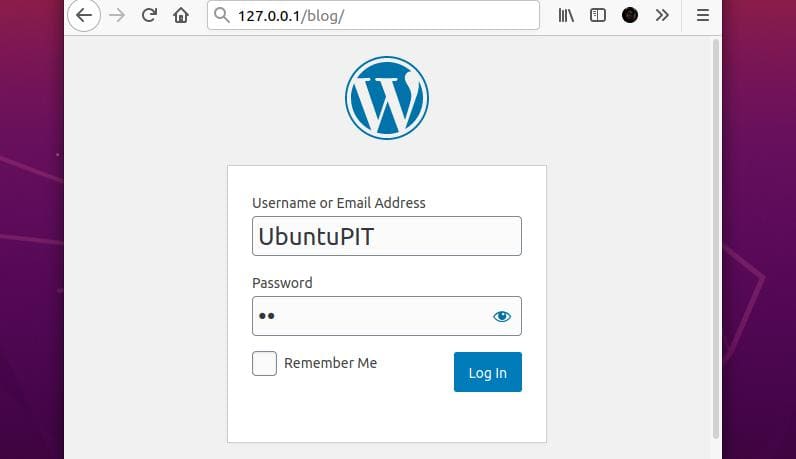
After a successful installation, you will be redirected to a login page, enter your user credentials to log in to your WordPress site.
Write Your First Post on WordPress on Ubuntu
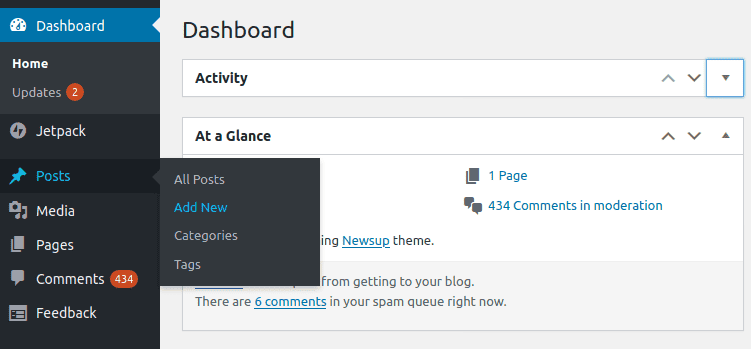
After the successful installation of WordPress, you are now good to go. To write your first post on WordPress from your Ubuntu machine, you need to login into your dashboard. After logging into your WordPress backend, you would find all the controlling buttons and tools to write and manage your posts. You can find the Create New Post option from the dashboard and start writing your very first post.
By default, WordPress uses the classical editor for writing posts; you can install other editors and switch to another editor as well.
localhost/blog/wp-login.php
Remove WordPress from Ubuntu Linux
Once you start using WordPress on your Ubuntu Linux, it doesn’t make any authentication or connectivity issues. If you are a true blogger, WordPress can help you a lot to build your site. However, you can remove WordPress from your Ubuntu system if necessary. Run the following aptitude commands on your terminal shell to remove WordPress on your Linux system.
apt-get -f install
apt-get autoremove --purge wordpress
sudo dpkg --remove --force-remove-reinstreq wordpres
Where Is The htaccess?
If you are a LAMP (Linux, Apache, MySQL, PHP) fan, you can follow the official Ubuntu help guideline to install WordPress on Apache on your Linux system. But in my opinion, Nginx has a better response rate than Apache for WordPress. Now, some of you may ask, as Nginx doesn’t support the .htaccess file, how can you edit your WordPress configuration? Indeed, Nginx doesn’t have the htaccess file for PHP configuring, but you can edit the Nginx.conf script to customize your PHP server settings.
Extra Tip: Install WordPress from cPanel
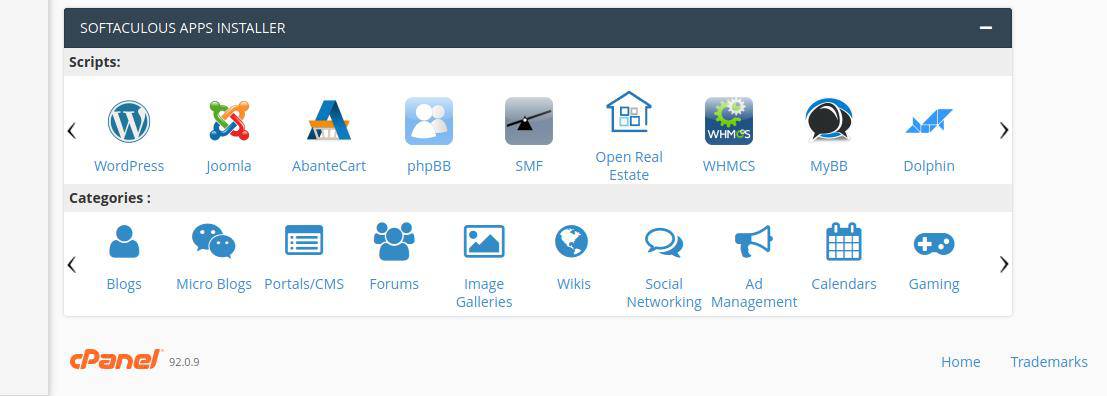
If you have a hosting and a domain package, you can easily install WordPress inside your hosting server and build your own site. Installing WordPress on Cpanel is straightforward; you need to scroll down to the bottom of your cPanel and select the autoinstall application. There you would find an option to install WordPress on your hosting.
Furthermore, with extensive server-level knowledge and PHP knowledge, you can install Nginx reverse proxy server and replace the traditional Apache server.
Ending Words
WordPress is one of the best CMS systems available in the market; installing WordPress is not only accessible; it’s also fun. You can quickly get your website with a few clicks. Moreover, WordPress has many writing assistants, development, and SEO tools that can help you become a professional content writer and website developer. I have described installing WordPress on a Ubuntu Linux system through the Nginx server (LEMP) in the entire post.
Please share it with your friends and the Linux community if you find this post helpful and informative. We also encourage you to write down your opinions regarding this post in the comment section.
