
. In this post we are going to see how to Install and configure memcached on Ubuntu Linux.)
Memory Cache or in short Memcached is the fasted possible way to speed up the process of opening any page or website from your device. Memcached allows the user to hold and store some cache files inside the system RAM (Memory) so that the page can be loaded in the shortest possible time. The memcached is a PHP based extension that can be used on Joomla, WordPress, Magento, or other PHP-based content management system. It is very easy and straightforward to install and configure the Memcached on the Ubuntu Linux.
Memcached on Ubuntu Linux
Well, the memcached is not only meant to be used with the PHP framework, but it can also be used with Perl, Python, Ruby, C++, or Javascript. You may ask, do I need setting up and enabling the Memcached if you are using an SSD? The answer is here, though the SSD’s have dynamic random-access memory (DRAM) inside the board, the cache speed process is way better in RAM than SSD.
The web data of a website is usually temporarily stored inside the SSD; then, the process happens inside the memory chip. But if you are using the traditional HDD, it’s urgent and necessary for you to enable the Memcached extension to boost up your website or applications. In this post, we are going to see how to Install and configure Memcached on Ubuntu Linux.
Step 1: Installing the memcached on Ubuntu Linux
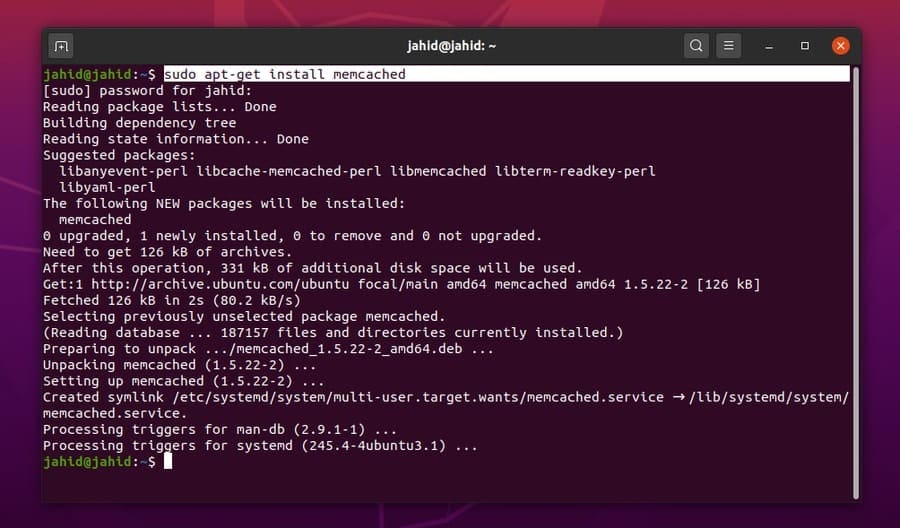
Installing the Memcached on Ubuntu Linux is lucid and straightforward. You must have to open your terminal command shell to get the extension. We are going to use the apt-get CLI to install the memcached on our Ubuntu Linux. For the beginning, we are just trying to install the Memcached primary extension set up on my Linux machine. Later we will take care of the rest of the parts.
$ sudo apt-get install memcached
Step 2: Configuring the memcached on Ubuntu Linux
After installing the primary extension package of the Memcached on Ubuntu, now you need to configure the Memcached settings with our desired settings. To check the default port of Memcached, we can use the -h terminal command following the Memcached command.
memcached -h
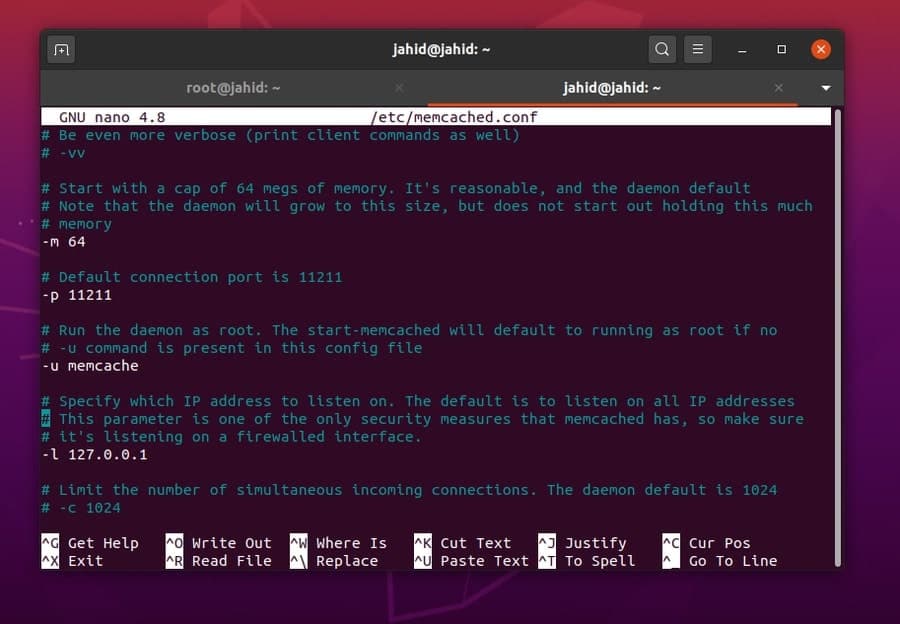
Now, you have to open the Memcached configuration file to edit save the settings. We are going to use the Nano script editor to edit the Memcached configuration file. You can use the following setups for better performance. The default port of Memcached for the localhost address is 11211.
$ sudo nano /etc/memcached.conf
You can use the following settings to test the memcached system in the localhost address.
-u memcache
-m 64
-p 11211
-m 4096
-c 2000
-l 127.0.0.1
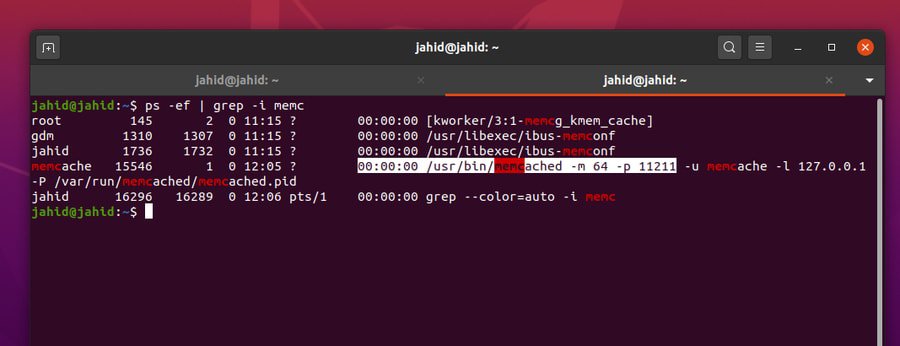
Now we can run the grep commands from the terminal shell to get detailed information about the present status of the Memcache of our Ubuntu Linux. We can check the running status information of the Memcached form the localhost address by using the Telnet terminal command. Telnet is a terminal command script that can print the information of a duplex connection.
$ ps -ef | grep -i memc
$ memcstat --servers localhost
$ telnet 127.0.0.1 11211
> stats
Step 3: Installing the memcached Library Tools on Linux
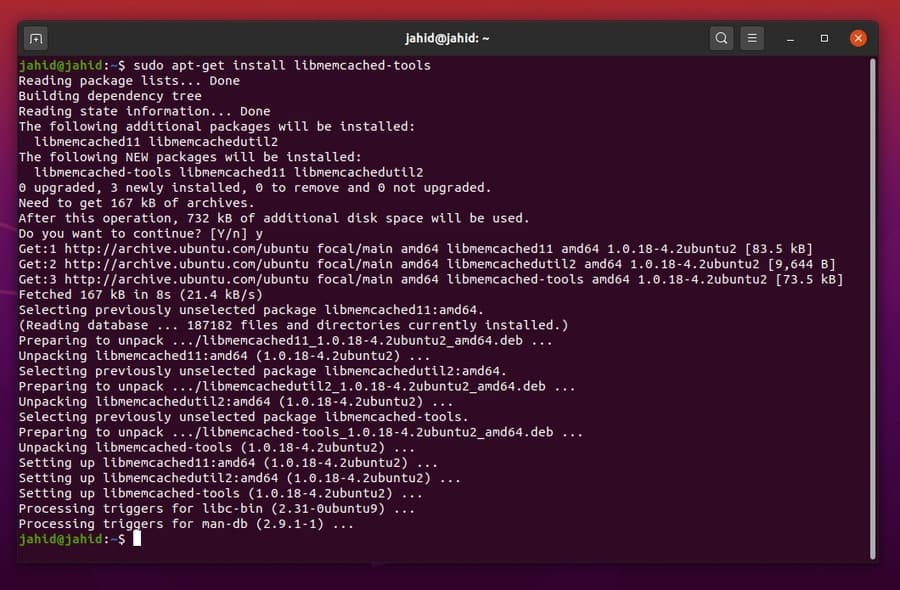
Here, now in this step, we are going to install the library files for Memcached in our Ubuntu Linux. The library files and configurations can build up the initial settings for PHP cache in memory. To get the Memcached library files installed inside your Linux machine, you just need to run the following apt-get terminal script in your machine.
$ sudo apt-get install libmemcached-tools
$ sudo add-apt-repository ppa:ondrej/php
$ sudo apt-get update
Now you can restart the Memcached extension and check the Memcached information form your Ubuntu terminal command.
$ /ect/init.d/memcached restart
$ memcstat --servers localhost
Step 4: Installing memcached for PHP on Linux
Here, the time has arrived to set up the Memcached settings for PHP in Linux. As the Memcache is actually a PHP based extension so first, we need to make sure that we have PHP framework inside our Linux machine. To check whether the PHP is installed inside the machine or not, you can try checking the PHP version. If you can’t find any PHP is installed inside the machine, you can install the latest PHP framework from the repository center.
$ php --version
$ sudo apt install php7.4-cli
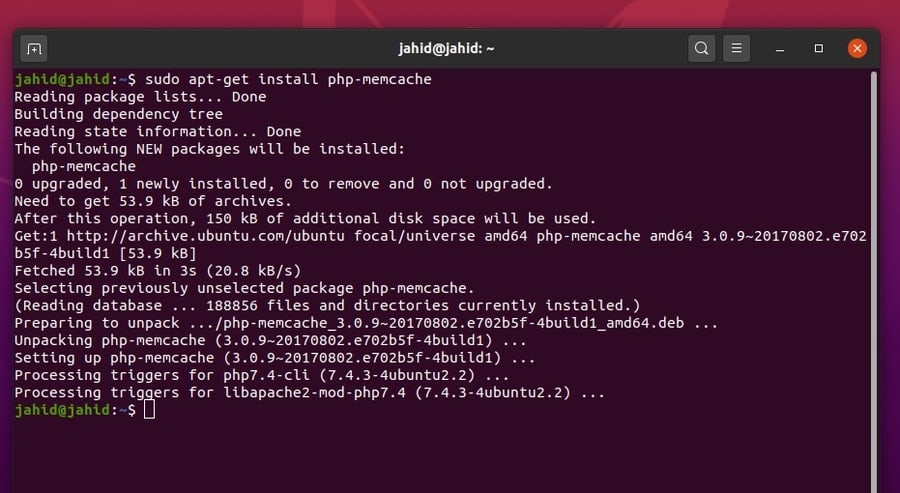
Then we can install the Memcache for PHP. We will use the usual apt-get terminal command to install the PHP extension on our Ubuntu Linux.
$ sudo apt-get install php-memcache
Step 5: Installing Apache and Apache Library for PHP on Linux
Now, in this step, I am going to install the Apache server to get better performance of PHP Memcache extension. To install the Apache server on your Ubuntu Linux machine, simply follow the basic apt-get command.
$ sudo apt-get install apache2
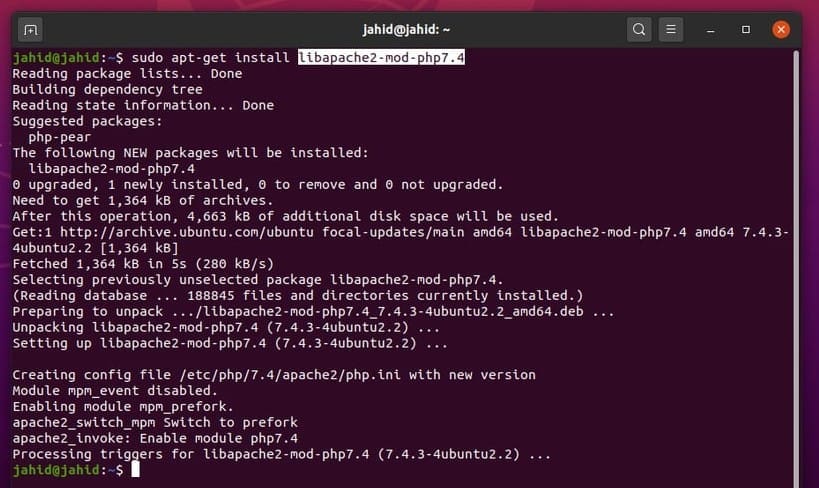
And then, you can install the library files for the Apache server, which will make the Memcache extension smooth and better.
$ sudo apt-get install libapache2-mod-php7.4
You can also download the PHP library file form the Ubuntu package website. Then restart the Apache server.
$ /etc/init.d/apache2 restart
Download Apache Library for PHP
Step 6: Monitoring the memcached Status on Ubuntu Linux
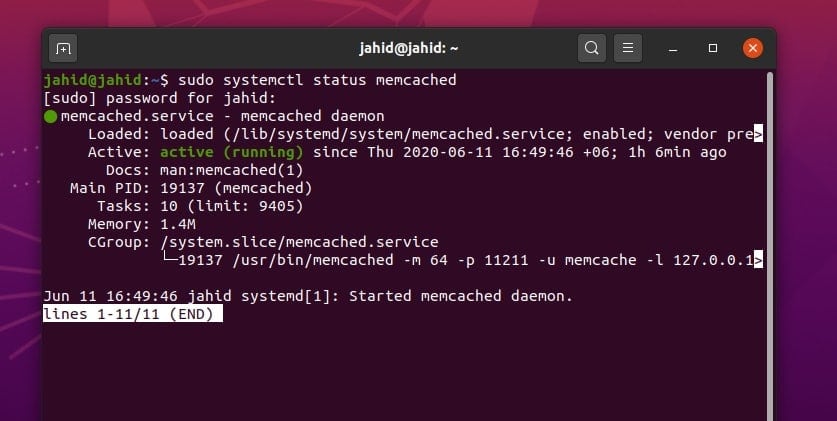
After all the settings and configurations are done, now it’s high time to check whether the Memcached extension is functioning properly or not. We can use the system status systemctl command in the Ubuntu terminal to check the status. As a result, we will get the service name, loaded status, active status, process identification (PID) number, task number, used memory, and other pieces of information.
$ sudo systemctl status memcached
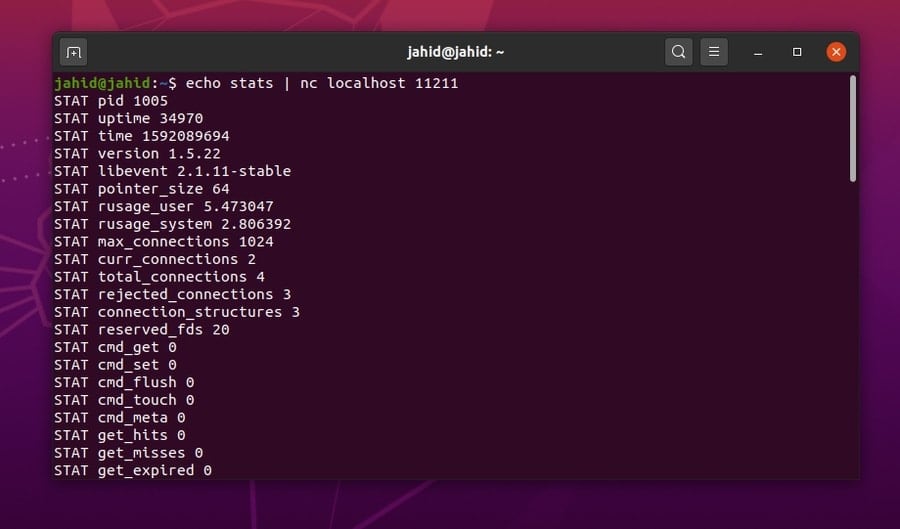
You can also check the Memcached status of your localhost address by using the echo terminal script command. In this process, you will be able to find out the PID, uptime, version, pointer size, maximum connections, library status, total connections, and other essential information. Don’t forget to add the NetCat (nc) command before your address and put the Memcached port after the address.
$ echo stats | nc localhost 11211
Step 7: Installing memcached for Python on Ubuntu Linux
Till now, we have learned how to install the Memcached extension for PHP and Apache servers. Now, we will know how to set up the Memcached for Python in Linux. First, you need to check which version of Python you are having inside your Linux machine. To check the Python version, use the following terminal commands. The Ubuntu 20.04 version has Python3 preinstalled.
$ python --version
$ python3 --version
If you can’t find any Python installed in your Linux machine, you can use these terminal command line to get Python installed inside your machine.
$ sudo apt-get install python
Now, to install the Python extension for the Memcache, use the following apt-get terminal command lines according to your Python version.
$ sudo apt-get install python-memcache
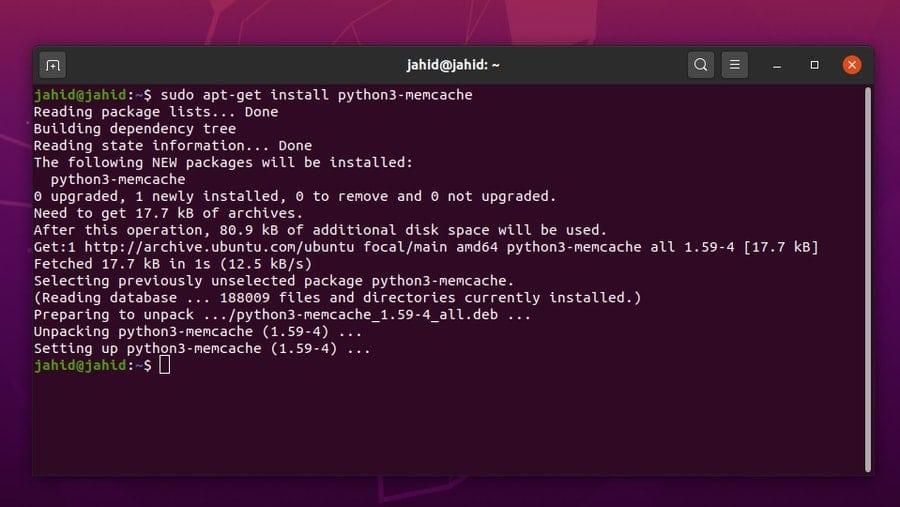
$ sudo apt-get install python3-memcache
Once the Memcached integrated extension is installed for Python, then you can import the Memcache Python library from the terminal command on Ubuntu Linux.
$ python3
>>> import memcache
>>>
You can also install the Memcached extension using the Python Package Index (PIP) commands. For that, first, you need to install the PIP inside your Ubuntu Linux. Then you can install the Memcached using the PIP command from the Ubuntu terminal shell.
$ sudo apt install python3-pip
$ pip3 --version
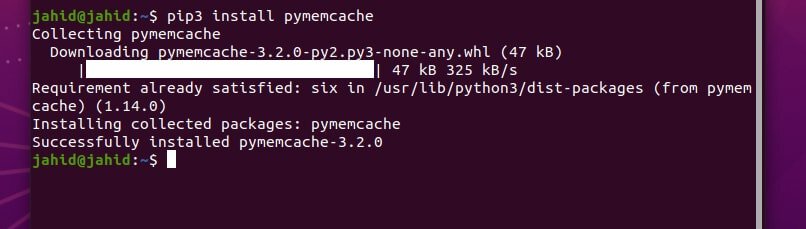
$ pip install pymemcache
$ pip3 install pymemcache
$ pip install python-memcached
$ pip3 install python-memcached
Step 8: Configuring Firewall Settings on Ubuntu
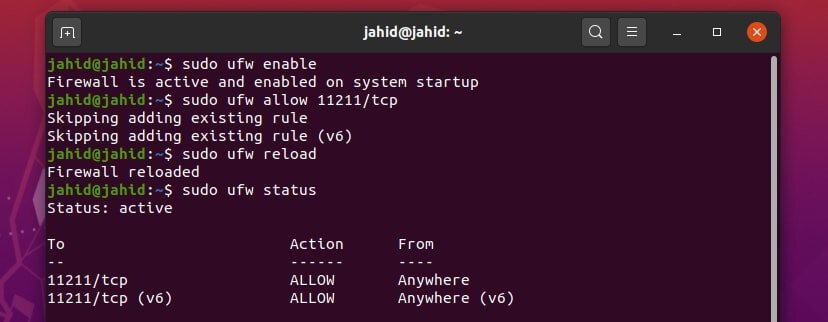
Here comes the mandatory part! While you install some application that is related to the internet gateway, of course, you need to get the firewall permission for that particular service. Otherwise, who knows when the firewall will stop agreeing with your rules and get your site out of gear. Here are the primary and basic Uncomplicated Firewall (UFW) settings for Ubuntu Linux that you should enable and change for your website to get the full Memcached support.
$ sudo ufw enable
$ sudo ufw allow 11211/tcp
$ sudo ufw reload
$ sudo ufw status
Step 9: Checking the PHP memcached Information in Linux
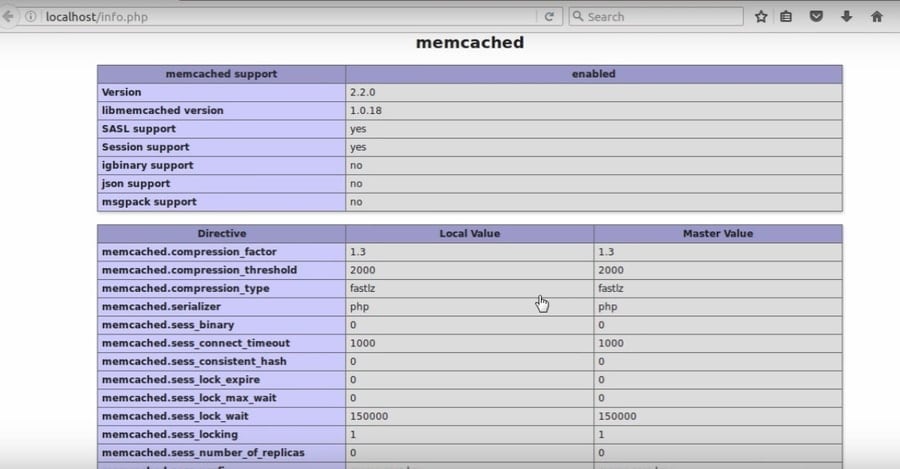
Alright, here we are at the very last stage of installing and configuring the Memcached on Ubuntu Linux. We have already done the possible Memcached settings to get the maximum efficiency for webpage loading. Now we can check the Memcached settings from the Apache server have installed previously. For that, we need to browse the localhost address and need to go to the info page by adding a forward slash(/) and info after the address. There will find specified information about the Memcached that we have installed on our Ubuntu Linux.
Uninstalling the memcached from Ubuntu
If something goes wrong and you have to start over the process of installing the Memcached on your Ubuntu Linux from the very beginning, or you need to uninstall the Memcached due to the server failure here the handly method to uninstall and remove the Memcached settings and log files from your Ubuntu Linux.
$ sudo apt-get remove memcached
$ sudo apt-get autoremove memcached
$ sudo apt-get purge memcached
$ sudo apt-get autoremove --purge memcached
Ending Words
Memcached is an open-source and free web application that is used to reduce the loading time of any website or gaming stream. Many tech giant companies use Memcached to reduce the loading time of their website. Though the Memcached is very stable and works fine with PHP and HTML, there are always positives and negatives of anything. So before you start using the Memcached service, make sure that your Linux system configuration is capable of loading and holding the cache memory.
In this post, I have gone through the entire process of how to install and configure the Memcached system on Ubuntu Linux. I have explained all the phases step by step to make the notion of memory caching more understandable. If you like this post, please share this post on your social media. And, we also you can write any comment in the comment section related to this post.