If you are thinking of upgrading your computer or replacing your hard disk without losing any data, you can use the CloneZilla tool to backup your Linux disk. The CloneZilla is available in ISO format; you can download and burn the ISO file on a flash drive. CloneZilla offers you to backup your Linux disk on a local disk or transfers the entire disk over an SSH server.
CloneZilla is a beginner-friendly and straightforward tool; the user interface is mostly based on GUI; you don’t need to know any shell scripting. If you have multiple operating systems installed on your disk, it can detect Linux, Windows, and other operating systems. Clonezilla supports both MBR and GPT partition scheme. It also supports NTFS, EXT4, and other file formats. It can also help you to recover your disk after a system failure.
Backup Linux Disk Using Clonezilla
CloneZilla is a free and open-source disk backing up tool written in Perl programming language. It has the GNU privacy license. As we need to burn the ISO file into a flash drive to execute the CloneZilla tool, we will use the Etcher tool to burn the ISO file. You can power the Clonezilla tool from your computer’s BIOS and boot menu with a standard booting procedure.
If you are using a virtual machine or a VMware, you probably don’t need to burn the ISO; you can directly install the ISO file as a Linux system. However, in this post, we will see how to use the CloneZilla tool to backup a Linux disk.
Step 1: Download and Burn the CloneZilla ISO File
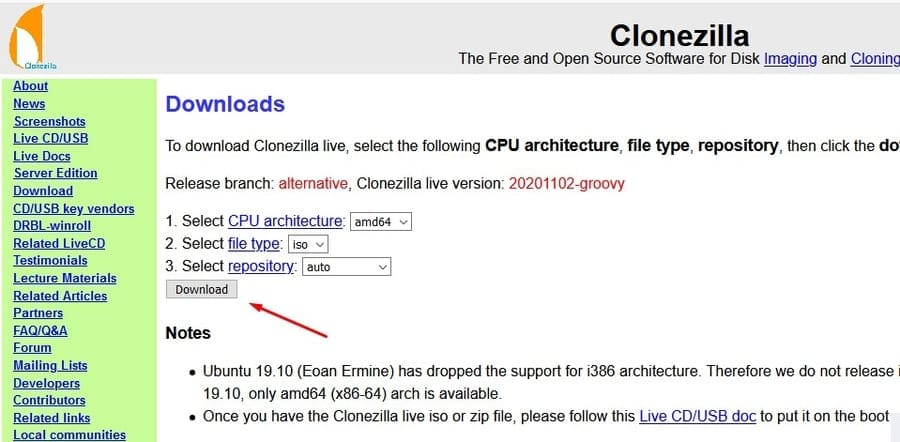
The first step of backing up a Linux disk using Clonezilla is downloading the Clonezilla ISO file on your filesystem. You can download the ISO or Zip version of Clonezilla from here. While downloading the file, you can choose your CPU architecture and file type. As we are going to make a bootable file, so we will download the ISO file.
After finishing the download, you may now burn the ISO file using a disk burner tool. Here, I am using the Balena Etcher tool to burn the Clonezilla ISO file. The process of making a bootable ISO file is pretty much similar on every disk burner tool. First, you have to open the tool, then input your ISO file and select the USB disk. And, finally, you can find a Flash or Start button to burn the ISO file.
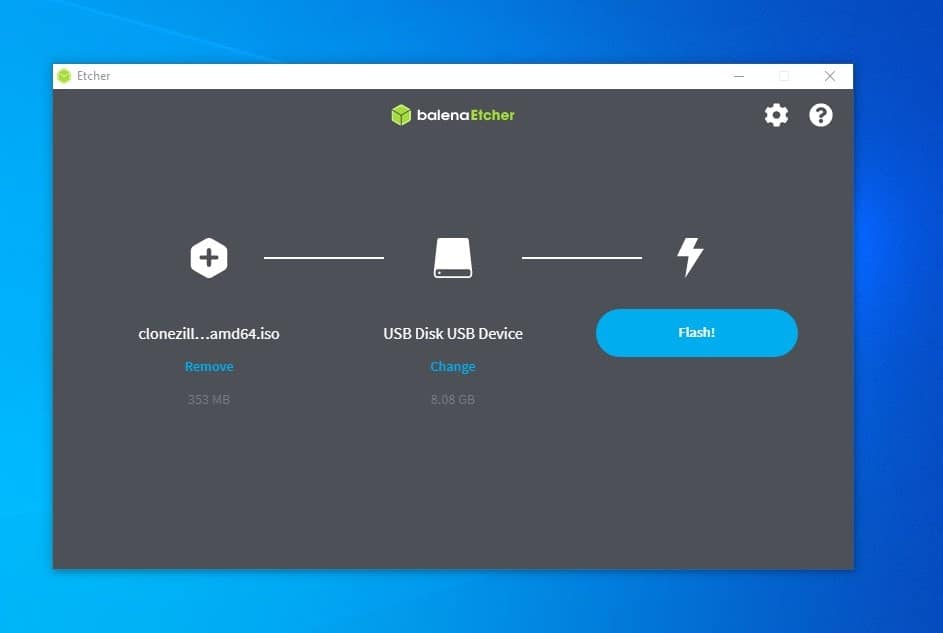
Once the ISO is burnt, your flash drive will be used as a bootable media device. You can now reboot your system to boot the Clonezilla on your Linux system.
Step 2: Boot the CloneZilla Disk Backup Tool on Linux
Booting up the CloneZilla on a Linux system is easy, straightforward, and similar to booting up another bootable Linux system. You need to follow the BIOS-boot procedure to enter the boot process. Normally, most systems use either the ESC key or the F12 key to enter the BIOS menu. After entering the BIOS menu, select the UEFI boot menu and return to the boot menu. You may now find your USB disk to start the Clonezilla tool.
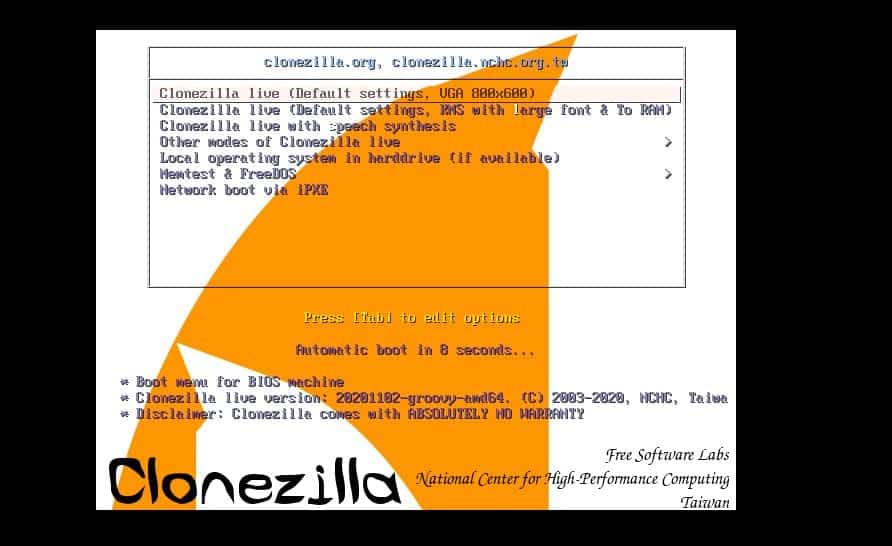
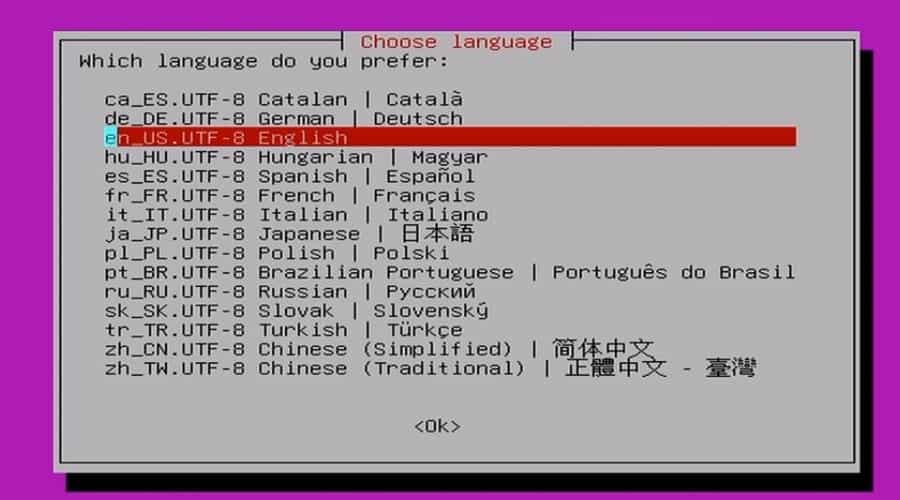
After getting the Clonezilla boot screen, press the enter button to get started with the default settings. Then select the language from the drop-down menu.
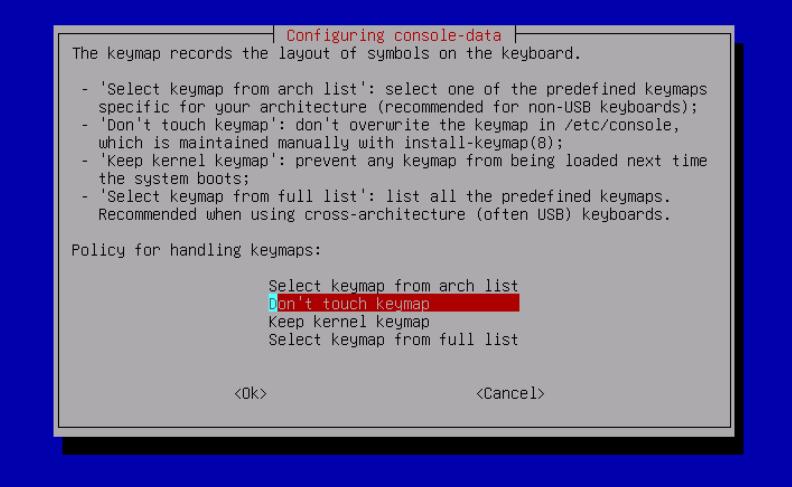
Now, a ‘Configure Console-Data’ window will pop up and ask you to select the keymap. You can just press your down arrow key and select ‘Don’t touch keymap’, and hit the enter button.
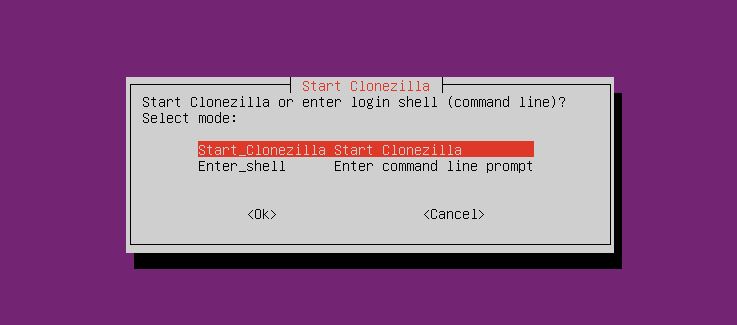
Finally, you would see the ‘Start Clonezilla’ window on your screen. Press the enter button to start the Clonezilla file backing up tool on your Linux system. If you are skilled in shell scripting, you can go for the shell method as well.
Step 3: Setup and Configure CloneZilla on Linux
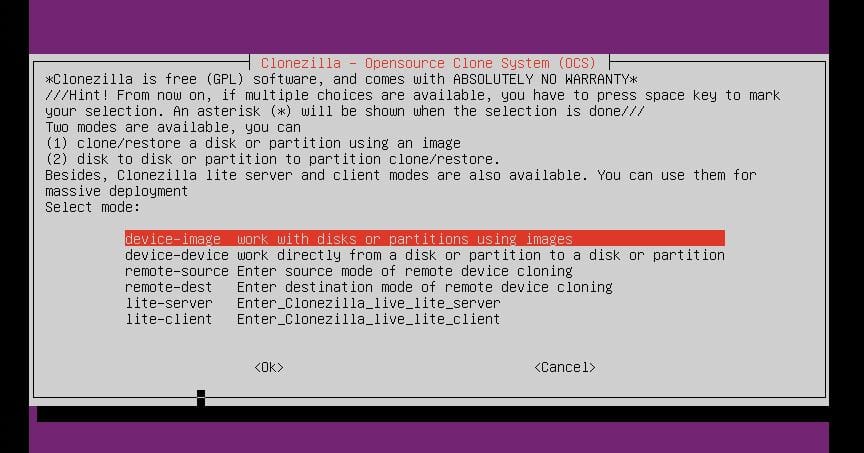
After getting the CloneZilla ready, you can now choose the method you want to use to backup your Linux disk. In the picture below, you can see that there are several methods to clone the disk.
We are using the device-device method to backup our Linux disk through the Clonezilla tool. If you don’t have any backup disk or want to send the backup image to your client, you can choose the remote destination and the lite client option.
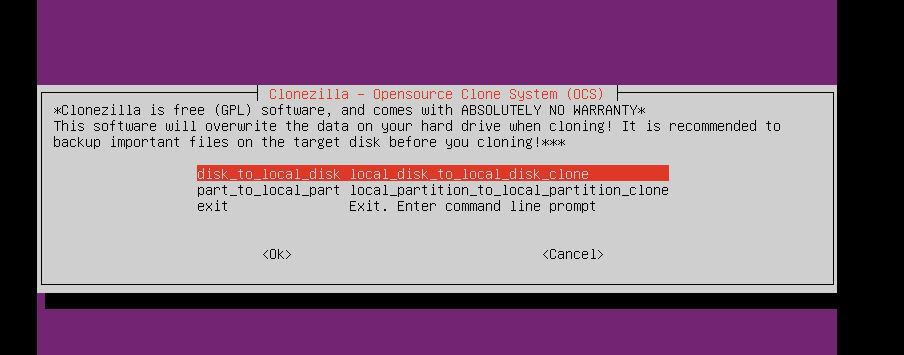
Then from the next option, select the disk to local disk option to make a local backup of your disk. I must note that all your existing data on the destination disk will be erased, so you should take a backup of your destination disk.
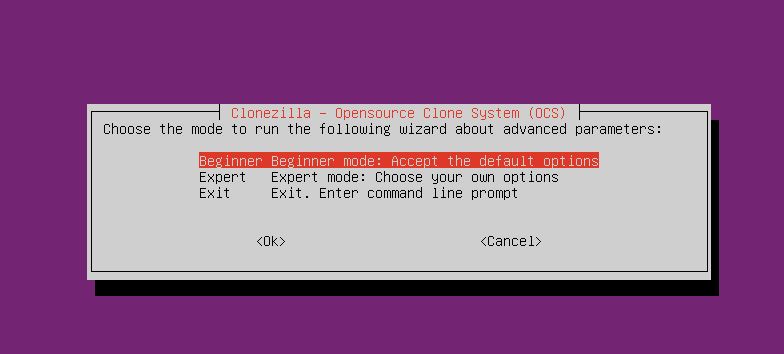
Now at the next step, select the Beginner mode to start the Clonezilla tool on your Linux system.
Step 4: Source and Destination Path for CloneZilla
Clonezilla allows you to make a local backup of your Linux disk and store it in a server. Mainly we will see the local backup process, but we will also know how you can configure Clonezilla to backup your disk on a server.
Method 1: Local Disk Backup via Clonezilla
After getting started with Clonezilla, choose the source disk to clone or back up through the Clonezilla tool. It can detect both HDD and SSD. If your system has multiple disks mounted on your system, you can just pick your desired disk from the drop-down menu.
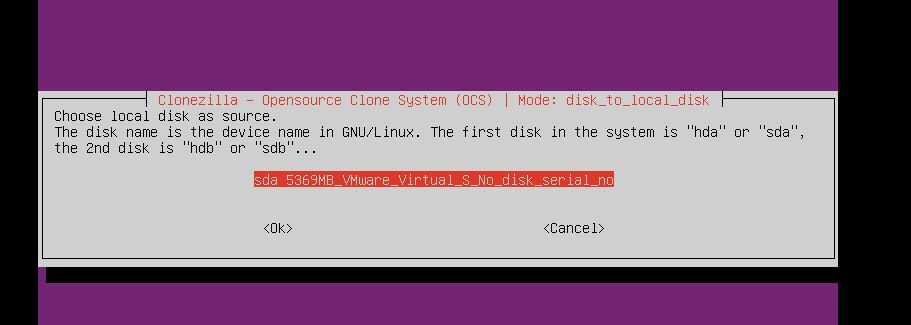
After choosing the source disk, you can now select the destination disk. If there is no additional disk mounted on your system for the destination disk, you can still insert a disk on your Linux system, and the console will detect your disk.

To make a backup of your Linux disk through the Clonezilla tool, you need to have a disk equal to or larger than your source disk. Clonezilla still doesn’t allow to use of a smaller disk to get a partial backup. After choosing the destination disk, you can now press the enter button to proceed.
In the process of backing up your disk, Clonezilla offers you to check your filesystem whether it contains any bad blocks or not. You can skip the step if you don’t want to run the disk checking process.

Clonezilla also has a feature to make your disk secure through disk encryption. You can encrypt your disk if necessary. Here, we’ll skip both the filesystem checking and the encryption process.
Method 2: Backup Your Linux Disk on a Server
If you need to backup your Linux disk on an SSH server or over network storage, you can select your server address as your destination disk. To back up the disk on a server, select the connectivity method. I’ll recommend you to use the ethernet connection over a wireless connection. Clonezilla still has some issues with the wireless connectivity.
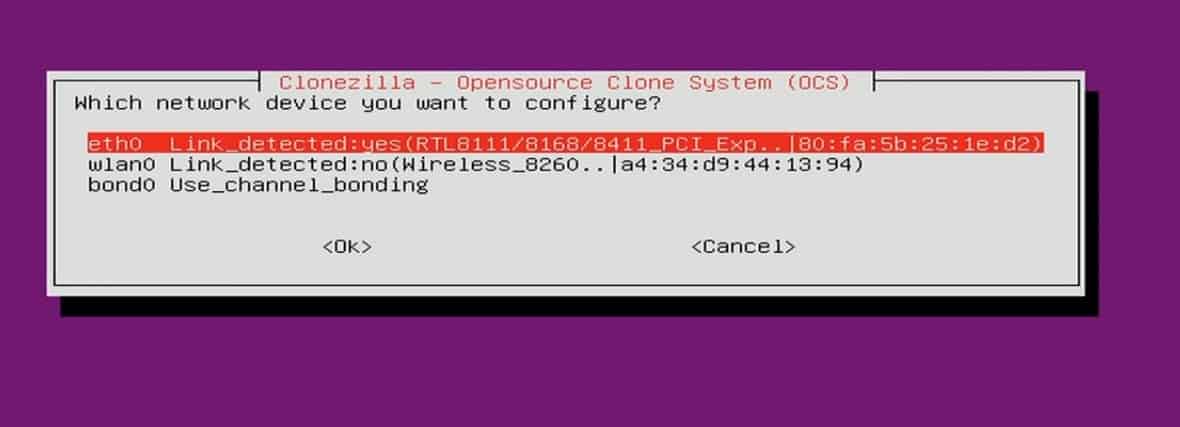
However, you may now provide a name to your backup image file and enter your destination server address. Then hit the Ok button to start the disk backing up the process on a server.

Step 5: Backup Linux Disk Using Clonezilla
After configuring the source disk, destination disk, and other settings, you are now good to go. Clonezilla will now ask for a few permissions and agreements to proceed. It would be best if you wrote Y and hit the enter button every time. As Clonezilla is a graphical user interface-based tool, you don’t need to write any shell scripts, but you can see the automated generated commands on the auto-scroll shell.
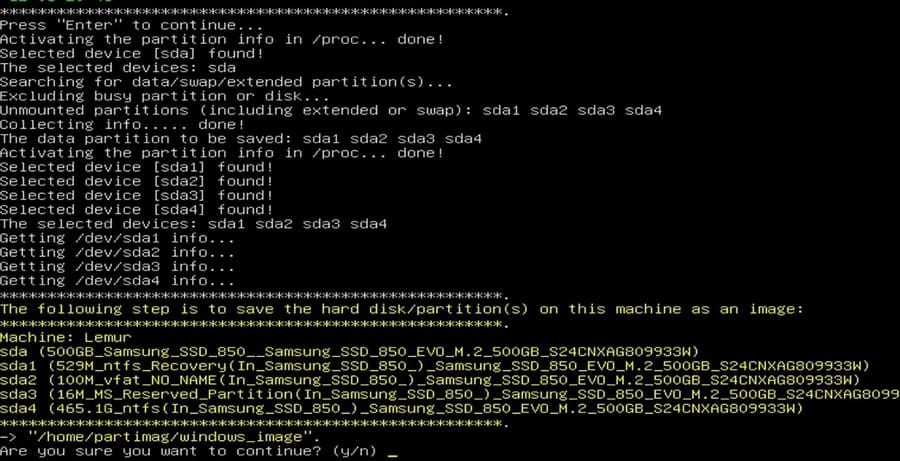
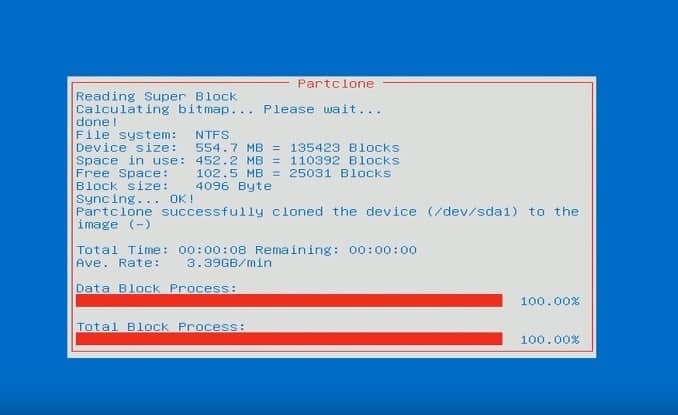
However, you can now press the Enter button to initialize the process of backing up your Linux disk through the Clonezilla tool. If everything goes right, you would now see a screen showing the backup process. The screen will show the disk partition method, device size, free space, and the backup progress.
Step 6: Exit CloneZilla
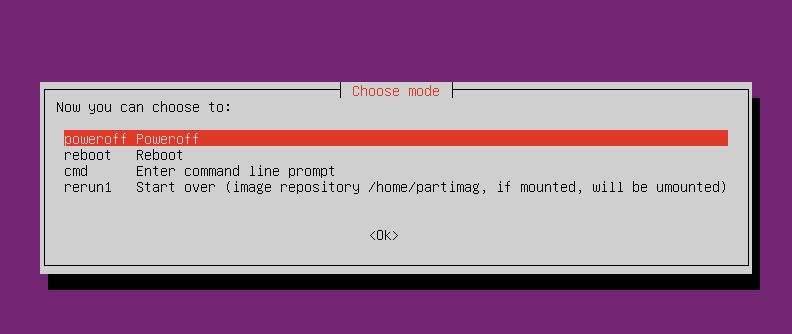
After finishing up the disk backup process on your Linux system, you can choose what to do next. In the picture below, you can see that there are options to power off, reboot, and start over options. After a successful disk backup, you can power off your system. You can always select the Start Over option to rerun the entire process.
Ending Words
Clonezilla is a tool that backs up your disk, don’t confuse it with FileZilla; they are different. Clonezilla is an excellent disk backup tool for Linux and other operating systems, but it would better if there were options to compress files and schedule a disk backup. I have shown how you can make a bootable disk of Clonezilla and backup your Linux disk through Clonezilla in the entire post.
Please share it with your friends and the Linux community if you find this post useful and informative. We also encourage you to write down your opinions regarding this post in the comment section.
