Django is one of the best high level free and open-source web framework. If you are a programmer, you probably already know that Python is considered the future of programming language due to the vast library function and stability. As Django is a Python framework, it can handle high-end applications, secure admin panel, and create dynamic websites. Installing Django and its environment on your Linux system might be the very first step to start working with Django. Though there are options to use Django with Pycharm and other Python interpreters, if you want to work with Django for a long time, I will suggest you install Django on your system.
Django on Linux
Django follows the model view template (MVT) architecture to establish the connection between the user-layer and the database-layer, which makes the framework more stable and secure. You can use the SQLLite database with the Django framework on Linux. On Linux, after the Django environment is set, it functions as a plug-and-play python framework.
Suppose you have experience setting up Linux environments. In that case, presumably, you know that you can either create a virtual environment on your Linux system to run the Django framework or install it directly on your system. No matter which method you follow to work on Django, you will get an administrative page to log in and load the web-framework. After installing the framework, you can set an API through the VS Code or set a localhost server to load the Django administrative page on your web browser.
In this post, we will see how to install Django on various Linux distributions. I will demonstrate the method of installing Django on Debian, Arch, and Red Hat/Fedora Linux distributions.
1. Install Django on Ubuntu/Debian
Installing the Django framework on Debian or Ubuntu Linux is not a hard task. To install Django on your Linux system, you need to make sure that python3 and the Pip package manager of python is installed on your Linux system. You can run the following command-lines given below to install python3 and Pip on your system.
sudo apt update -y
sudo apt install python3 python3-pip -y
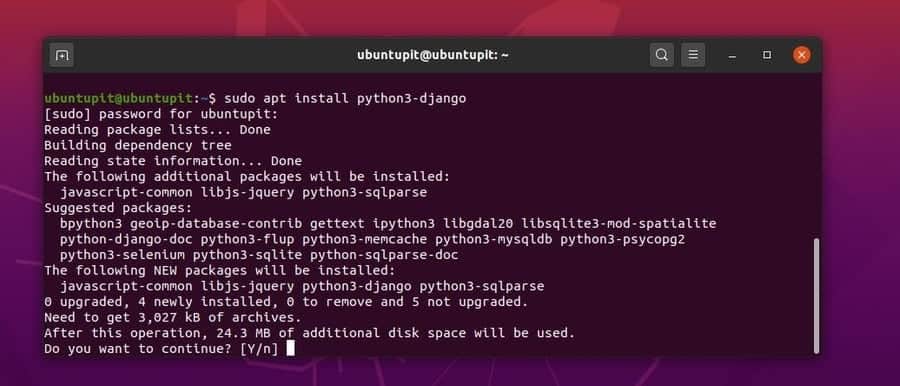
Once you have done installing Python3 and Pip, you may now run the following commands to ensure whether the packages are installed or not.
python3 -V
pip3 -V

Now, we have to use the Pip Python package manager to install Django on our Debian Linux system. Run the following Pip command on your terminal shell to install Django on Ubuntu. The command will download and install the latest version of Django on your Linux system.
pip3 install Django
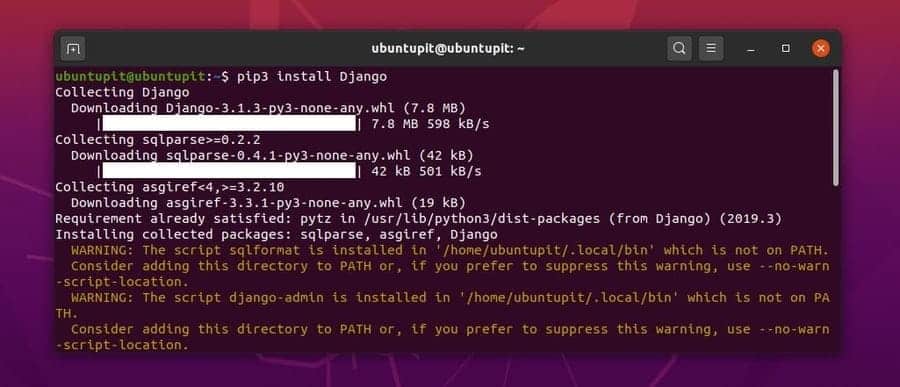
Once the installation is done, you may now run the following command on your Linux terminal to ensure whether Django is installed or not.
django-admin --version
2. Install Django on Fedora/Red Hat Linux
Here, we will see how you can install Django on your CentOS, Fedora, and Red Hat Linux system. Basically, the steps of installing Django on Linux is pretty much the same; we just need to replace the package management command and a few syntaxes. If you are a Fedora and CentOS user, you can run the following DNF command on your terminal shell to install Python3 and Pip on your system.
sudo dnf install python3 python3-pip
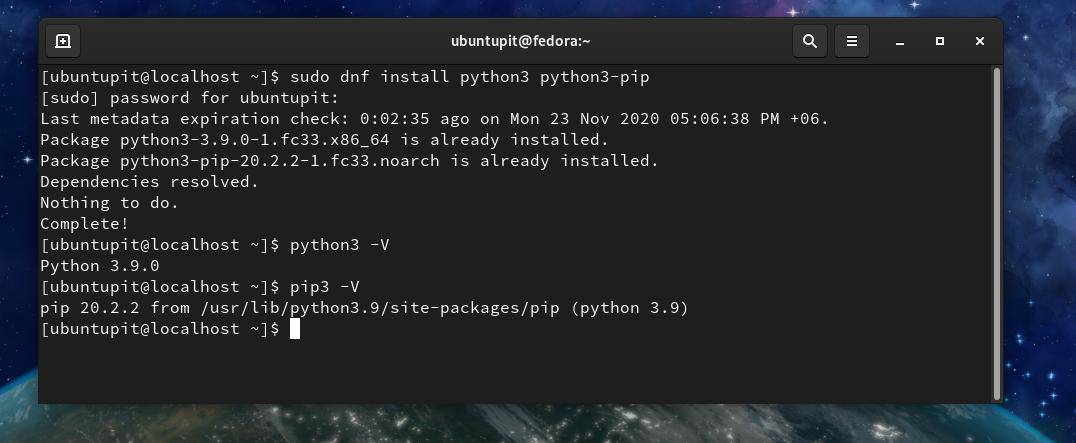
If you are a Red Hat Linux user, run the YUM command instead of the DNF command on your terminal shell.
sudo yum install python3 python3-pip
Once python3 and the Pip are installed on your system, you can run the following commands on your terminal shell to ensure that the packages are installed correctly on your system.
python3 -V
pip3 -V
Now, run the following command given below on your terminal shell to install Django through the Pip python package manager.
pip3 install Django
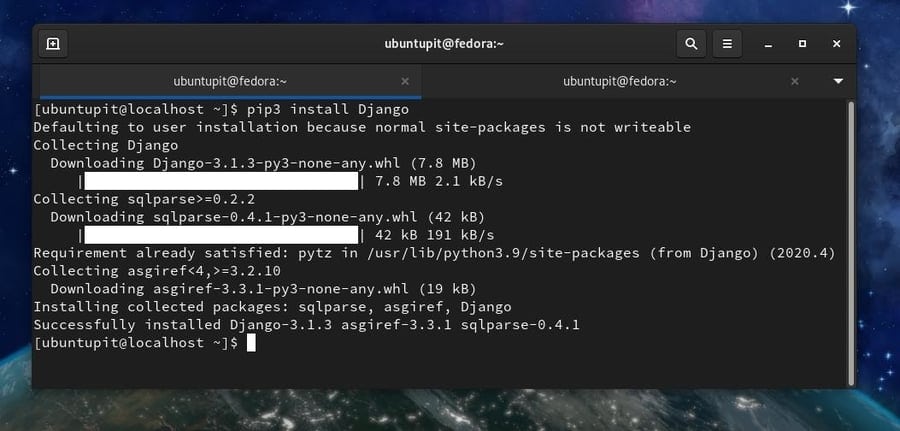
Once the installation is done, you can check the version of Django to ensure that the latest version is installed on your Linux system.
django-admin --version
3. Install Django on Manjaro Linux
Here, I am using the Manjaro KDE to demonstrate the method of installing Django Arch and Arch-based Linux distributions. There are two methods of installing Django on Arch Linux. First, we will see how to install Django via the Pip Python package manager. Later, we will see how to install Django using the Pacman and Pamac command on Arch Linux.
Method 1: Install Django via Pip
First, make sure that the Python3 is installed on your Arch Linux system. If you don’t have the Python3 installed on your system, run the following command to get it.
sudo pacman -Sy python3
Now, run the following Pacman command on your terminal shell to install the Pip Python package manager on your Arch Linux.
sudo pacman -S python-pip
Once the installation is done, run the following commands to ensure that Python3 and Pip3 are installed correctly.
pip --version
pip3 -V
python3 -V
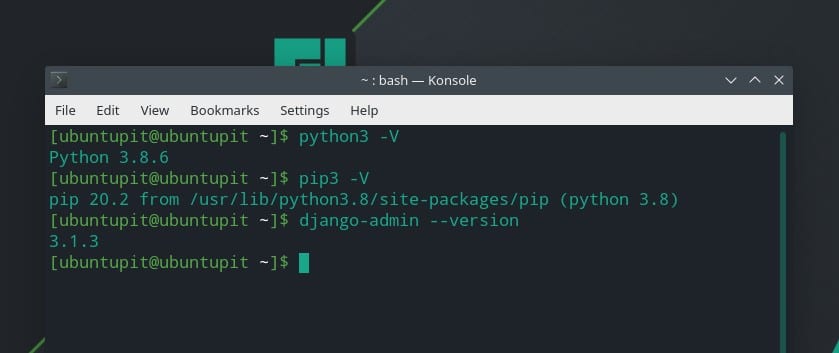
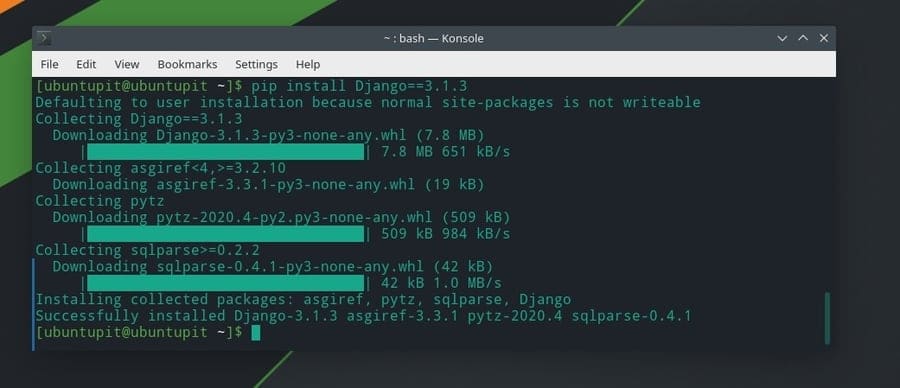
After Python3 and Pip are installed on your Arch Linux, run the following Pip command on your terminal shell to install the latest version of Django on your system.
pip install Django==3.1.3
Method 2: Install Django by Pacman Command
In this method, we will use the CLI-based Pacman command and the pamac package-management library command on our terminal shell to get Django on our Arch Linux. Run the following pamac and Pacman commands accordingly to install Django on your Arch and Arch-based Linux system. The pamac command will check the package integrity on your Linux environment, and the Pacman command will install the package on your system.
sudo pamac install python-django
sudo pacman -S python-django
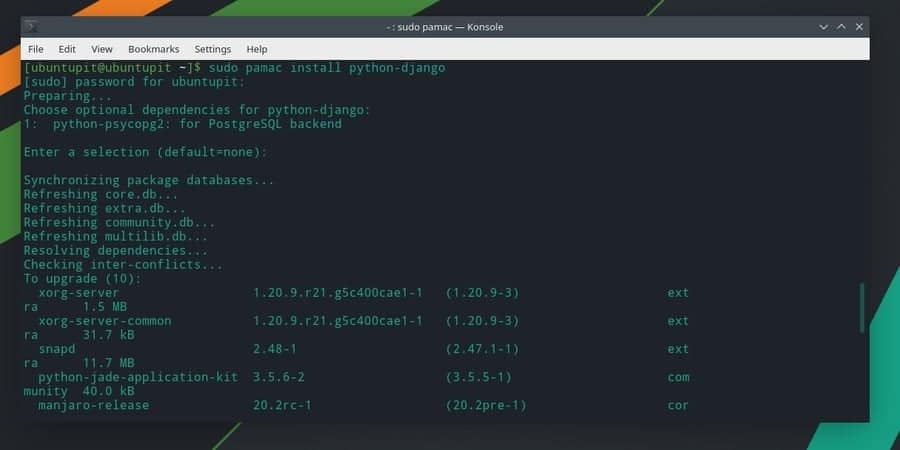
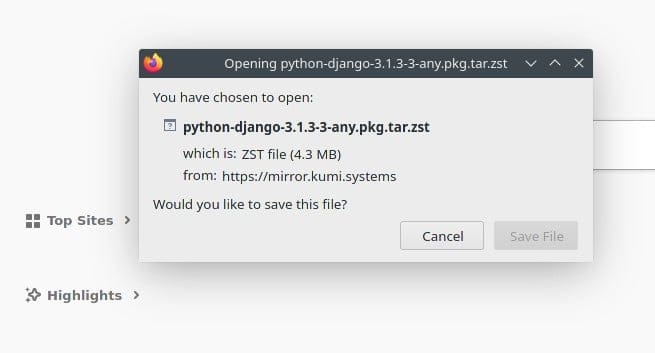
You can also download the compressed version of Django for your Arch Linux and install it manually on your system. Use this link to download the compressed version of Django for Arch Linux.
Get Started With Django
Till now, we have seen different methods of installing Django on different Linux distributions. Here, we will see how to create a project in Django and how to get started with Django on Linux. All the commands that I am going to use here are the same for all Linux distributions.
First, we need to create a directory where we can store the Django projects and the configurations. Usually, Django is operated with the web-browser interface, so we will create a directory inside the var/www directory.
Run the following command-lines given below to create a directory. Here, we are naming the project as django_app.
mkdir -p /var/www && cd /var/www
django-admin startproject django_app
Once the directory is created, run the cd command to enter the directory. Then, run the following command to migrate the python admin, authorization, and session settings inside the directory. Don’t forget to run the command in superuser mode or as a root user.
cd django_app
python3 manage.py migrate
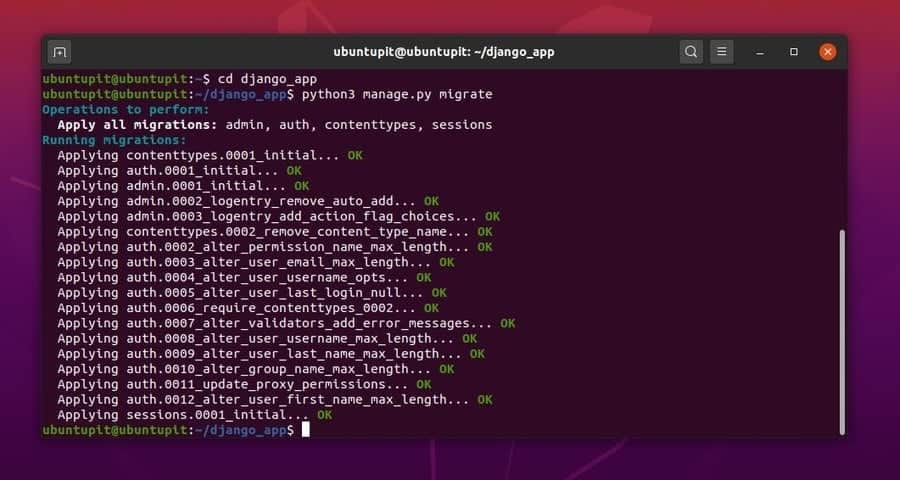
Now, run the following command to create a superuser account with root privileges for Django. Later, we will use this account to log in to the administrative page of Django. Finish the process of creating an account by providing your username, email id, and password. You can keep the username blank to use the default root username.
python3 manage.py createsuperuser
Once the administrative account is created, you can now run the following command given below to edit and configure the setting script of Django on your Linux system. Here, I am using the Nano script editor; you can use any of your favorite script editors to configure the Django settings.
sudo nano django_app/settings.py
Here, you need to find the ALLOWED_HOSTS syntax on the configuration script to input the address of your hosting site. You can put the localhost address as well to load the admin page of Django. Don’t forget to close your IP address with the apostrophe punctuation marks.
ALLOWED_HOSTS = ['127.0.0.1']
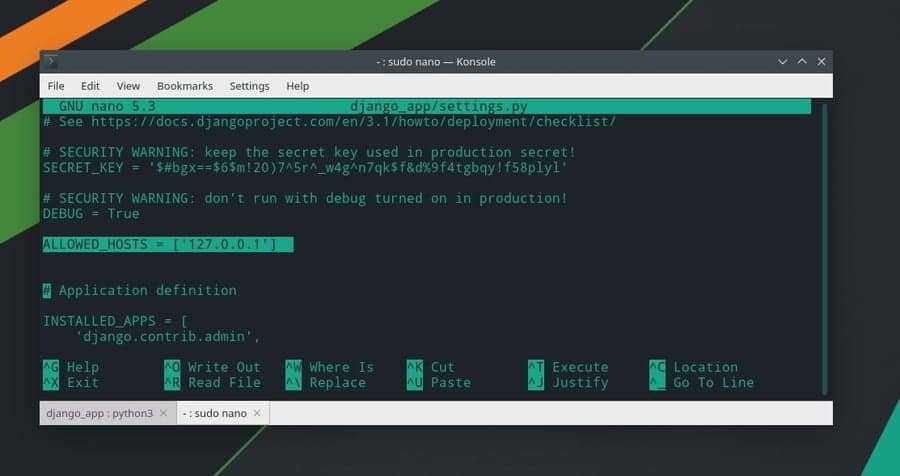
Now, run the following command on your terminal shell so that python can allow the localhost server as your Django web-address. Use port 8000 to complete the server address.
python3 manage.py runserver 127.0.0.1:8000
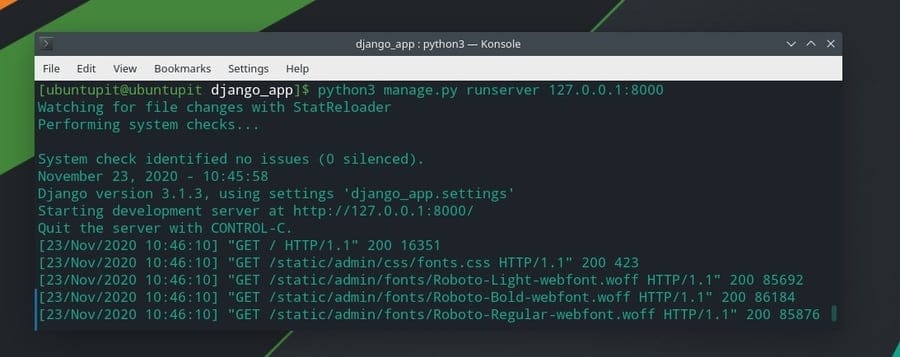
Finally, after everything is done correctly, you can now run your server address on the address bar of your web browser to load Django’s welcome page.
127.0.0.1:8080
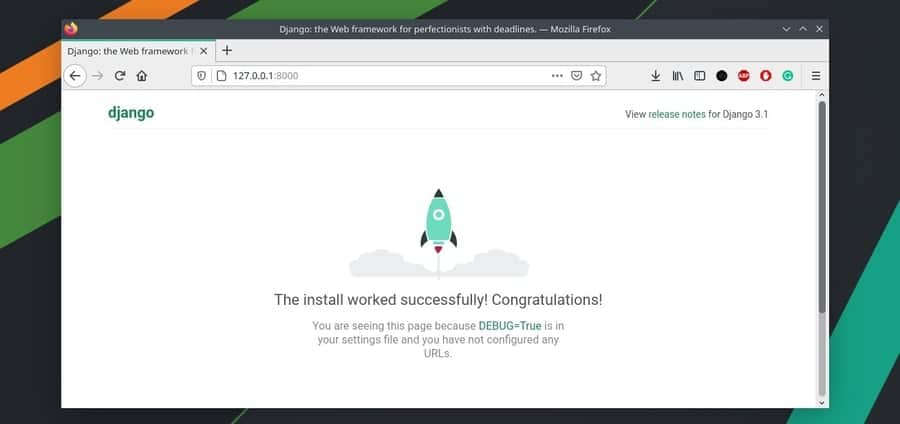
Now, enter the following admin URL on your address bar to load Django’s administration page on your web browser. Enter your username and password to log in to the framework.
127.0.0.1:8000/admin
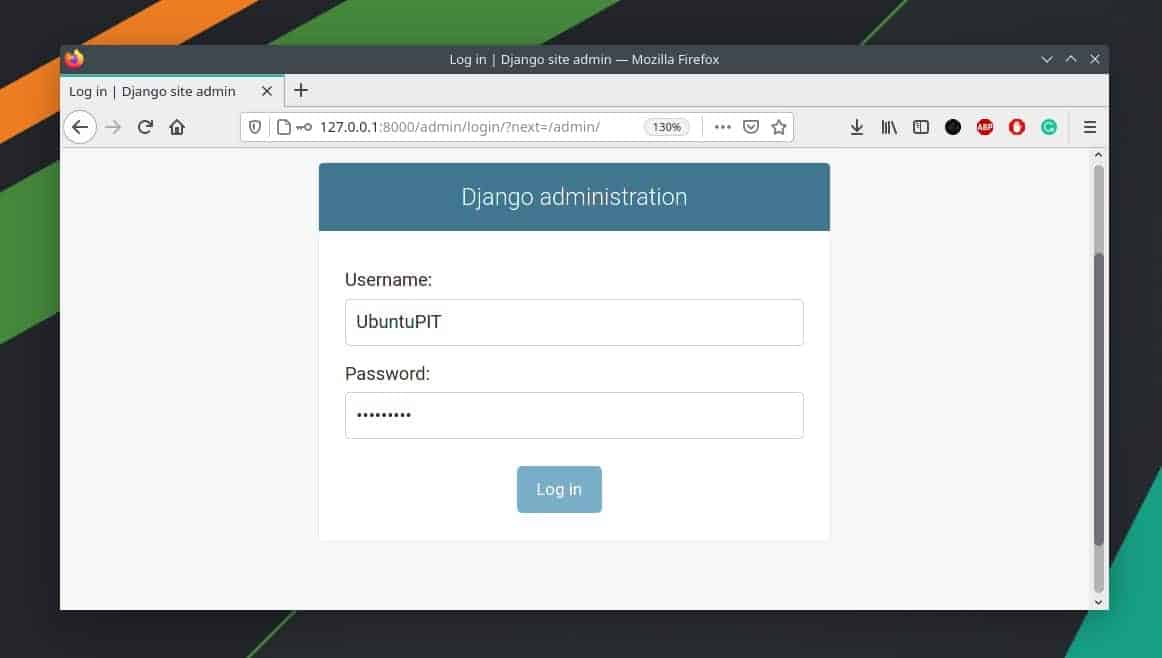
Remove Django from Linux
Removing Django from your Linux system is a simple and straight forward process. Here, I am going to describe the methods of how you can remove Django on your Linux system. Run the command-lines according to your distribution.
Remove Django from Debian/Ubuntu Linux.
sudo apt-get remove python-pip3
sudo apt-get remove python-django
sudo pip3 uninstall Django
Remove Django from Arch Linux.
pamac remove python-django
pacman -R python-django
Remove Django from Fedora Linux.
sudo dnf remove python-pip3
sudo dnf remove python-django
sudo pip3 uninstall Django
Final Words
Django web framework was created to reduce the workload and automate the tedious and repetitive tasks. With the stable and robust library and functions of Python, Django has already taken its place in the programming world. Moreover, if you are a python programmer, you should try Django to enter the vast job market of web development.
Despite having Web2py, Flask, and other quick web frameworks, no doubt Django is now considered the most used and powerful web framework of Python. In the entire post, I have described the methods of how you can install, configure, and get started with Django on your Linux distribution.
If you find this post useful and handy, please share it with your friends and the Linux community. You can also write down your opinions regarding this post in the comment section.
A very excellent article. I am using Debian and this article helped me a lot. Thanks!
Excellent. Worked perfectly.
Excellent article. It worked for me. Using Linux Mint. Thanks
Thanks for this article. It is very informative. I am a passionate user of Linux who has recently rediscovered Python. Django is truly amazing !!!