Pop OS developers have built a spotless operating system for Linux lovers. Users were claiming that Pop OS can boost your productivity. The developers have worked hard and fixed the last-minute bugs to offer the users a smooth OS experience. Installing Pop OS on your system is not different than other Linux distributions. It’s just a two-step process; all you have to do is first create a bootable disk and install the Pop OS from the bootable stick by booting your device.
Why Pop OS?
Well, this is a valid question, why would you move or switch to Pop OS while you already have other Linux distributions running on your system? There is no hard and fast rule that you have to move to Pop OS. Installing a new OS is not mandatory; it’s a choice. Moreover, Pop OS does have some advantages that might attract you. The Pop OS has its built-in data encryption method to secure your hard disk drive.
Furthermore, if you want to play massive games and edit videos on your machine, you know the importance of getting the graphics card’s full support. Here is a good piece of news for you; the Pop OS supports both the AMD and NVIDIA graphics card. So if you are a newcomer in Linux, I would recommend you start your journey with the Pop OS.
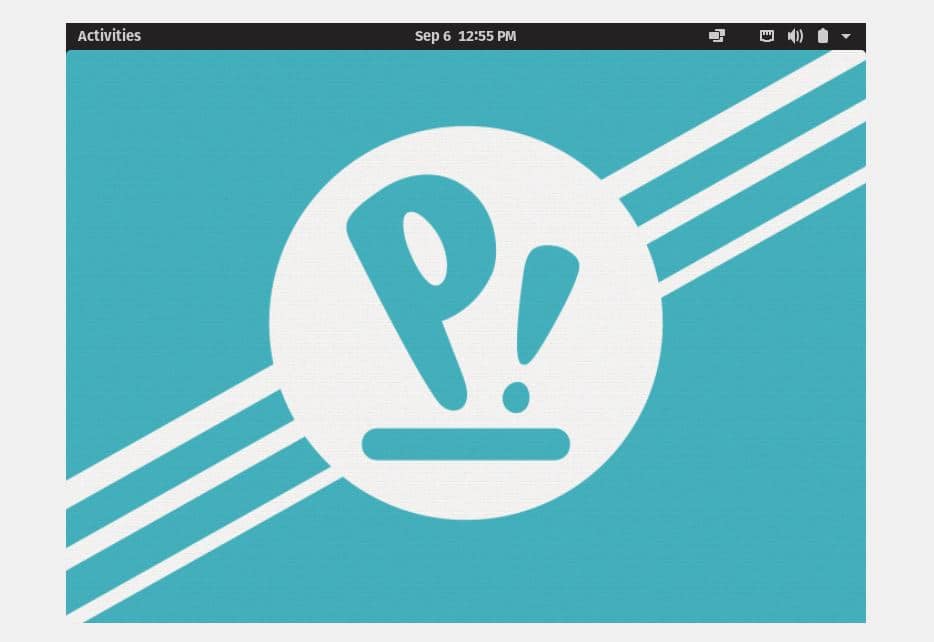
The developers have customized the entire theme of Pop OS, which makes the OS more attractive and cool. You will get a different taste while you use the OS. I have always found that any Operating system’s default theme is tedious, so no wonder you will love the theme of Pop OS. The icon pack, the notification tray, power options, and top bar; all are very much polished and well lucrative. The system76 engineers have already mentioned the minimum requirements of installing the Pop OS in any system. The system requirements are:
- 2 GB RAM
- 16 GB Storage Capacity
- 64-bit processor
Though RAM’s minimum requirement is 2GB, it’s better to use 4GB of RAM to run the Pop OS smoothly on your system.
Installing Pop OS on Your System
Installing Pop OS on any system is not that difficult rather easy and straightforward. You just have to follow some easy steps and we are going to show you that In this post.
Step 1: Download the Pop OS ISO File
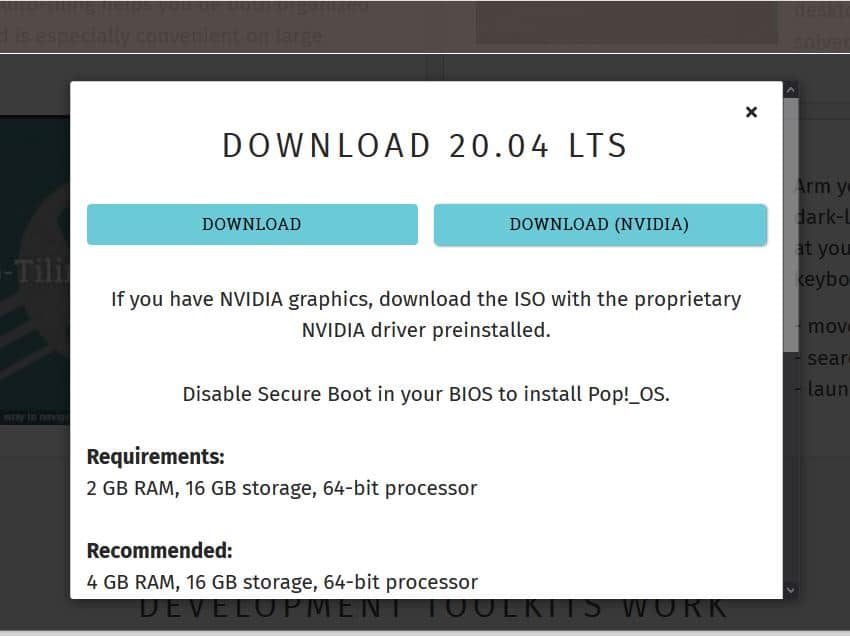
The engineers of system76 build the Pop OS. You can download the latest version of Pop OS from the official website of the system76. You can choose other older versions too, but the latest version is more smooth and user friendly. While you reach the download page, you will notice two options available to download the ISO file.
One is for them who have the NVIDIA graphics card, and the other is for them who are using the integrated Intel graphics card or the AMD video card. Choose your ISO file accordingly.
Step 2: Create a Bootable USB Stick
If you are trying to install the Pop OS on any virtual machine, you can directly install the ISO file of Pop OS. We will install the Pop OS directly on our hardware system instead of using any virtual machine. You can’t examine the full experiences of an operating system with any virtual machine.
If you are trying to create a bootable USB disk from a Debian or Ubuntu machine, you can use the default Startup Disk Creator to make the USB stick. If you are on Windows, you can use the Rufus USB disk creator or the Etcher disk creator to make the Pop OS ISO file bootable. Ensure that you create the USB disk according to your BIOS settings; otherwise, the boot manager might not load the files.
To create a bootable USB disk of Pop OS, I prefer to use the Etcher disk creator. Etcher is very handy and user friendly to use. First of all, download the Etcher tool from here, then open it. Now click on the plus icon (+) to load the ISO file. Then, select the USB drive where the ISO file will be stored. After everything is done correctly, click on the Flash button to initialize the writing process. It will take a while to finish the task.

Step 3: Restart and Boot the System
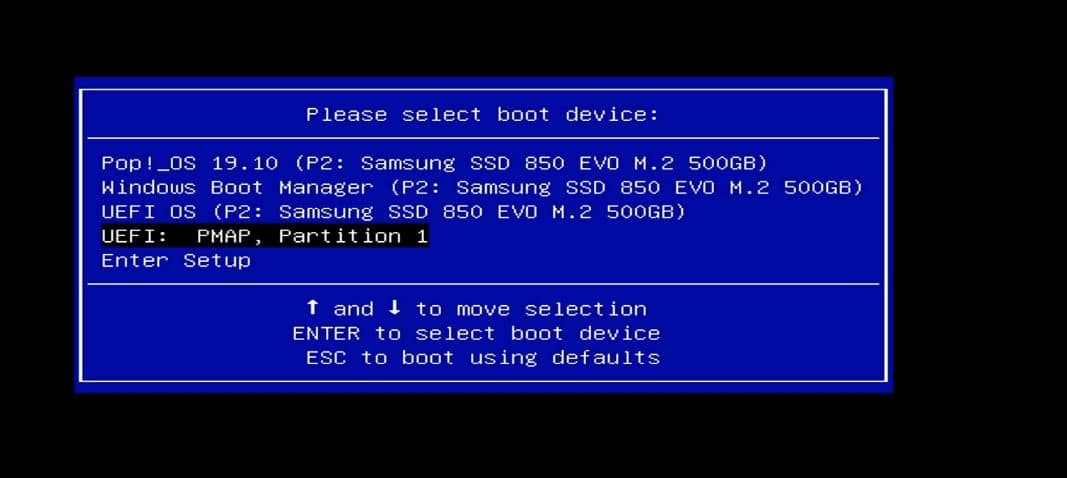
After you are done downloading and creating the bootable USB disk of the Pop OS, it’s time to restart and enter your system’s boot menu. After restarting, press the BIOS menu of your machine to load the BIOS and boot menu.
Typically, the Linux distributions can load the UEFI configuration of BIOS. If your hard disk is not the GPT partition scheme, make sure that it is compatible with the Linux filesystem. Now, if everything is fine, choose your desired OS and hit the enter button to continue.
Step 4: Initialize Installing Pop OS on Your System
In this step, you will be asked to select the language of your operating system, Keyboard layout, installation type of the OS, and the hard disk encryption option. After selecting your language and keyboard layout, you can turn on your WiFi connection to install third-party applications inside your system.
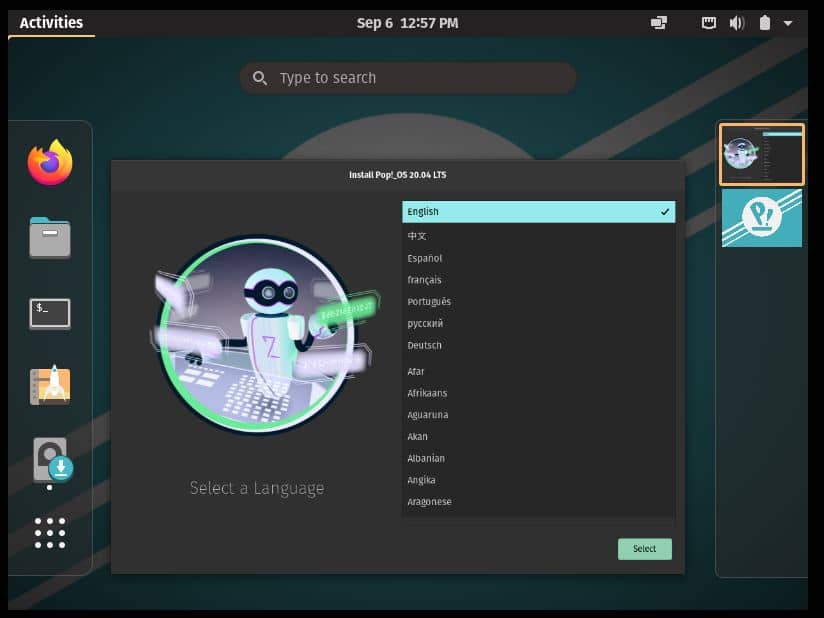
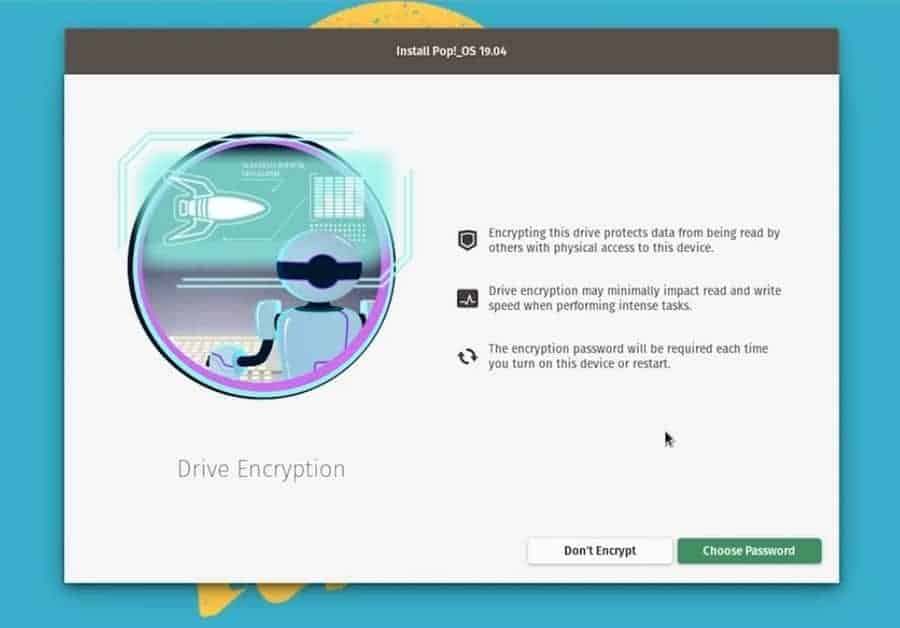
Then, select whether you want to encrypt your data or not. It may take a while to complete the installation process if you enable the harddisk encryption process. But don’t worry, the actual boot time is enormously fast on Pop OS. Now after everything is done, your system will restart to continue the other steps.
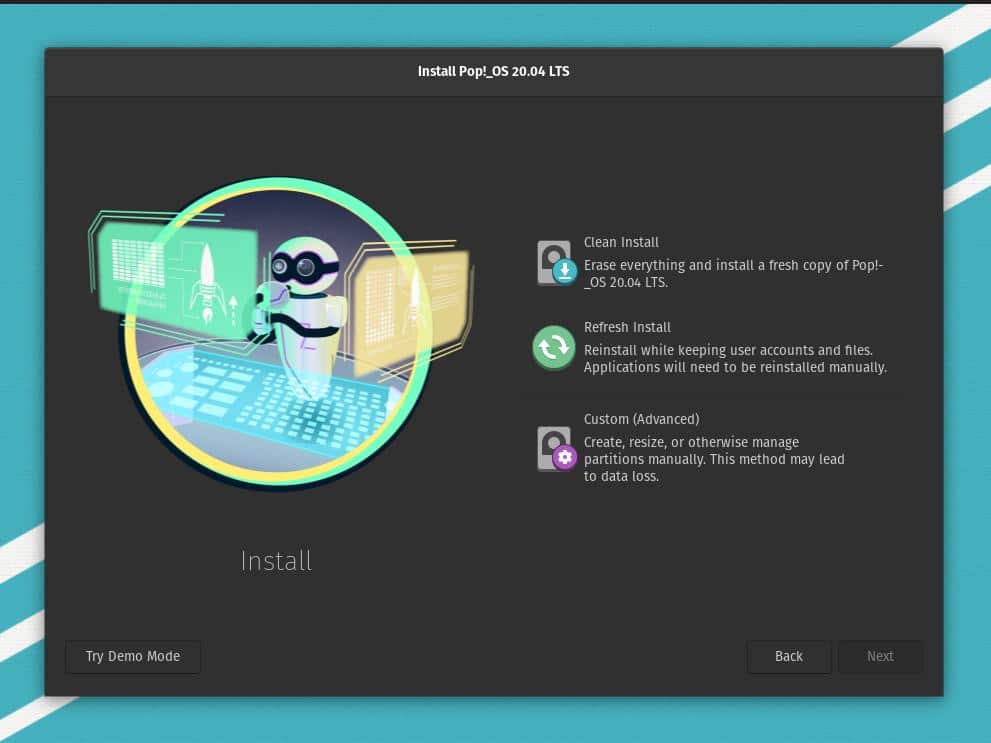
After rebooting your device, you will see several options in your hand to install the Pop OS. You will see options to make a clean install, refresh install, and custom install of the operating system. You can choose any option according to your system capacity and performance. Here, I am going to select the advanced custom install option.
Step 5: Set Up the Disk Partition for Pop OS
In this step, we will see how to select the hard drive and make a partition on the drive. If you want to make a dual boot computer and install the Pop OS alongside the previous system, you can choose it from the custom installation option. Otherwise, you can wipe the disk and initiate the clean install option.
In most cases, the custom installation process is more complicated than the clean installation process. In the custom installation option, you can create, resize, manage partitions manually, and choose the boot drive. Most people do a mismatch while they want to make a dual boot; they don’t specify the GRUB bootloader directory.
First, select the unused or unallocated space of your disk, then make an ext4 partition for further work. If your disk is in the GPT partition scheme, you can erase the disk and make partitions as much as you want. If you have a previous OS installed inside your disk or you have essential data that you don’t want to lose, please shrink the volume before you come to the boot menu.
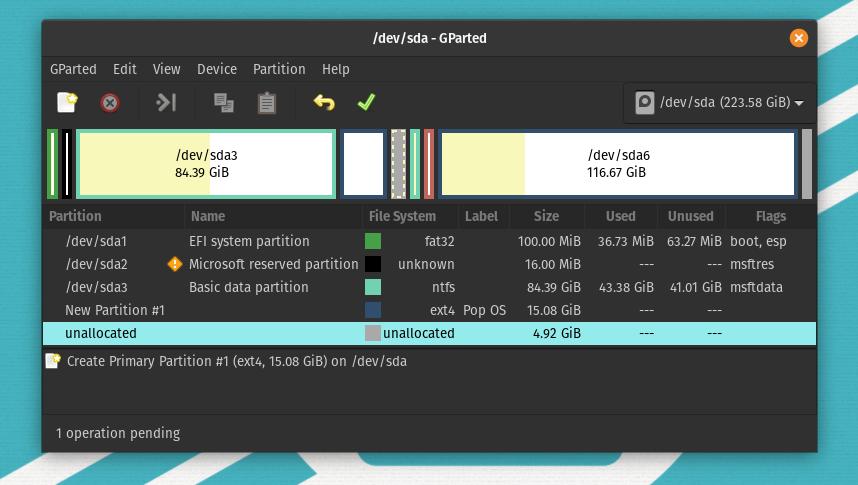
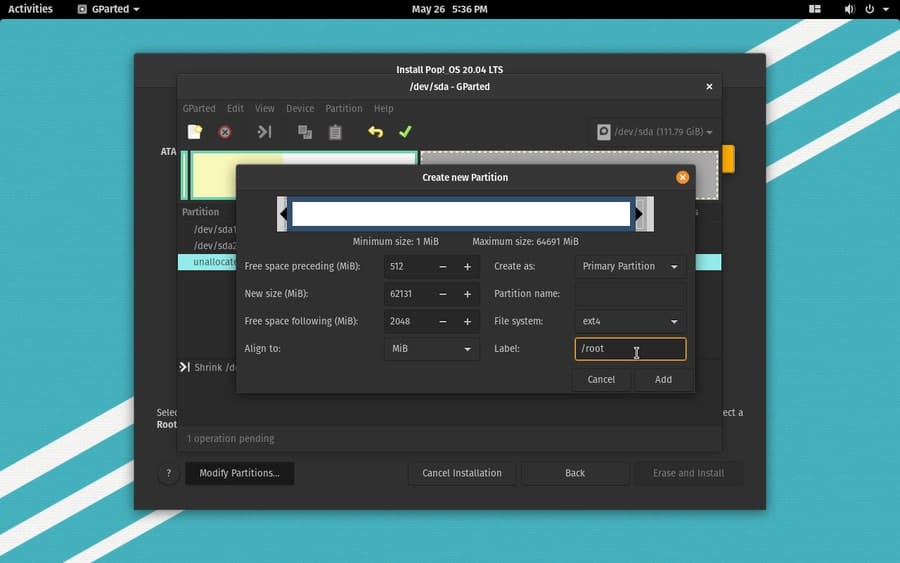
From the partition table, you can select the disk and click on the plus icon (+) to create a new partition for the Pop OS. Now, here comes a great confusion about how many partitions I need to create to run the OS smoothly on my system? Typically for Linux distributions, all you need is to create a root directory to store the files.
If your system runs on a low amount of RAM, you can create a 2GB of SWAP partition. Hence, for this step, you just need to create a partition.
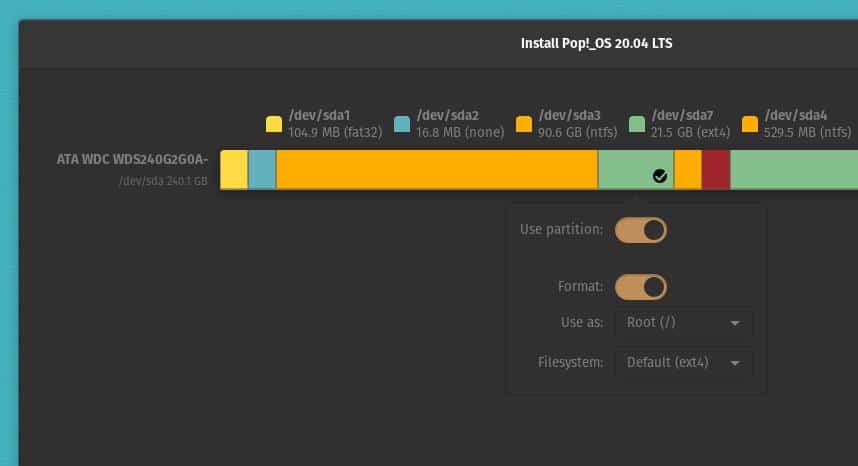
After the disk allocation is done, you will see your allocated disk at the disk bar. You can see that I have assigned a 21.5 GB disk partition (/dev/sda7) in the picture below. Now, click on the disk part, and it will popup a window that will allow you to use the partition. In the beginning, you can create a root partition to store your OS.
Many people often get confused about the home directory. They cant decide whether they should create a home directory or not. In my opinion, if you have enough space in the disk, you can create a home directory; otherwise, the root and the SWAP partitions are good enough to run the Pop OS on your system. So, my disk partition recommendations to install the Pop OS on your system are given below.
root partition: 12 GB
home partition: 4 GB
SWAP partition: 2 GB
boot partition: 2GB
Be mindful; you need to create all the directories in ext4 format. Only the SWAP area will be an indifferent scheme. You can create file partitions as both logical and primary partition scheme. If you want to make a dual boot option, make sure you kept the GRUB boot loader in the right directory. Normally the boot partition is placed as /boot/EFI.
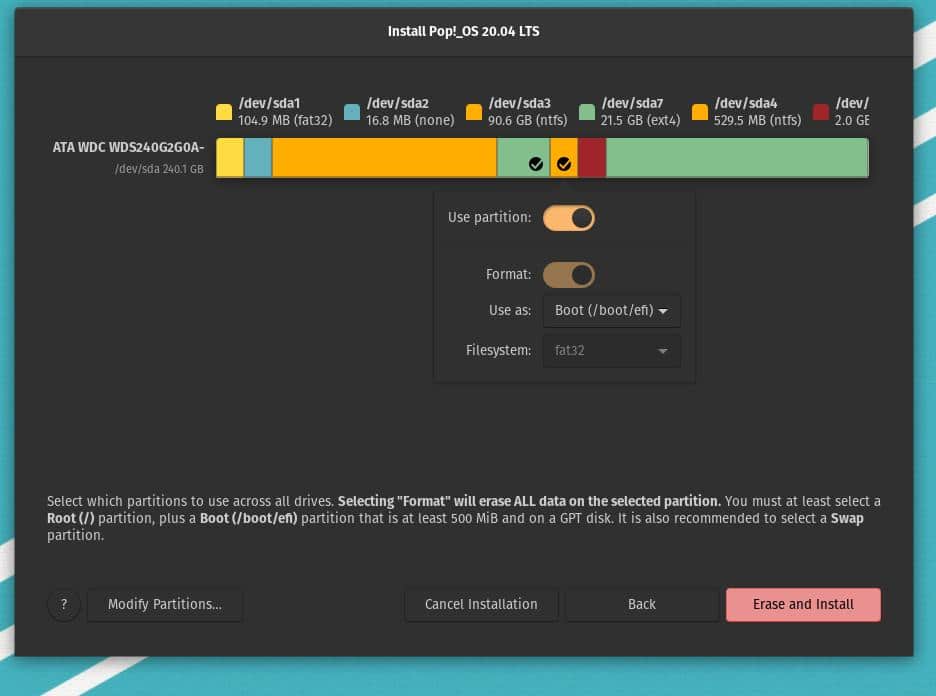
After everything is done correctly, now click on the Erase and install button form the partition table. Now the Pop OS installation will begin; it would not take more than twenty minutes to be finished.
While you run the installation process, the Pop OS will run several scripts in the boot screen to set the recovery algorithm, perform the disk capability, and mount the directory. The script files will ensure the compatibility and create a report of Pop OS kernel settings, firewall installation, and load kernel modules.
If everything goes right, you will be able to see a green OK message for every checkup. The system76 engineers have built a power daemon and a thermal daemon to protect your system from overheating.
Step 6: Finish the Installation of Pop OS
Until now, we have seen the process of creating a bootable USB stick and making of disk partitions to install the Pop OS on our computer. This is the final step, where we will see how to set the OS’s username and password and finalize the installation process.
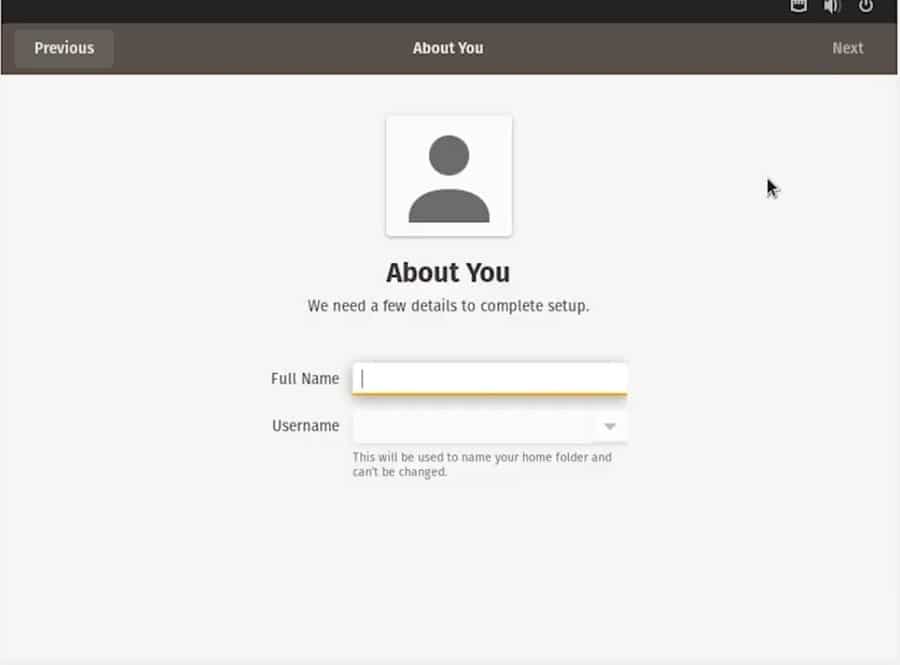
After the installation is finished, you will be able to see the restart button. Click on the restart button and wait until it reboots. Now, you will reach the welcome page of the Pop OS. Here you have to click a few Next buttons to continue the process. After that, you will find the window to select the time zone and set a username and password. After you are done with these things, you can now start using the Pop OS on your computer.
Extra Tips – 1: Fix the GRUB Bootloader
If you are using the Pop OS with another OS by using the dual boot option, there is a chance that your GRUB bootloader might be mismatched. To fix that issue, you can use the boot repair tool to repair the GRUB bootloader.
sudo add-apt-repository ppa:yannubuntu/boot-repair
sudo apt-get update
sudo apt-get install -y boot-repair && boot-repair
You can also use the OS-Prober to see all the installed operating systems on your machine and fix the mismatch.
sudo apt install os-prober
sudo os-prober
sudo update-grub
Then, reinstall the GRUB bootloader.
sudo apt-get update
sudo apt-get install –reinstall grub
Extra Tips – 2: Install the NVIDIA Graphics on Pop OS
Though the Pop OS has the option to download the ISO file that already has the NVIDIA card support. In case if you forget to download the NVIDIA supported ISO file, here is an option for you. You can install the NVIDIA graphics card driver manually from the terminal command shell. You just need to copy and paste the apt command in your Pop OS terminal shell.
sudo apt install system76-driver-nvidia
Ending Thoughts
Till now, I have demonstrated the methods of how you can install Pop OS in your machine. Definitely, this post is not a review of Pop OS. But I’ve mentioned some key points about the operating system that you must know before you start installing the OS.
The installation procedure of Pop OS was mostly similar to installing other Linux distributions. Still, I found that the disk partitioning method was different from others, which I enjoyed a tad. I have been using the Pop OS for a few days, and I am already a fan of Pop Os. I hope you will enjoy the OS too. Please let me know if I had missed anything to describe the installation method. And don’t forget to share your experiences with the Pop OS.
I hope you loved this post and find this post informative. Please share it with your friends and the Linux community. You can write your opinions about this post in the comment section.
