Managing Linux server through command line interface is quite tricky for both beginners and advanced users. And if you don’t have much experience and ability to handle various working commands on the server, then it will be more challenging and difficult to control Unix like system on to go. Moreover, logging into the Linux Terminal Emulator using mobile devices isn’t that comfortable to work smoothly. In this scenario, GUI based control panel like Webmin comes into the focus to help you out from all those difficulties for effective control and manage the system server.
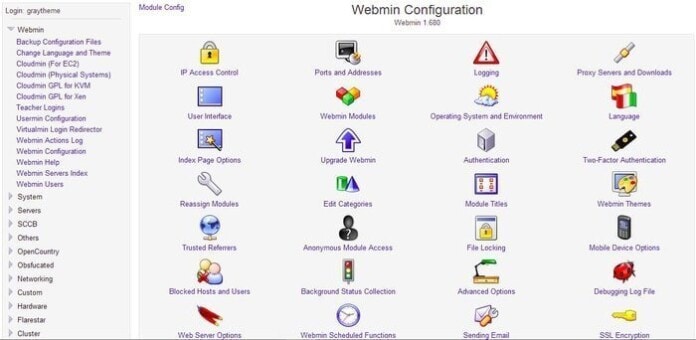
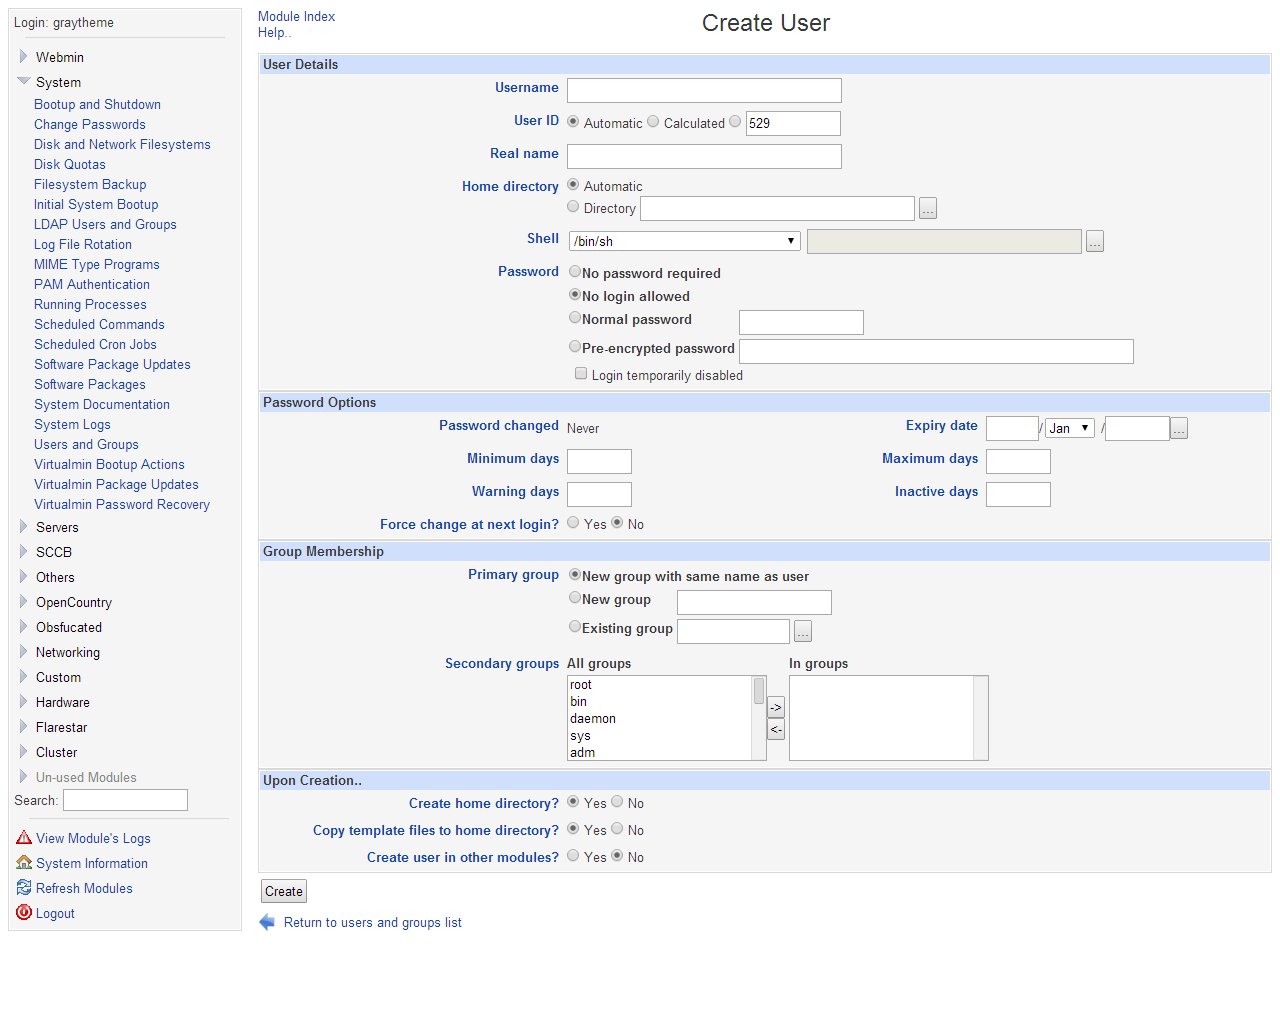
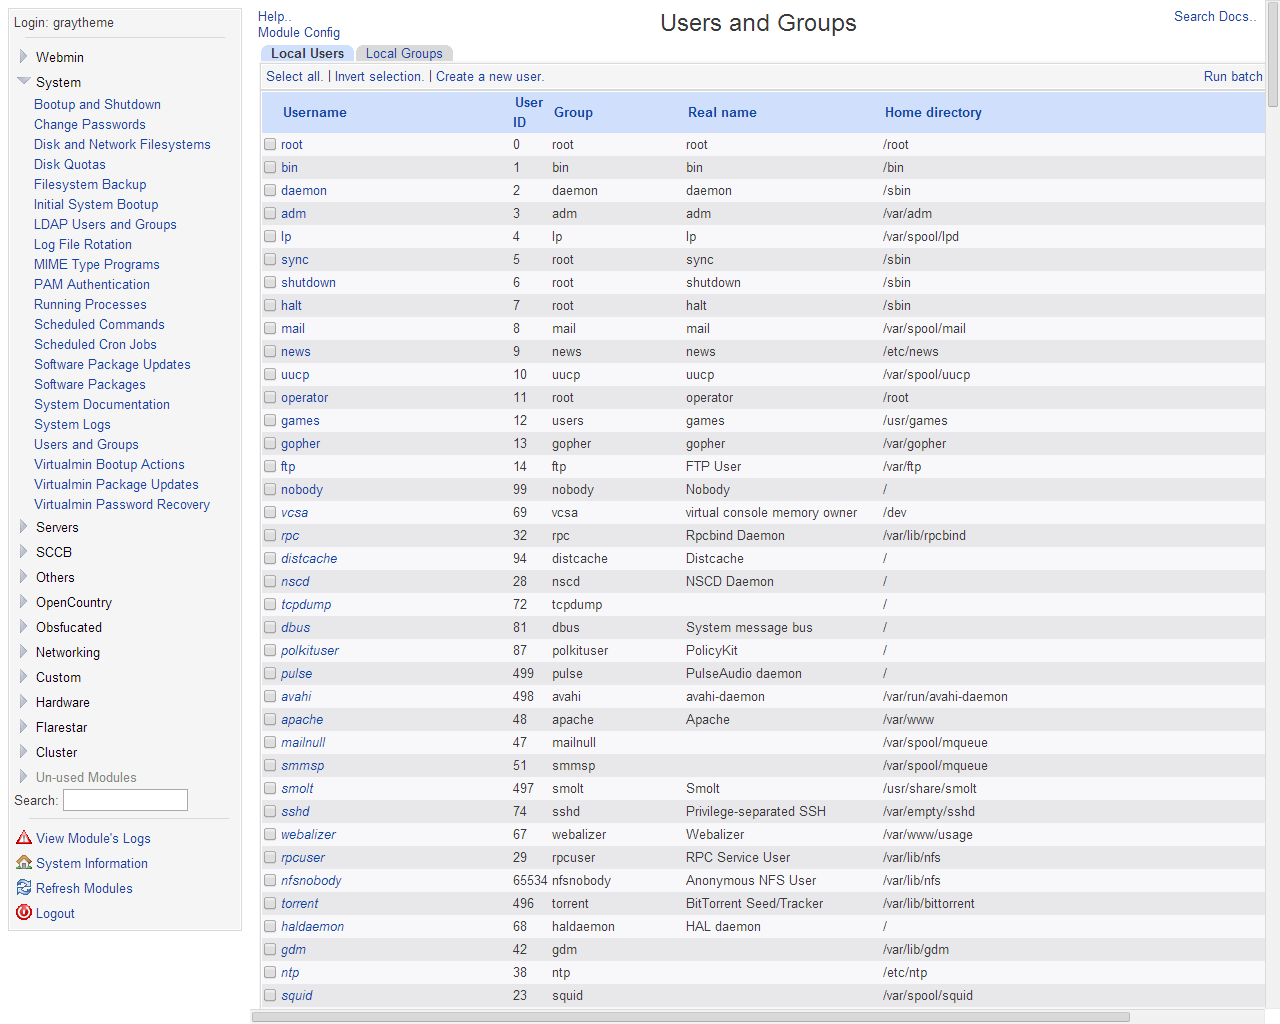
Webmin is a web-based system configuration tool for a Unix-like server. Though this tool is developed for the Linux system, still you can also install it on the Windows platform as well. It provides a simple, easy-to-use, and modern user interface for your server.
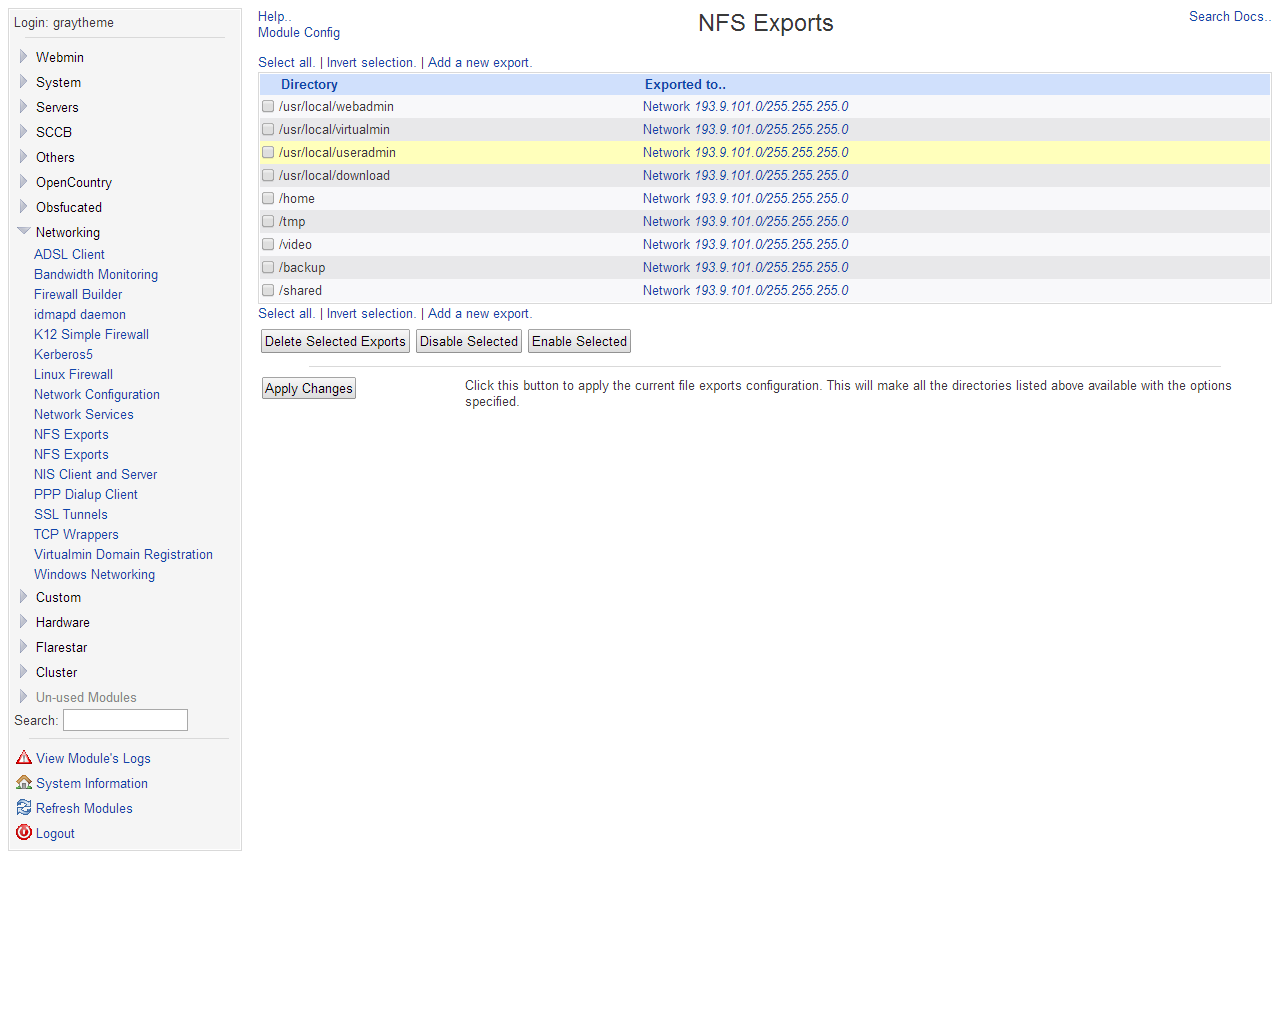
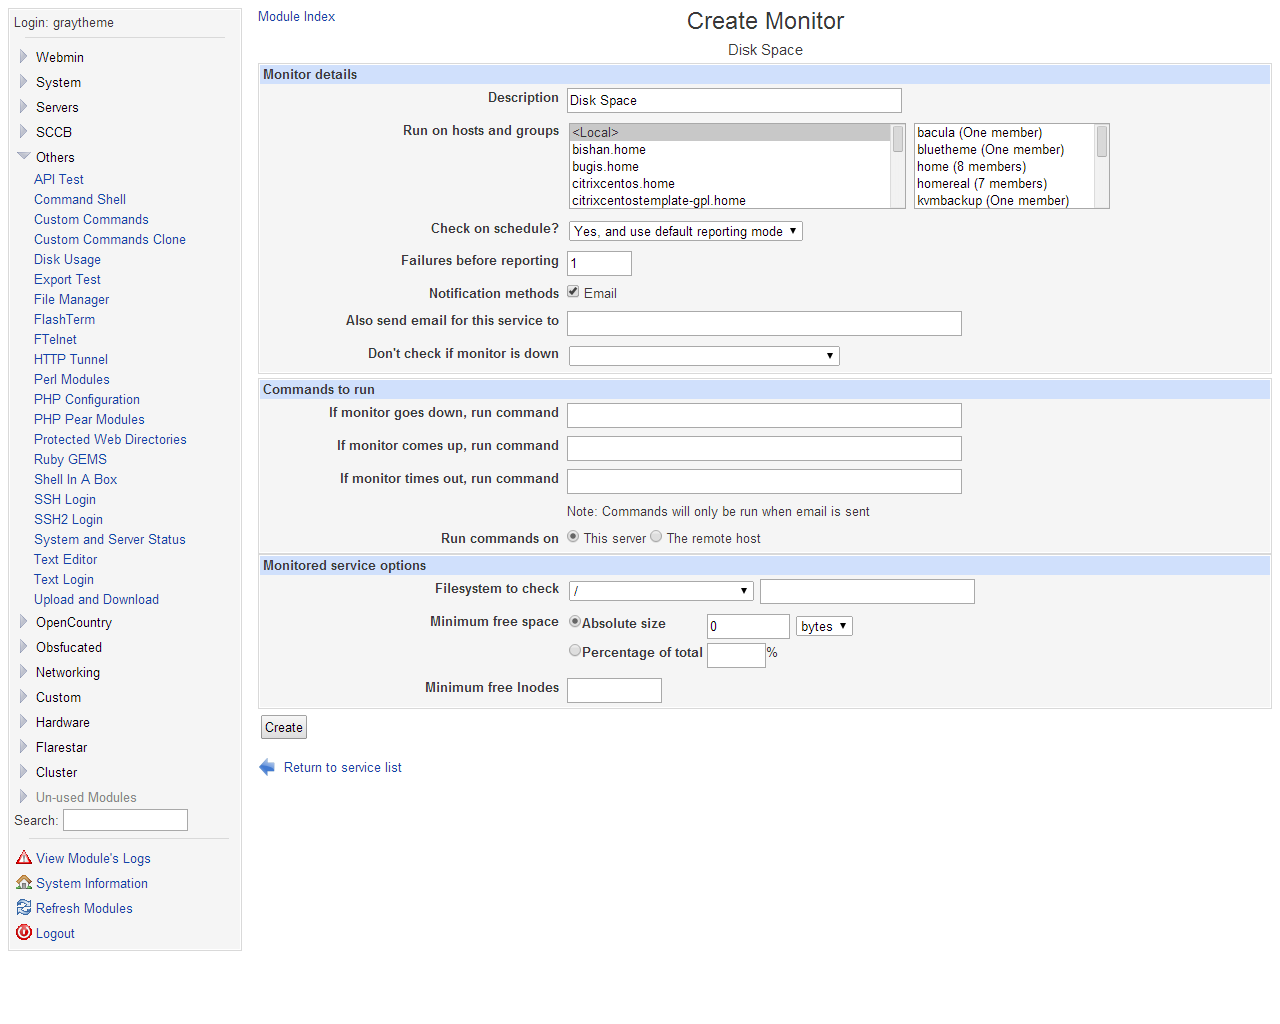
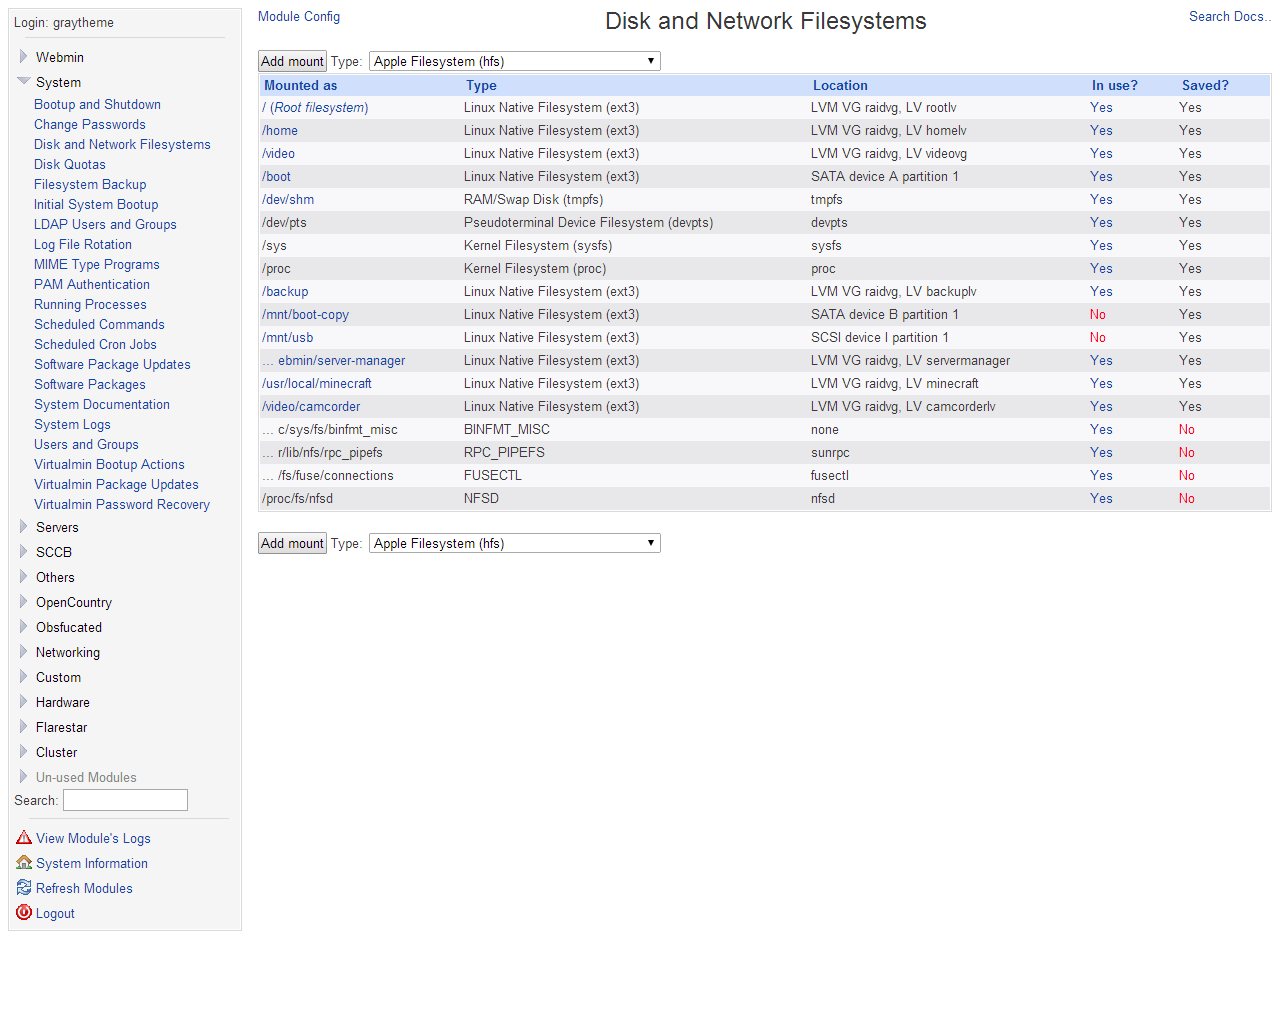
With the help of Webmin, you can configure the system’s internal components like users, disk quotas, and service files. Moreover, you can also control and modify the servers open source applications such as PHP, MySQL, and Apache HTTP server.
It’s designed and developed by Jamie Cameron and the Webmin community. This system tool is mostly written in Perl programming language.
Install Webmin in Ubuntu Linux
In this quick tutorial; I will show you how to install this tool in Ubuntu Linux. There are some processes that you need to follow.
First of all, run the following command to open the /etc/apt/sources.list file
sudo nano /etc/apt/sources.list
This command will open a source list file where you have to add the below line:
deb https://download.webmin.com/download/repository sarge contrib
Save and exit; now add the following GPG key via Terminal:
wget https://www.webmin.com/jcameron-key.asc
<span style="font-weight: 400;">sudo apt-key add jcameron-key.asc</span>
Now at the final stage, run the below command one by one to install Webmin in Ubuntu Linux:
sudo apt-get update
<span style="font-weight: 400;">sudo apt-get install apt-transport-https</span>
<span style="font-weight: 400;">sudo apt-get install webmin</span>
Now open your favorite web browser and use the following address to enter the Webmin:
https://serverip:10000
With this, I’ve come to the end of this short tutorial. I hope it can full fill your learning keen mind and let you know how to install it in Ubuntu Linux system. If you like, please take time to share it on your personal and professional social networks. And don’t hesitate to ask me any questions that you want to get clarified in the comment box below.
I love webmin, fantastic for remote access to raspberry PI Raspbian OS, Ubuntu etc…
But those instructions, too complicated
Go here: https://www.webmin.com/download.html
Download, double click, it installs
That’s because you haven’t added the repo key.
Cool! Too bad it doesn’t work (for me…)
root@ubuntu1801:~# apt-get update
Hit:1 https://us.archive.ubuntu.com/ubuntu bionic InRelease
Ign:2 https://download.webmin.com/download/repository sarge InRelease
Get:3 https://us.archive.ubuntu.com/ubuntu bionic-updates InRelease [88.7 kB]
Get:4 https://security.ubuntu.com/ubuntu bionic-security InRelease [83.2 kB]
Err:5 https://download.webmin.com/download/repository sarge Release
Certificate verification failed: The certificate is NOT trusted. The certificate issuer is unknown. Could not handshake: Error in the certificate verification. [IP: 104.207.151.13 443]
Hit:6 https://us.archive.ubuntu.com/ubuntu bionic-backports InRelease
Reading package lists… Done
E: The repository ‘https://download.webmin.com/download/repository sarge Release’ no longer has a Release file.
N: Updating from such a repository can’t be done securely, and is therefore disabled by default.
N: See apt-secure(8) manpage for repository creation and user configuration details.